
Top Related Projects

💤 A modern plugin manager for Neovim

🌙 LunarVim is an IDE layer for Neovim. Completely free and community driven.

Blazing fast Neovim framework providing solid defaults and a beautiful UI, enhancing your neovim experience.

AstroNvim is an aesthetic and feature-rich neovim config that is extensible and easy to use with a great set of plugins

A launch point for your personal nvim configuration

A modular configuration of Vim and Neovim
Quick Overview
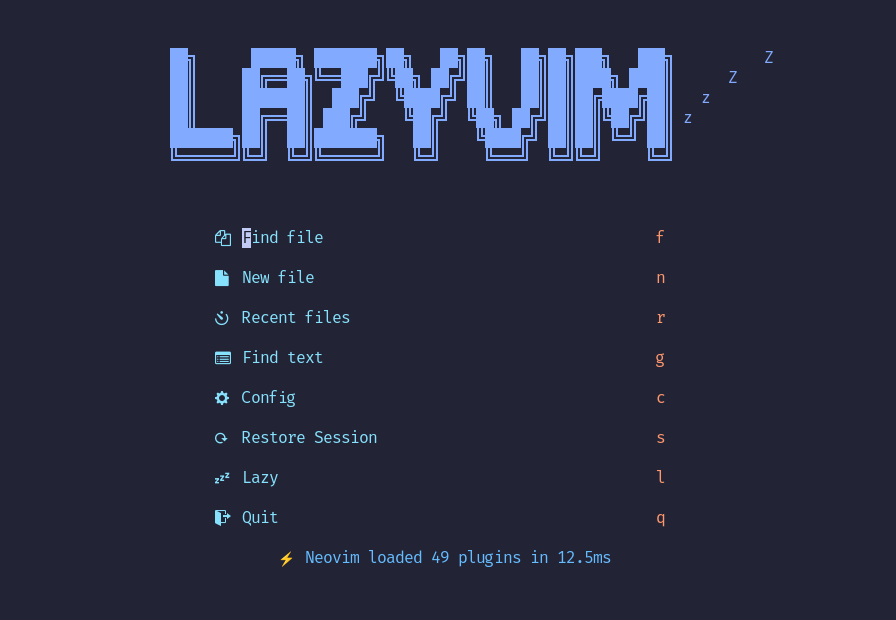
LazyVim is a Neovim configuration framework that aims to provide a fast, feature-rich, and easily extensible setup for Neovim users. It leverages the lazy.nvim plugin manager and offers a curated set of plugins and configurations out of the box, while still allowing for easy customization.
Pros
- Easy to install and set up, with sensible defaults
- Highly customizable and extensible
- Fast startup time due to lazy loading of plugins
- Active community and regular updates
Cons
- May be overwhelming for Neovim beginners due to its extensive features
- Some users might find the default keybindings unfamiliar
- Requires some time to learn and fully utilize all features
- Occasional breaking changes during updates
Code Examples
- Adding a custom plugin:
-- In your config file (e.g., ~/.config/nvim/lua/plugins/custom.lua)
return {
  "github_username/plugin_name",
  config = function()
    -- Plugin configuration
  end,
}
- Customizing a built-in option:
-- In ~/.config/nvim/lua/config/options.lua
vim.opt.relativenumber = true
- Adding a custom keybinding:
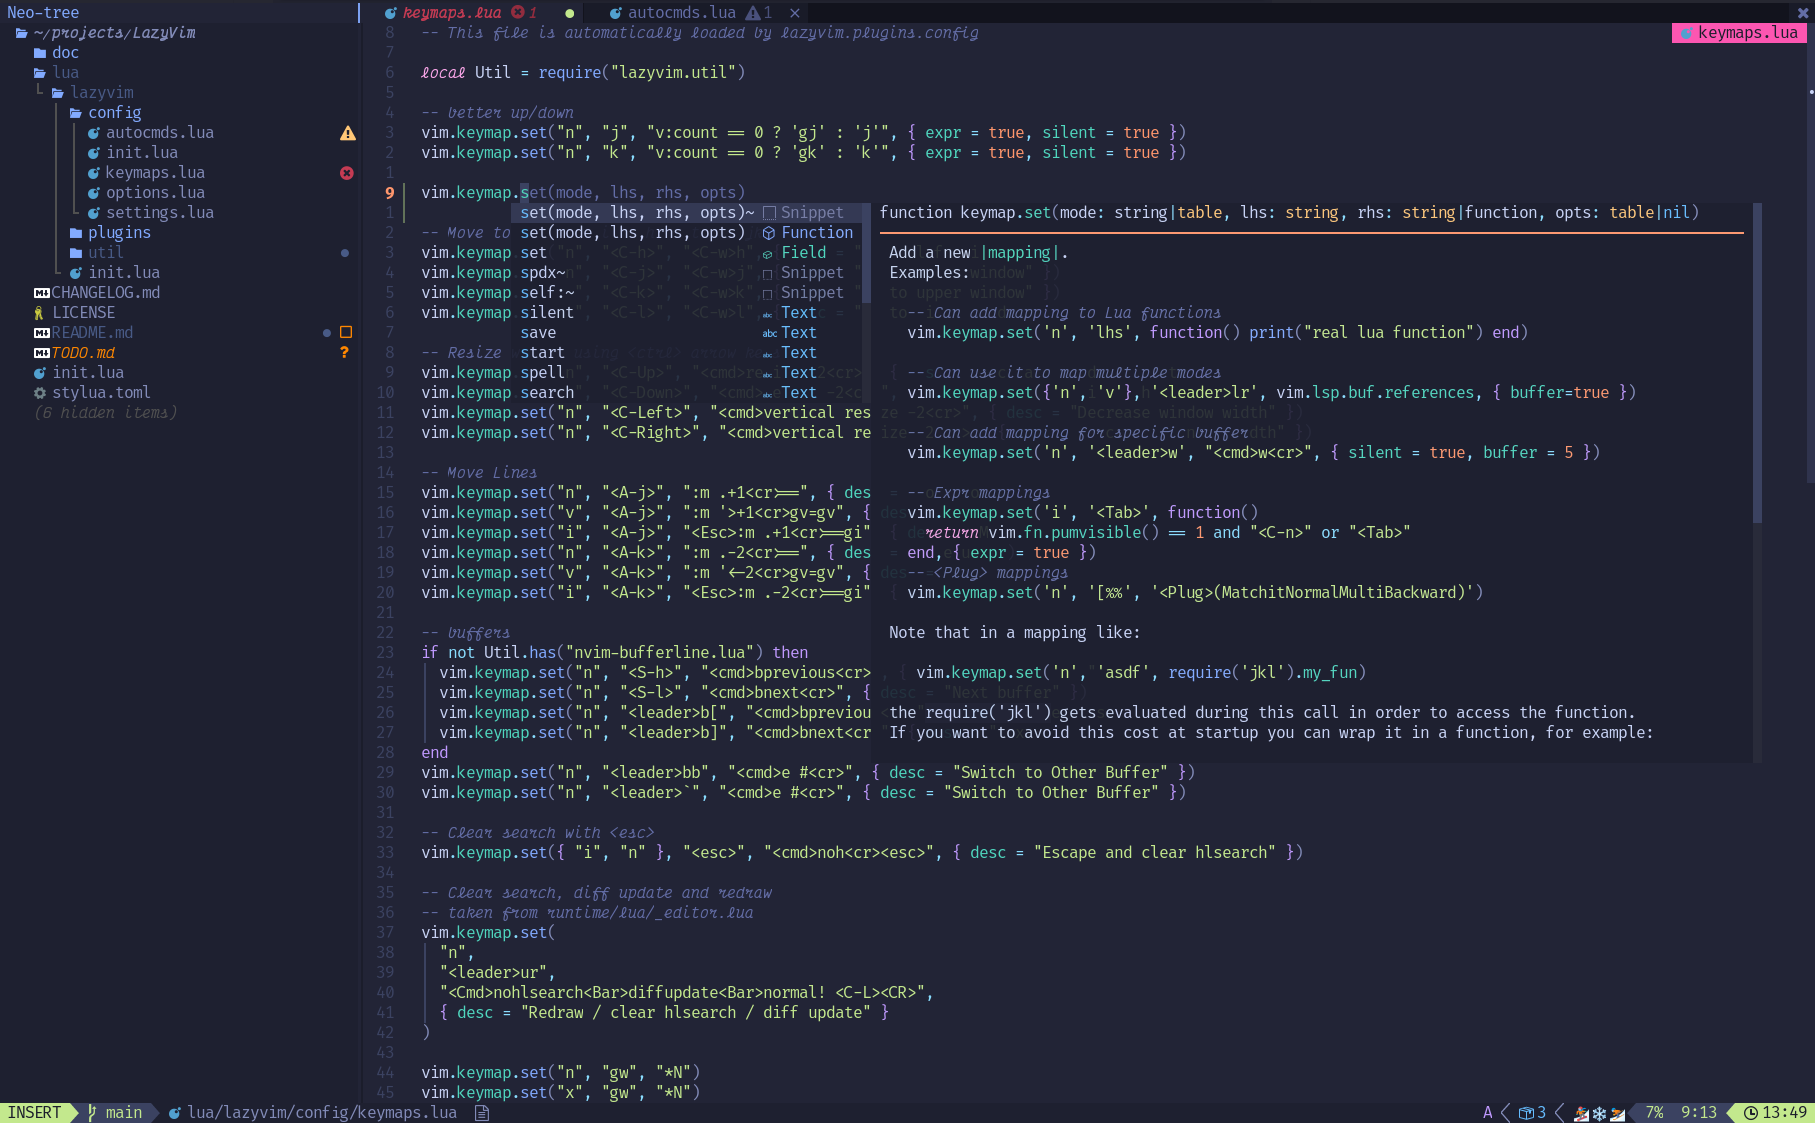
-- In ~/.config/nvim/lua/config/keymaps.lua
vim.keymap.set("n", "<leader>cc", ":lua vim.lsp.buf.code_action()<CR>", { desc = "Code Action" })
Getting Started
- Ensure you have Neovim 0.8.0+ installed
- Back up your existing Neovim configuration
- Clone the LazyVim repository:
git clone https://github.com/LazyVim/LazyVim.git ~/.config/nvim - Start Neovim:
nvim - LazyVim will automatically install plugins and set up the configuration
- Customize your setup by editing files in
~/.config/nvim/lua/
Competitor Comparisons
💤 A modern plugin manager for Neovim
Pros of lazy.nvim
- More flexible and customizable plugin management system
- Faster startup times due to lazy loading capabilities
- Can be used independently of any specific Neovim configuration
Cons of lazy.nvim
- Requires more manual configuration and setup
- Steeper learning curve for beginners
- Less opinionated, which may lead to inconsistent setups across users
Code Comparison
lazy.nvim:
require("lazy").setup({
  "folke/which-key.nvim",
  { "folke/neoconf.nvim", cmd = "Neoconf" },
  "folke/neodev.nvim",
})
LazyVim:
{
  "folke/which-key.nvim",
  "folke/neoconf.nvim",
  "folke/neodev.nvim",
}
Summary
lazy.nvim is a powerful plugin manager that offers more flexibility and control over Neovim configurations. It's ideal for users who want to build their setup from scratch or have specific requirements. LazyVim, on the other hand, is a pre-configured Neovim setup that uses lazy.nvim as its plugin manager. It provides a more opinionated and ready-to-use configuration, making it easier for beginners to get started with a fully-featured Neovim environment.
🌙 LunarVim is an IDE layer for Neovim. Completely free and community driven.
Pros of LunarVim
- More comprehensive out-of-the-box configuration
- Includes a wider range of pre-configured plugins
- Offers a guided installation process for easier setup
Cons of LunarVim
- Heavier and potentially slower startup time
- Less flexible for customization due to its opinionated nature
- Steeper learning curve for users who want to modify the default setup
Code Comparison
LunarVim configuration example:
lvim.colorscheme = "lunar"
lvim.format_on_save = true
lvim.leader = "space"
LazyVim configuration example:
return {
  colorscheme = "tokyonight",
  options = {
    opt = {
      relativenumber = true,
      number = true,
      spell = false,
      signcolumn = "auto",
      wrap = false,
    },
  },
}
Both LunarVim and LazyVim aim to provide pre-configured Neovim setups, but they differ in their approach. LunarVim offers a more comprehensive out-of-the-box experience with a wider range of pre-configured plugins, making it suitable for users who want a ready-to-use setup. However, this comes at the cost of potentially slower startup times and less flexibility for customization.
LazyVim, on the other hand, provides a more lightweight and modular approach, allowing for easier customization and faster startup times. It may require more initial setup but offers greater flexibility for users who want to tailor their Neovim experience.
Blazing fast Neovim framework providing solid defaults and a beautiful UI, enhancing your neovim experience.
Pros of NvChad
- Faster startup time and overall performance
- More visually appealing default UI and color schemes
- Easier initial setup for beginners
Cons of NvChad
- Less flexible and customizable compared to LazyVim
- Smaller community and fewer available plugins
- Limited documentation for advanced configurations
Code Comparison
NvChad configuration example:
local custom_init = function()
  vim.opt.relativenumber = true
  vim.opt.number = true
  vim.opt.spell = true
  vim.opt.signcolumn = "auto"
end
LazyVim configuration example:
return {
  {
    "LazyVim/LazyVim",
    opts = {
      colorscheme = "catppuccin",
      news = {
        lazyvim = true,
        neovim = true,
      },
    },
  },
}
NvChad focuses on providing a pre-configured setup with minimal user intervention, while LazyVim offers a more modular approach, allowing users to easily add or remove features. NvChad's configuration tends to be more centralized, whereas LazyVim encourages distributed configuration files for better organization.
AstroNvim is an aesthetic and feature-rich neovim config that is extensible and easy to use with a great set of plugins
Pros of AstroNvim
- More extensive default plugin set, providing a fuller out-of-the-box experience
- Includes a user-friendly UI for managing plugins and configurations
- Offers a wider range of pre-configured language support
Cons of AstroNvim
- Larger initial setup and longer startup time due to more bundled plugins
- Less flexible for users who prefer a minimal base to build upon
- Steeper learning curve for those new to Neovim due to more complex default setup
Code Comparison
AstroNvim configuration example:
return {
  colorscheme = "astrodark",
  plugins = {
    "AstroNvim/astrocommunity",
    { import = "astrocommunity.colorscheme.catppuccin" },
  },
}
LazyVim configuration example:
return {
  colorscheme = "tokyonight",
  plugins = {
    { "folke/tokyonight.nvim" },
    { "catppuccin/nvim", name = "catppuccin" },
  },
}
Both configurations are relatively simple, but AstroNvim's approach leverages its community plugins repository, while LazyVim's configuration is more direct in specifying individual plugins.
A launch point for your personal nvim configuration
Pros of kickstart.nvim
- Lightweight and minimalistic, providing a basic starting point for customization
- Easier to understand and modify for users who prefer a DIY approach
- Faster startup time due to fewer default plugins and configurations
Cons of kickstart.nvim
- Less feature-rich out of the box compared to LazyVim
- Requires more manual configuration to achieve a fully-featured setup
- May lack some advanced optimizations and integrations present in LazyVim
Code Comparison
kickstart.nvim:
-- Basic plugin setup
use {
  'nvim-telescope/telescope.nvim',
  requires = { {'nvim-lua/plenary.nvim'} }
}
LazyVim:
-- More comprehensive plugin setup with lazy loading
{
  'nvim-telescope/telescope.nvim',
  cmd = 'Telescope',
  version = false,
  lazy = true,
  dependencies = {
    'nvim-lua/plenary.nvim',
    'nvim-tree/nvim-web-devicons',
  },
}
The code comparison shows that LazyVim provides a more sophisticated plugin setup with lazy loading and additional dependencies, while kickstart.nvim offers a simpler, more straightforward configuration. This reflects the overall philosophy of each project, with LazyVim focusing on a more feature-rich, optimized experience, and kickstart.nvim prioritizing simplicity and customization.
A modular configuration of Vim and Neovim
Pros of SpaceVim
- More extensive built-in functionality and preconfigured layers
- Broader language support out of the box
- Larger community and longer development history
Cons of SpaceVim
- Steeper learning curve due to complexity
- Slower startup time compared to LazyVim
- Less modular and harder to customize
Code Comparison
SpaceVim configuration example:
let g:spacevim_enable_debug = 1
let g:spacevim_realtime_leader_guide = 1
let g:spacevim_enable_tabline_filetype_icon = 1
let g:spacevim_enable_statusline_mode = 0
let g:spacevim_buffer_index_type = 4
LazyVim configuration example:
return {
  -- Configure LazyVim to load gruvbox
  colorscheme = "gruvbox",
  -- Add plugins
  plugins = {
    { "folke/trouble.nvim", dependencies = "nvim-tree/nvim-web-devicons" },
  },
}
SpaceVim focuses on providing a comprehensive, preconfigured setup with extensive features, while LazyVim emphasizes a lightweight, modular approach that's easier to customize. SpaceVim's configuration tends to use global variables, whereas LazyVim uses a more structured, Lua-based configuration. LazyVim generally offers faster startup times and easier customization, but SpaceVim provides more built-in functionality for users who prefer a feature-rich, out-of-the-box experience.
Convert  designs to code with AI

Introducing Visual Copilot: A new AI model to turn Figma designs to high quality code using your components.
Try Visual CopilotREADME

Install · Configure · Docs


LazyVim is a Neovim setup powered by ð¤ lazy.nvim to make it easy to customize and extend your config. Rather than having to choose between starting from scratch or using a pre-made distro, LazyVim offers the best of both worlds - the flexibility to tweak your config as needed, along with the convenience of a pre-configured setup.
⨠Features
- ð¥ Transform your Neovim into a full-fledged IDE
- ð¤ Easily customize and extend your config with lazy.nvim
- ð Blazingly fast
- 𧹠Sane default settings for options, autocmds, and keymaps
- ð¦ Comes with a wealth of plugins pre-configured and ready to use
â¡ï¸ Requirements
- Neovim >= 0.11.2 (needs to be built with LuaJIT)
- Git >= 2.19.0 (for partial clones support)
- a Nerd Font (optional)
- a C compiler for
nvim-treesitter. See here
ð Getting Started
You can find a starter template for LazyVim here
Try it with Docker
docker run -w /root -it --rm alpine:edge sh -uelic '
  apk add git lazygit fzf curl neovim ripgrep alpine-sdk --update
  git clone https://github.com/LazyVim/starter ~/.config/nvim
  cd ~/.config/nvim
  nvim
'
Install the LazyVim Starter
-
Make a backup of your current Neovim files:
mv ~/.config/nvim ~/.config/nvim.bak mv ~/.local/share/nvim ~/.local/share/nvim.bak -
Clone the starter
git clone https://github.com/LazyVim/starter ~/.config/nvim -
Remove the
.gitfolder, so you can add it to your own repo laterrm -rf ~/.config/nvim/.git -
Start Neovim!
nvimRefer to the comments in the files on how to customize LazyVim.
There's a great video created by @elijahmanor with a walkthrough to get started.

@dusty-phillips wrote a comprehensive book called LazyVim for Ambitious Developers available for free online.
ð File Structure
The files under config will be automatically loaded at the appropriate time, so you don't need to require those files manually. LazyVim comes with a set of default config files that will be loaded before your own. See here
You can add your custom plugin specs under lua/plugins/. All files there
will be automatically loaded by lazy.nvim
~/.config/nvim âââ lua â  âââ config â  â  âââ autocmds.lua â  â  âââ keymaps.lua â  â  âââ lazy.lua â  â  âââ options.lua â  âââ plugins â  âââ spec1.lua â  âââ ** â  âââ spec2.lua âââ init.lua
âï¸ Configuration
Refer to the docs
Top Related Projects
💤 A modern plugin manager for Neovim
🌙 LunarVim is an IDE layer for Neovim. Completely free and community driven.
Blazing fast Neovim framework providing solid defaults and a beautiful UI, enhancing your neovim experience.
AstroNvim is an aesthetic and feature-rich neovim config that is extensible and easy to use with a great set of plugins
A launch point for your personal nvim configuration
A modular configuration of Vim and Neovim
Convert designs to code with AI
Introducing Visual Copilot: A new AI model to turn Figma designs to high quality code using your components.
Try Visual Copilot