Top Related Projects
Post Processing Stack
A collection of custom post processing effects for Unity
Quick Overview
The X-PostProcessing-Library is a collection of high-quality, customizable post-processing effects for Unity, designed to enhance the visual quality of games and applications. It provides a wide range of post-processing effects, including Bloom, Depth of Field, Ambient Occlusion, and more, allowing developers to easily integrate these effects into their projects.
Pros
- Extensive Effects Library: The library offers a comprehensive set of post-processing effects, catering to a wide range of visual styles and requirements.
- Customizable and Flexible: The effects can be easily customized and tweaked to fit the specific needs of a project, allowing for a high degree of control and fine-tuning.
- Performance-Optimized: The library is designed with performance in mind, ensuring that the post-processing effects can be applied without significantly impacting the overall performance of the application.
- Unity Integration: The library is designed specifically for Unity, making it easy to integrate and use within the Unity development environment.
Cons
- Learning Curve: The library may have a steeper learning curve for developers who are new to post-processing effects or Unity development.
- Dependency on Unity: The library is tightly coupled with the Unity engine, which means that it may not be suitable for developers working with other game engines or platforms.
- Limited Documentation: While the library is well-documented, some developers may find the documentation to be lacking in certain areas or not as comprehensive as they would like.
- Potential Performance Impact: Depending on the complexity of the post-processing effects used, there may be a noticeable performance impact on the application, especially on lower-end hardware.
Code Examples
Here are a few code examples demonstrating the usage of the X-PostProcessing-Library:
// Applying the Bloom effect
var bloomSettings = new BloomSettings
{
    intensity = 0.5f,
    threshold = 1.1f,
    softKnee = 0.5f,
    radius = 4f,
    antiFlicker = false
};

var bloomLayer = gameObject.AddComponent<BloomLayer>();
bloomLayer.settings = bloomSettings;
// Applying the Depth of Field effect
var depthOfFieldSettings = new DepthOfFieldSettings
{
    focusDistance = 10f,
    aperture = 5.6f,
    focalLength = 50f,
    maxBlurSize = 8f
};

var depthOfFieldLayer = gameObject.AddComponent<DepthOfFieldLayer>();
depthOfFieldLayer.settings = depthOfFieldSettings;
// Applying the Ambient Occlusion effect
var ambientOcclusionSettings = new AmbientOcclusionSettings
{
    intensity = 1.0f,
    radius = 1.0f,
    sampleCount = 4,
    downsampling = 1,
    forceForwardCompatibility = false,
    ambientOnly = false
};

var ambientOcclusionLayer = gameObject.AddComponent<AmbientOcclusionLayer>();
ambientOcclusionLayer.settings = ambientOcclusionSettings;
Getting Started
To get started with the X-PostProcessing-Library, follow these steps:
- Import the X-PostProcessing-Library package into your Unity project.
- Create a new GameObject and add the desired post-processing effect components (e.g.,
BloomLayer,DepthOfFieldLayer,AmbientOcclusionLayer) to it. - Customize the settings for each post-processing effect to match your project's requirements.
- Ensure that the post-processing effects are enabled and properly configured in your camera's post-processing stack.
- Test the post-processing effects in your application and make further adjustments as needed.
Refer to the library's documentation for more detailed instructions and information on the available post-processing effects and their customization options.
Competitor Comparisons
Post Processing Stack
Pros of PostProcessing
- Official Unity package, ensuring compatibility and long-term support
- Comprehensive documentation and integration with Unity's rendering pipeline
- Regular updates and bug fixes from Unity Technologies
Cons of PostProcessing
- Limited customization options for advanced users
- Performance overhead for some effects, especially on lower-end devices
- Fewer experimental or cutting-edge post-processing effects
Code Comparison
X-PostProcessing-Library:
[VolumeComponentMenu(VolumeDefine.Environment + "Screen Space Reflection")]
public class ScreenSpaceReflection : VolumeSetting
{
    public override bool IsActive() => screenSpaceReflection.value;
    public BoolParameter screenSpaceReflection = new BoolParameter(false);
}
PostProcessing:
[Serializable]
[PostProcess(typeof(ScreenSpaceReflectionsRenderer), PostProcessEvent.BeforeStack, "Unity/Screen Space Reflections")]
public sealed class ScreenSpaceReflections : PostProcessEffectSettings
{
    [Range(0, 256), Tooltip("Maximum number of steps in the raymarching pass.")]
    public IntParameter maxIterations = new IntParameter { value = 16 };
}
The X-PostProcessing-Library offers more customizable and experimental post-processing effects, while PostProcessing provides a stable, well-integrated solution for Unity projects. X-PostProcessing-Library may be better suited for advanced users seeking unique visual effects, whereas PostProcessing is ideal for developers looking for a reliable, officially supported post-processing solution.
A collection of custom post processing effects for Unity
Pros of Kino
- More focused on artistic and cinematic effects
- Regularly updated with new features and improvements
- Lightweight and easy to integrate into existing Unity projects
Cons of Kino
- Smaller collection of post-processing effects
- Less documentation and examples compared to X-PostProcessing-Library
- May require more manual setup for complex effects
Code Comparison
X-PostProcessing-Library:
[VolumeComponentMenu(VolumeDefine.Environment + "Screen Space Reflection")]
public class ScreenSpaceReflection : VolumeSetting
{
    public override bool IsActive() => Enable.value;
    public BoolParameter Enable = new BoolParameter(false);
}
Kino:
[ExecuteInEditMode]
[RequireComponent(typeof(Camera))]
public class ScreenSpaceReflection : MonoBehaviour
{
    [SerializeField] Shader _shader = null;
    Material _material;
}
Both libraries use similar approaches for implementing post-processing effects, but X-PostProcessing-Library tends to use Unity's Volume system, while Kino often relies on MonoBehaviour components.
Convert  designs to code with AI

Introducing Visual Copilot: A new AI model to turn Figma designs to high quality code using your components.
Try Visual CopilotREADME

XPL: Unityå¼æçé«åè´¨åå¤çåº
X-PostProcessing Librayï¼ç®ç§°XPLï¼æ¯é对Unityå¼æçé«åè´¨å¼æºåå¤çåºï¼æ¨å¨æä¾ä¸ç主æµçé«åè´¨åå¤çç¹æçå®æ´è§£å³æ¹æ¡ãç®åå·²å®ç¾æ¯æUnity Post-processing Stack v2ï¼åç»ä¹å°æä¾å¯¹Unityå¼æURP/LWRP/HDRPçå ¼å®¹æ¯æã
X-PostProcessing Library (XPL) is a high quality post processing library for for Unity Post Processing Stack v2/LWRP/URP/HDRP
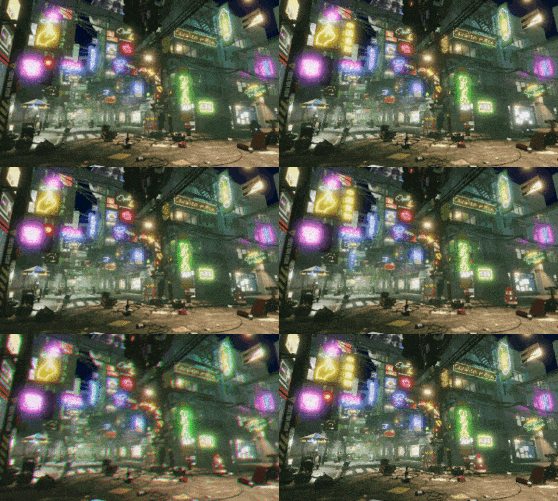
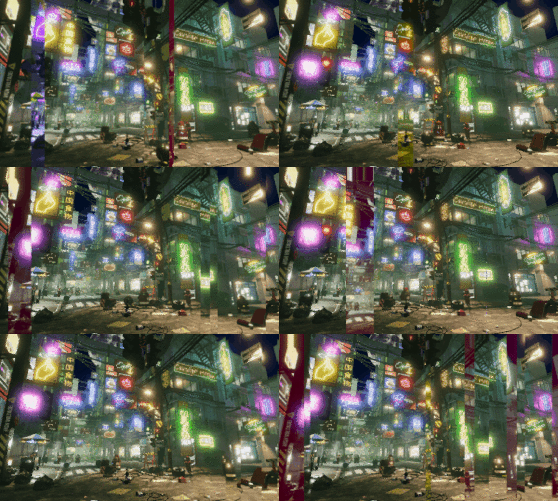
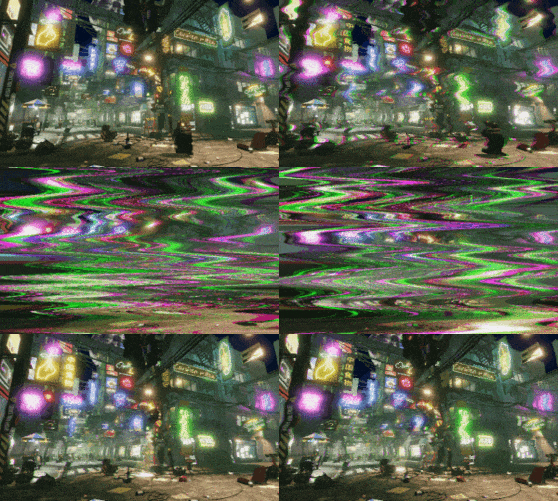
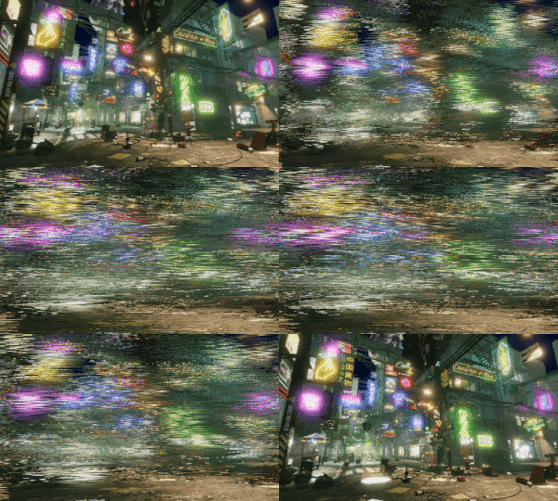
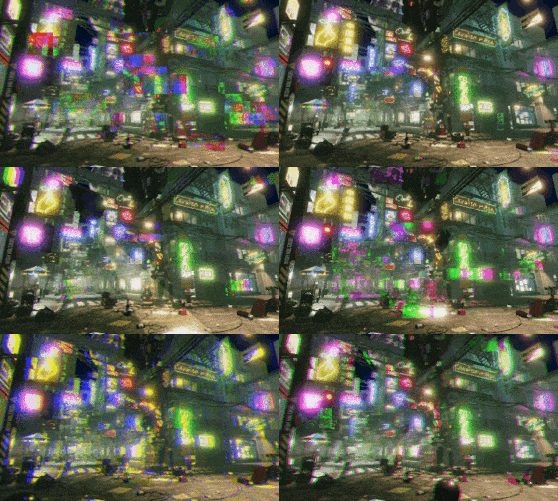
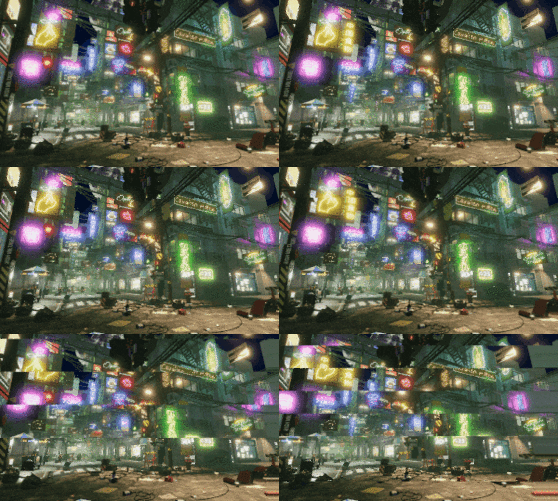
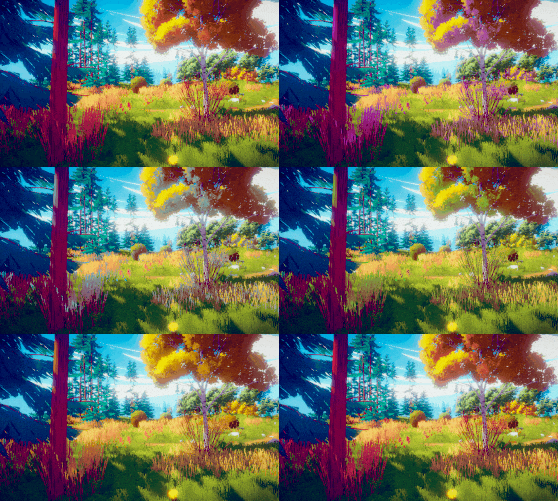
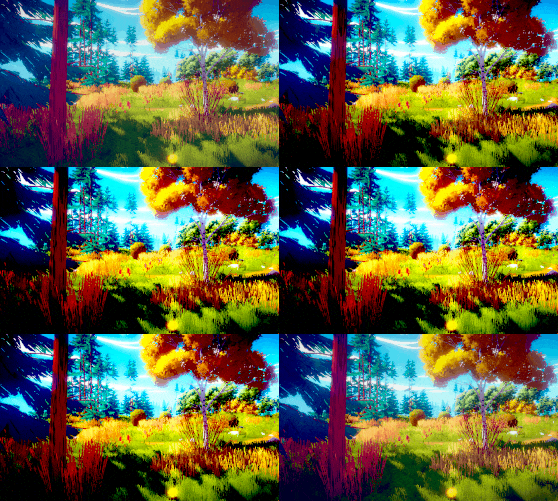
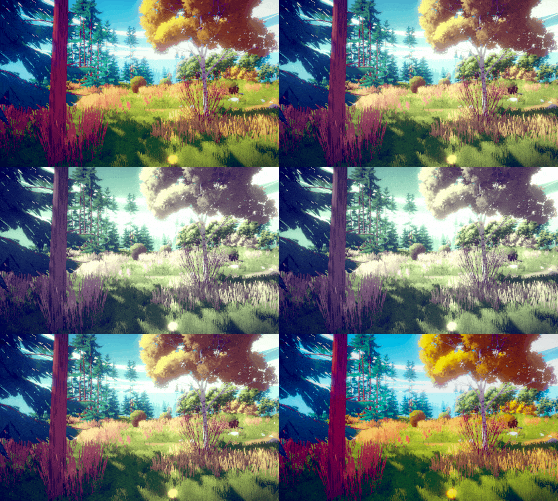
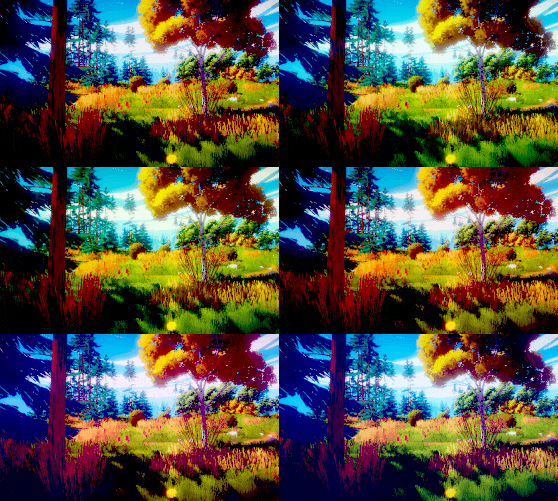

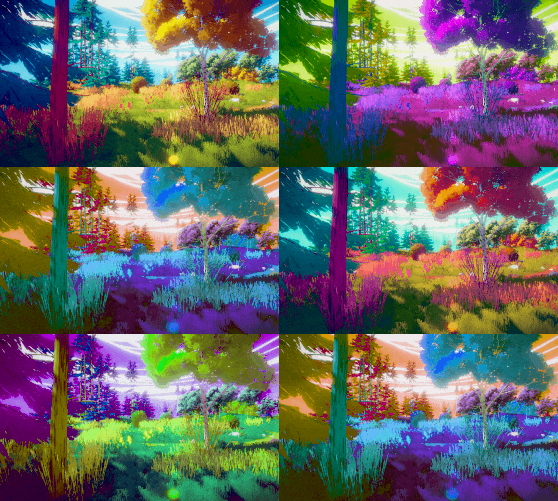


![]()
![]()
![]()
![]()
![]()
![]()
éè¦æ¥çæ´å¤æ¸²æææå¾åæ¯ä¸ªç¹æçåæ°ä¸å±æ§ï¼å¯ä»¥å¨ä¸é¢ç ç®å½ é¨åçå ·ä½åå¤çç¹æå页é¢ä¸æ¥çã
For more gallery , you can enter the specific post-processing effects sub-page in the Content section below.
1. ç®å½ | Content
-
1.1 å¾å模ç³ååå¤ç | Blur Effects
-
1.2 åç´ åååå¤ç | Pixelate Effects
-
1.3 è¾¹ç¼æ£æµååå¤ç | Edge Detection Effects
-
1.4 æ éèºæ¯ååå¤ç | Glitch Effects
- Glitch Image Block
- Glitch Image Block V2
- Glitch Image Block V3
- Glitch Image Block V4
- Glitch Line Block
- Glitch Analog Noise
- Glitch Digital Stripe
- Glitch RGB Split
- Glitch RGB Split V2
- Glitch RGB Split V3
- Glitch RGB Split V4
- Glitch RGB Split V5
- Glitch Scan Line Jitter
- Glitch Screen Jump
- Glitch Screen Shake
- Glitch Tile Jitter
- Glitch Wave Jitter
-
1.5 è²å½©è°æ´ååå¤ç | Color Adjustment Effects
- Color Adjustment Bleach Bypass
- Color Adjustment Brightness
- Color Adjustment Contrast
- Color Adjustment Contrast V2
- Color Adjustment Contrast V3
- Color Adjustment Hue
- Color Adjustment Lens Filter
- Color Adjustment Saturation
- Color Adjustment Technicolor
- Color Adjustment Tint
- Color Adjustment White Balance
- Color Adjustment Replace Color
- Color Adjustment Replace Color V2
-
1.6 æ¸æååå¤ç | Vignette Effects
-
1.7 å¾åå¤çååå¤ç | Image Processing Effects
-
Stylized Effects
-
Painting Effects
-
...
More effects and LWRP/URP/HDRP version will arrive soon.
2. å®è£ | Installation
æ两ç§ä¸»è¦çå®è£ X-PostProcessing Libraryçæ¹æ³ï¼
-
ãæ¹æ³ä¸ã å éæä¸è½½æ¤Repoï¼å¹¶ç´æ¥ä½¿ç¨Unityæå¼ã建议å¯å ä»å·²è®¾ç½®å¥½åå¤çç示ä¾åºæ¯ Assets/Example/ExampleScene.unity å¼å§ã
-
ãæ¹æ³äºã å°X-PostProcessing æ件夹æ¾ç½®å¨é¡¹ç®Assetsè·¯å¾ä¸çä»»ä¸ä½ç½®ï¼å¹¶ç¡®ä¿Post Processing Stack v2ä¹ä½äºé¡¹ç®ä¸ã
You have two main ways to install X-PostProcessing Library :
- [Method 1] Clone or download this repository , open with Unity Engine Editor and enjoy. It is recommended to start with the example scene Assets/Example/ExampleScene.unity .
- [Method 2] Place the X-PostProcessing folder anywhere in your project, make sure that Post Processing Stack v2 is in the project as well, and enjoy.
3. ä½¿ç¨ | Usage
post processing profile æåç§ä¸åçä¿®æ¹åæ·»å æ¹å¼ï¼æ常è§çæ¹æ³æ¯ï¼éä¸ä¸ä¸ªpost processing profile ï¼å¨Inspetorçªå£ä¸ï¼
Add effect... > X-PostProcessing > éæ©ä¸ç§æ°çåå¤ç
The new effect should be available for a post processing profile with different injection pointsï¼just like:
Add effect... > X-PostProcessing > Choose an effect
4. ç¯å¢ | Environment
-
建议使ç¨Unity 2017.2+ã
-
å¦æ使ç¨çæ¯è¾æ§çæ¬çUnityï¼5.6 æ 2017.1ï¼ï¼åéè¦å°æ¤æ件夹 æ¿æ¢ä¸º pps v2 2.1.8ã
-
Unity 2017.2+ is recommended.
-
if you use older versions of Unity (5.6 and 2017.1) , you need to replace this folder with pps v2 2.1.8.
5. æç« | Blog Post
-
é«åè´¨åå¤çï¼åç§å¾å模ç³ç®æ³çæ»ç»ä¸å®ç° | GitHub Version
-
é«åè´¨åå¤çï¼åç§æ éèºæ¯(Glitch Art)ç®æ³çæ»ç»ä¸å®ç° | GitHub Version
Top Related Projects
Post Processing Stack
A collection of custom post processing effects for Unity
Convert  designs to code with AI

Introducing Visual Copilot: A new AI model to turn Figma designs to high quality code using your components.
Try Visual Copilot


