
Top Related Projects

✂️ Automated high-quality background removal framework for an image using neural networks. ✂️

Background Remover lets you Remove Background from images and video using AI with a simple command line interface that is free and open source.
Quick Overview
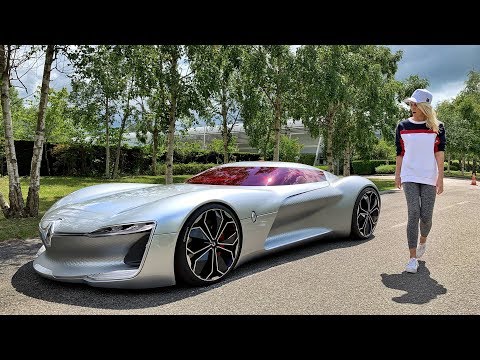
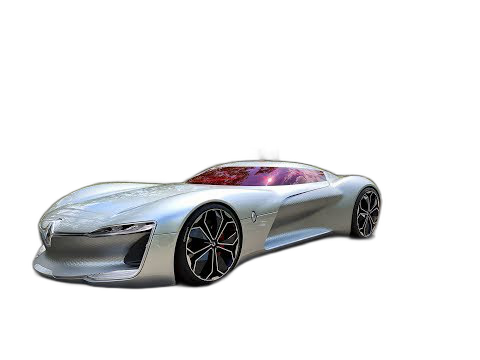
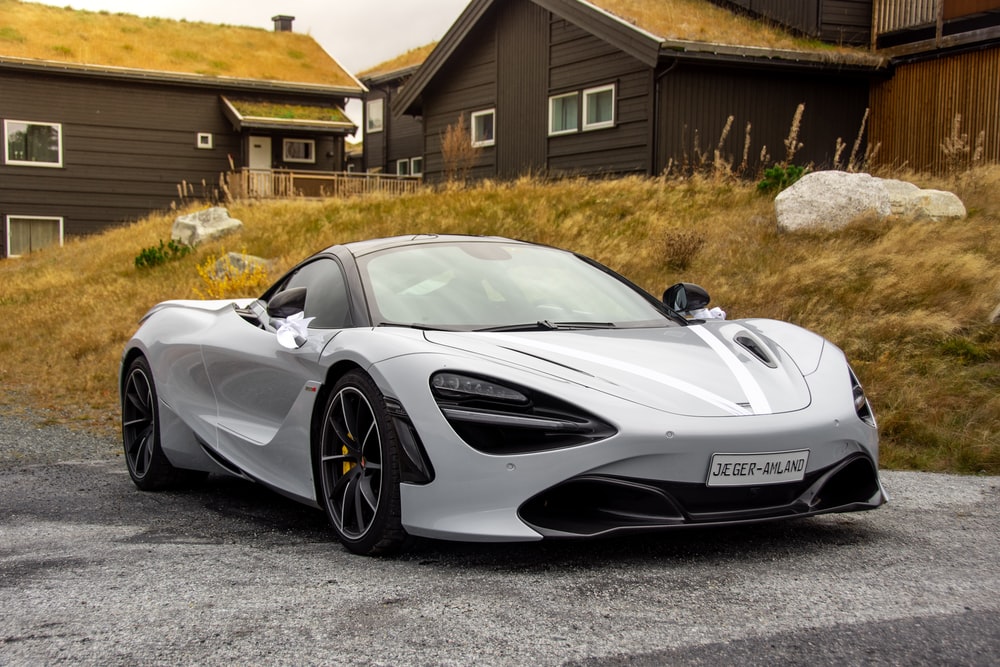
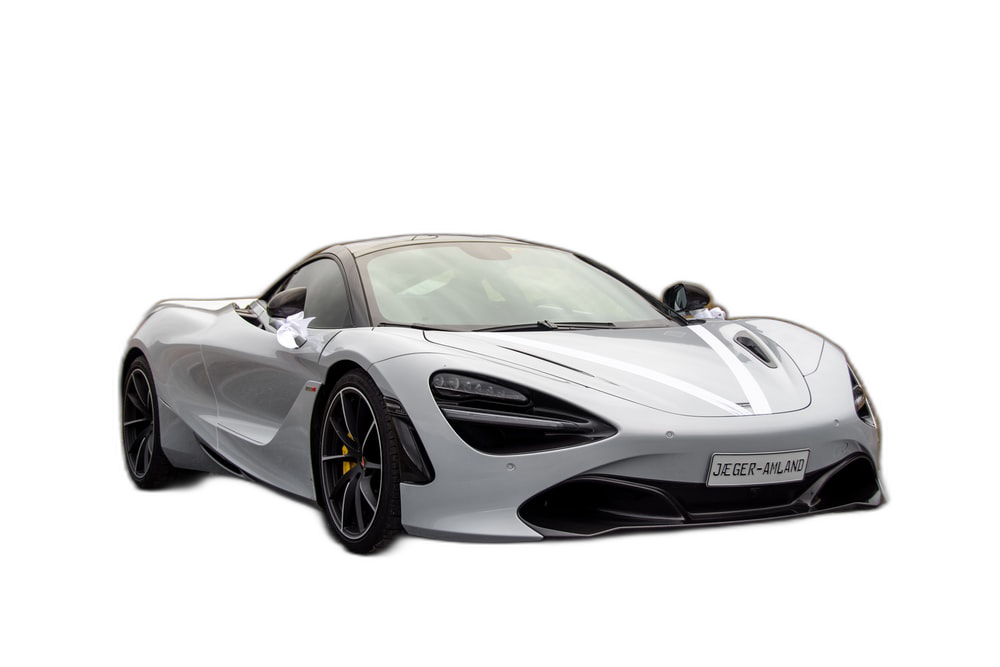
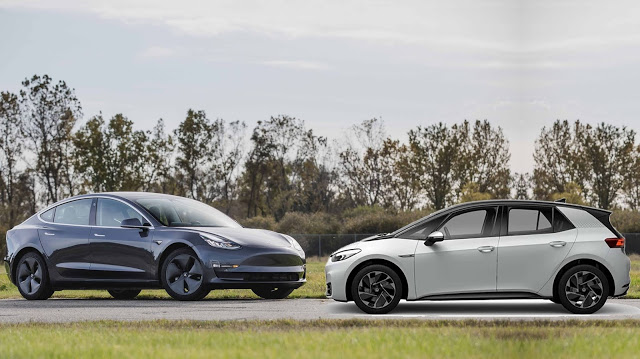
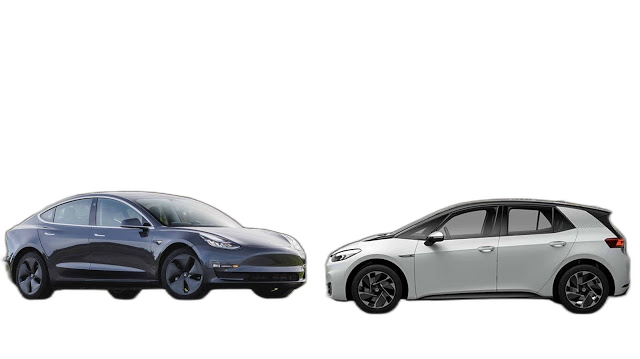
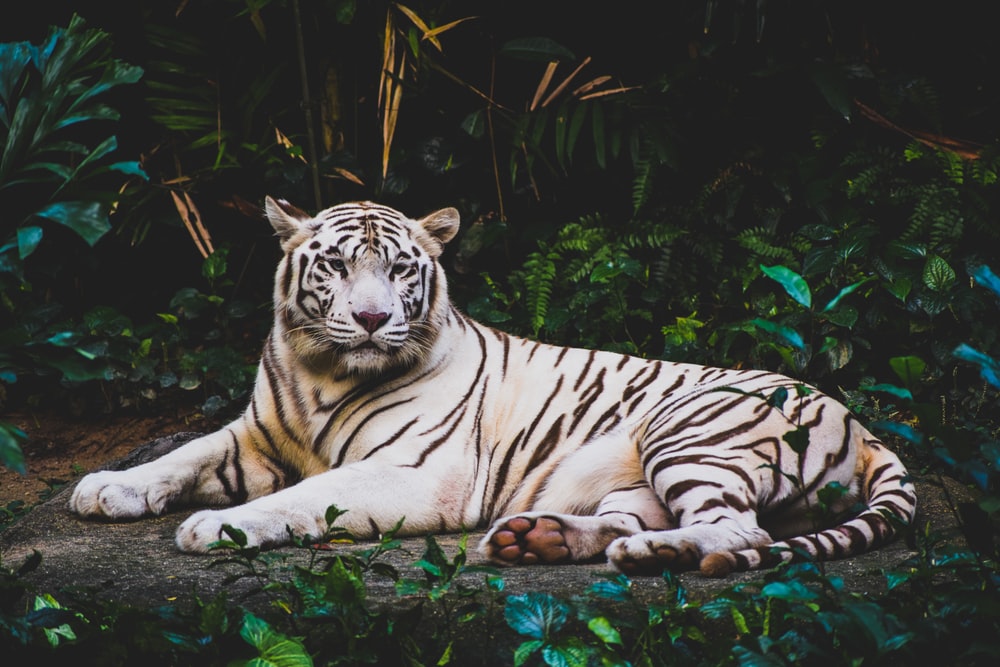
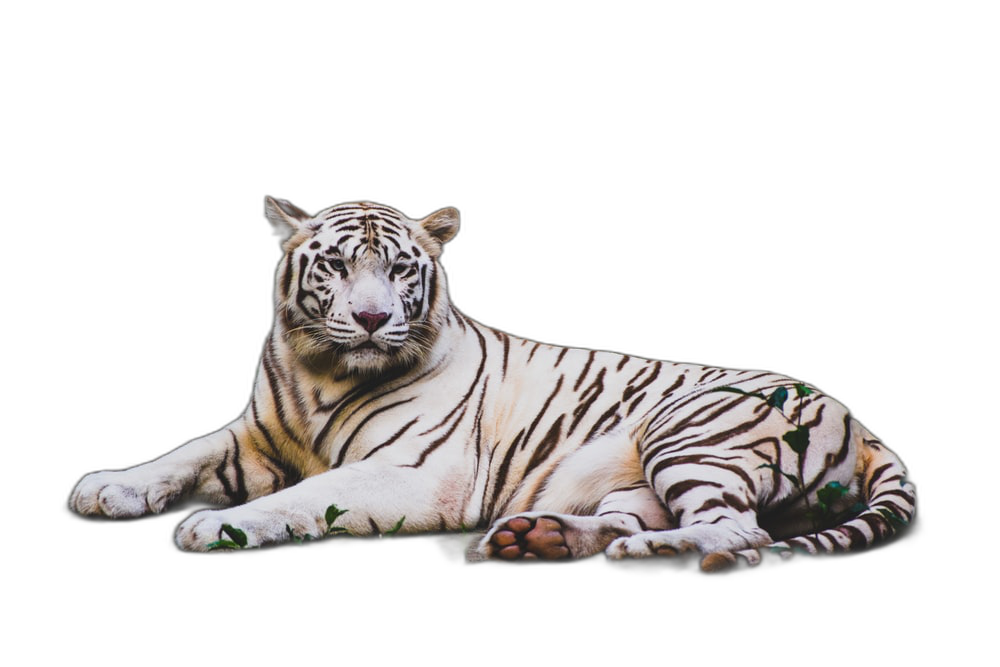
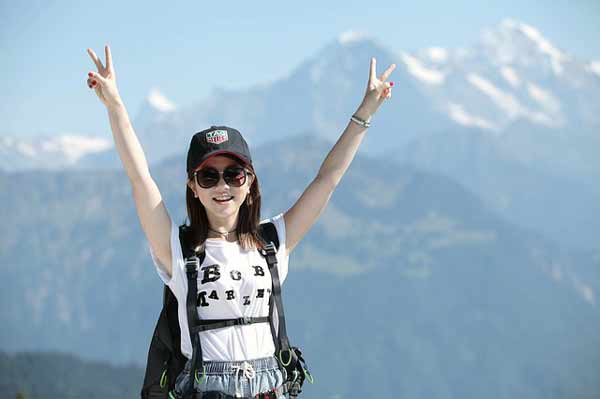
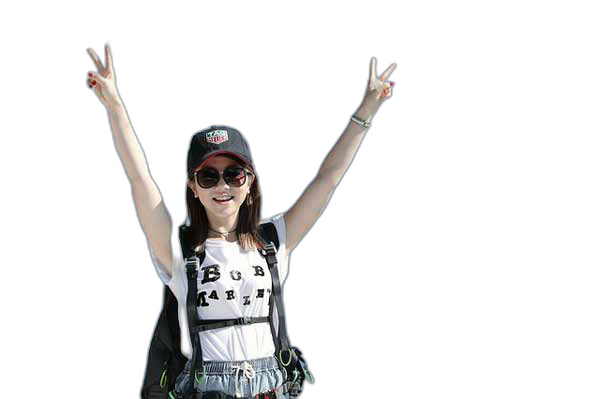
Rembg is an open-source tool for removing image backgrounds. It uses deep learning models to automatically detect and remove the background from images, supporting various input and output formats. The project aims to simplify the process of background removal for both developers and end-users.
Pros
- Easy to use with a simple command-line interface and Python API
- Supports multiple input and output formats (PNG, JPG, JPEG, WebP)
- Offers both CPU and GPU acceleration for faster processing
- Provides a web API for integration into other applications
Cons
- Accuracy may vary depending on the complexity of the image
- Large model size (>100MB) may impact initial download and storage
- Limited customization options for fine-tuning the background removal process
- Requires Python and additional dependencies to be installed
Code Examples
- Basic usage with Python API:
from rembg import remove
from PIL import Image

input_path = 'input.png'
output_path = 'output.png'

with open(input_path, 'rb') as i:
    with open(output_path, 'wb') as o:
        input = i.read()
        output = remove(input)
        o.write(output)
- Using rembg with custom model:
from rembg import remove, new_session

input_path = 'input.png'
output_path = 'output.png'
model_name = 'u2net_human_seg'

with open(input_path, 'rb') as i:
    with open(output_path, 'wb') as o:
        input = i.read()
        session = new_session(model_name)
        output = remove(input, session=session)
        o.write(output)
- Batch processing multiple images:
import os
from rembg import remove
from PIL import Image

input_folder = 'input_images'
output_folder = 'output_images'

for filename in os.listdir(input_folder):
    if filename.endswith(('.png', '.jpg', '.jpeg')):
        input_path = os.path.join(input_folder, filename)
        output_path = os.path.join(output_folder, f'bg_removed_{filename}')

        with open(input_path, 'rb') as i:
            with open(output_path, 'wb') as o:
                input_image = i.read()
                output_image = remove(input_image)
                o.write(output_image)
Getting Started
-
Install rembg using pip:
pip install rembg -
Basic usage from command line:
rembg i input.png output.png -
Use in Python script:
from rembg import remove
from PIL import Image

input_image = Image.open('input.png')
output = remove(input_image)
output.save('output.png')
For more advanced usage and options, refer to the project's documentation on GitHub.
Competitor Comparisons
✂️ Automated high-quality background removal framework for an image using neural networks. ✂️
Pros of image-background-remove-tool
- Offers multiple AI models for background removal, providing flexibility
- Includes a graphical user interface (GUI) for easier use by non-technical users
- Supports batch processing of multiple images
Cons of image-background-remove-tool
- Generally slower processing speed compared to rembg
- Requires more setup and dependencies
- Less actively maintained, with fewer recent updates
Code Comparison
image-background-remove-tool:
from carvekit.api.high import HiInterface
interface = HiInterface(object_type="object",
                        batch_size_seg=5,
                        batch_size_matting=1,
                        device='cuda',
                        seg_mask_size=640,
                        matting_mask_size=2048,
                        trimap_prob_threshold=231,
                        trimap_dilation=30,
                        trimap_erosion_iters=5,
                        fp16=False)
rembg:
from rembg import remove
from PIL import Image

input_path = 'path/to/input/image.jpg'
output_path = 'path/to/output/image.png'

input = Image.open(input_path)
output = remove(input)
output.save(output_path)
The code comparison shows that rembg has a simpler API and requires less configuration, while image-background-remove-tool offers more customization options but with increased complexity.
Background Remover lets you Remove Background from images and video using AI with a simple command line interface that is free and open source.
Pros of backgroundremover
- Offers a web interface for easy online use
- Supports video background removal in addition to images
- Provides multiple output formats including PNG, JPG, and WebM
Cons of backgroundremover
- Less actively maintained compared to rembg
- Fewer stars and contributors on GitHub
- Limited documentation and examples
Code Comparison
backgroundremover:
from backgroundremover import remove

input_path = "input.jpg"
output_path = "output.png"
remove(input_path, output_path)
rembg:
from rembg import remove
from PIL import Image

input_path = "input.jpg"
output_path = "output.png"
input = Image.open(input_path)
output = remove(input)
output.save(output_path)
Both libraries offer simple APIs for background removal, but rembg requires working with PIL Image objects, while backgroundremover operates directly on file paths. rembg's approach provides more flexibility for in-memory image processing and manipulation.
Overall, rembg appears to be the more robust and actively maintained project, with a larger community and more frequent updates. However, backgroundremover offers unique features like video support and a web interface, which may be preferable for certain use cases.
Convert  designs to code with AI

Introducing Visual Copilot: A new AI model to turn Figma designs to high quality code using your components.
Try Visual CopilotREADME
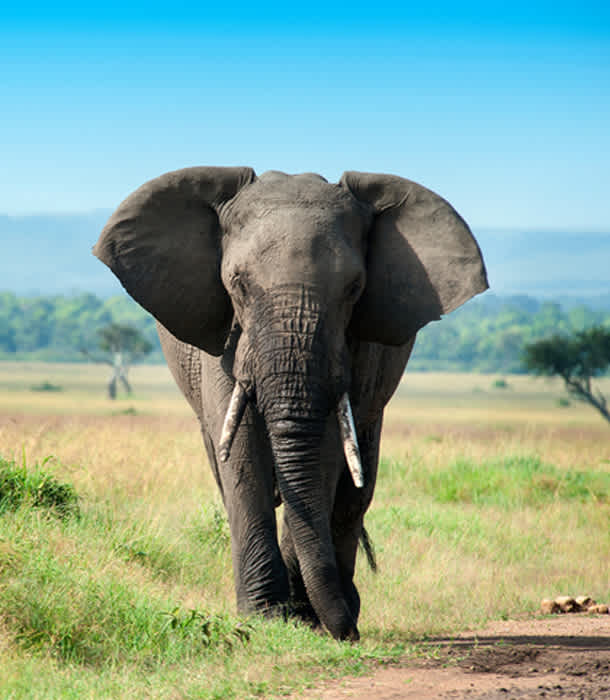
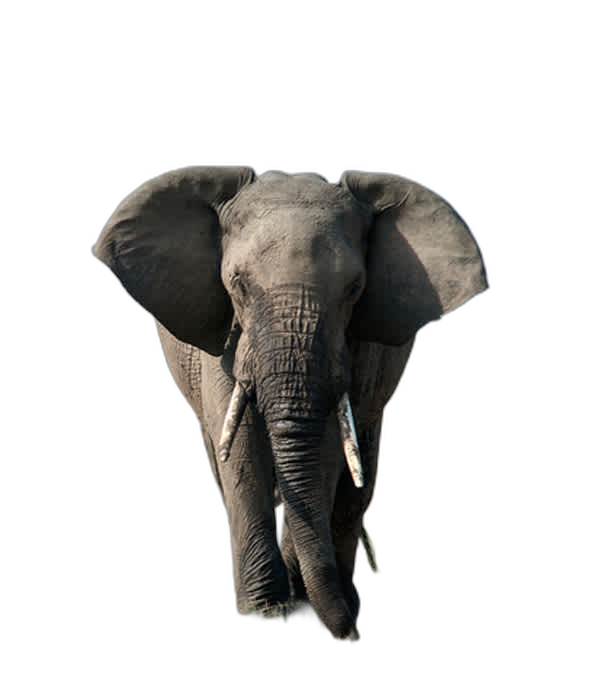
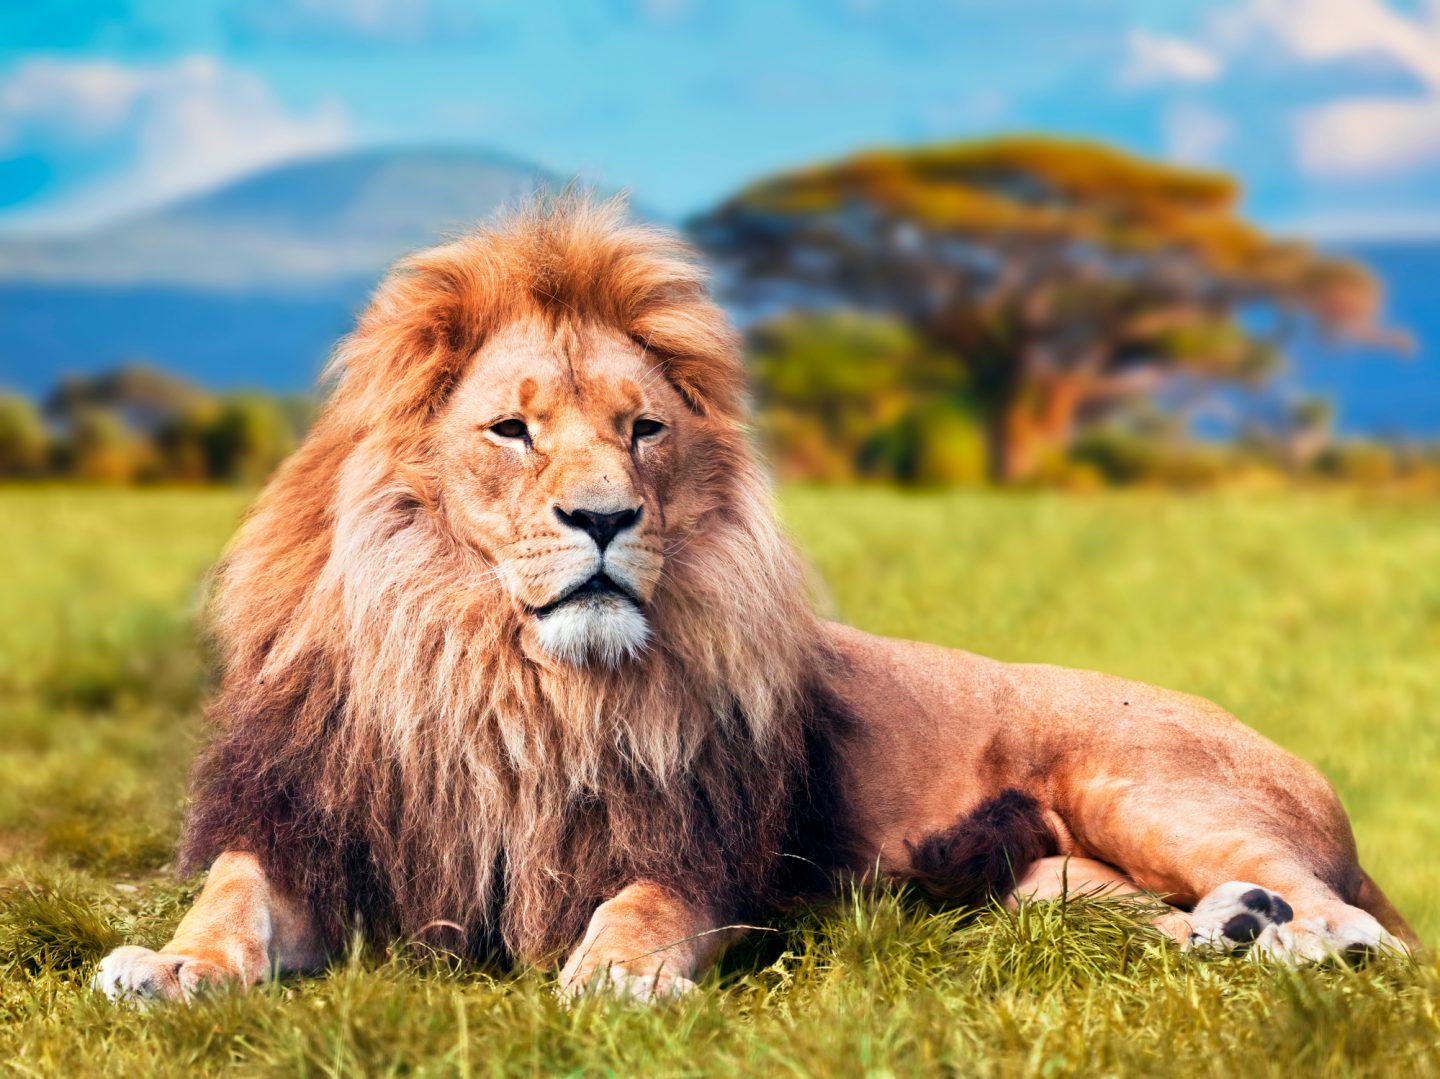
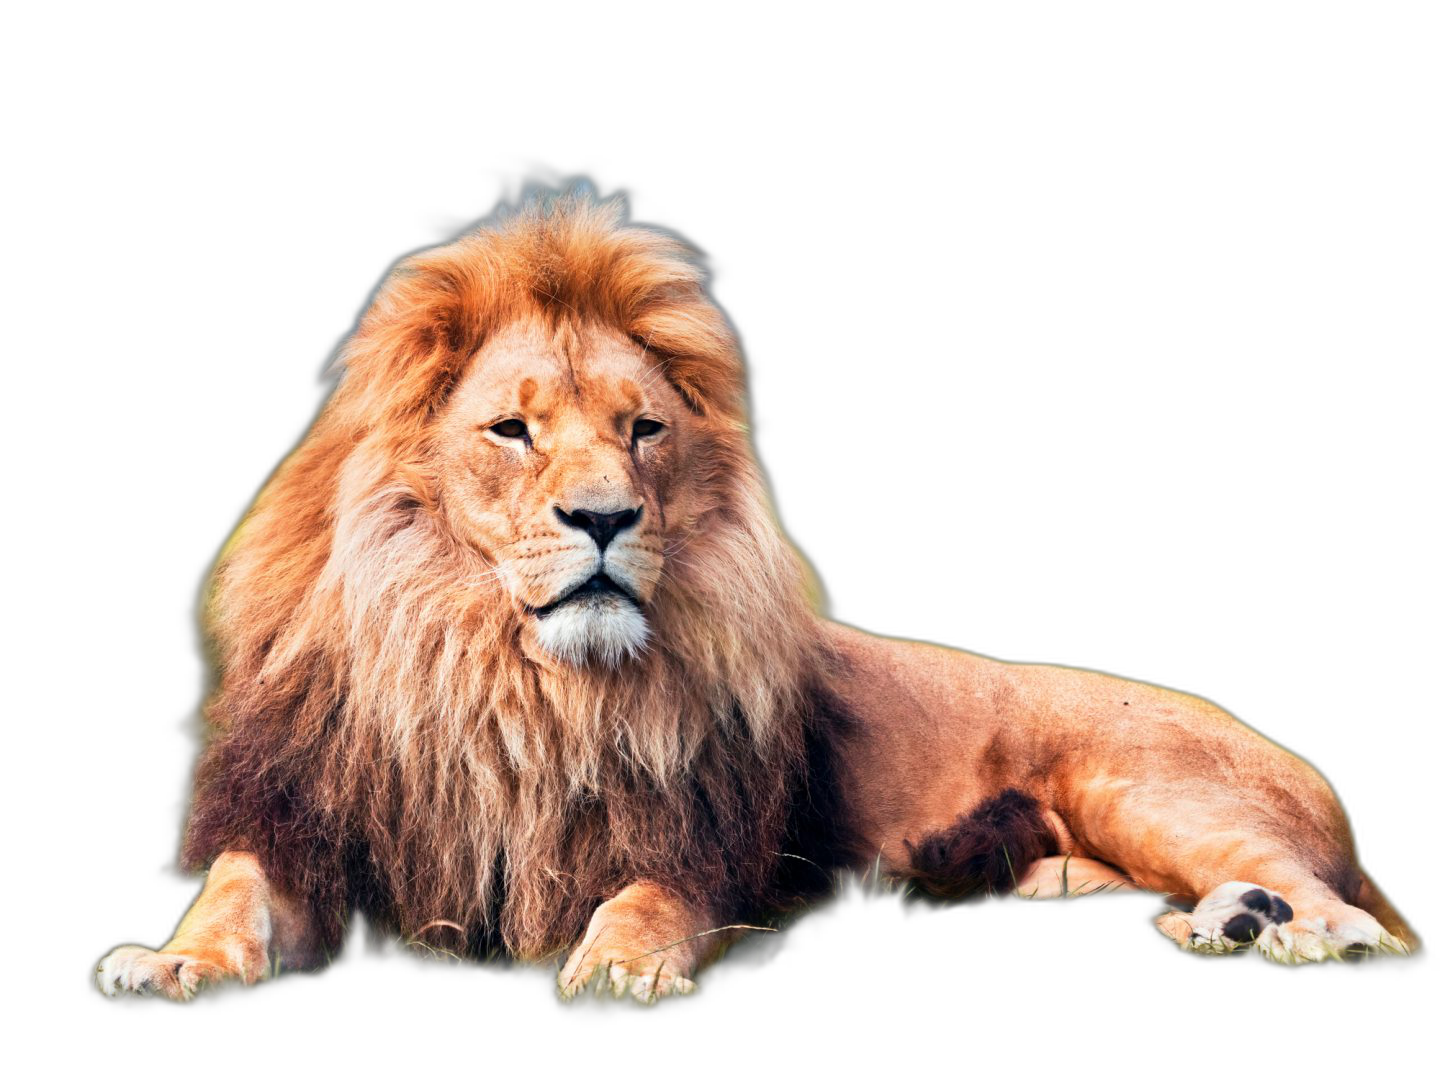
Rembg

![]()
![]()
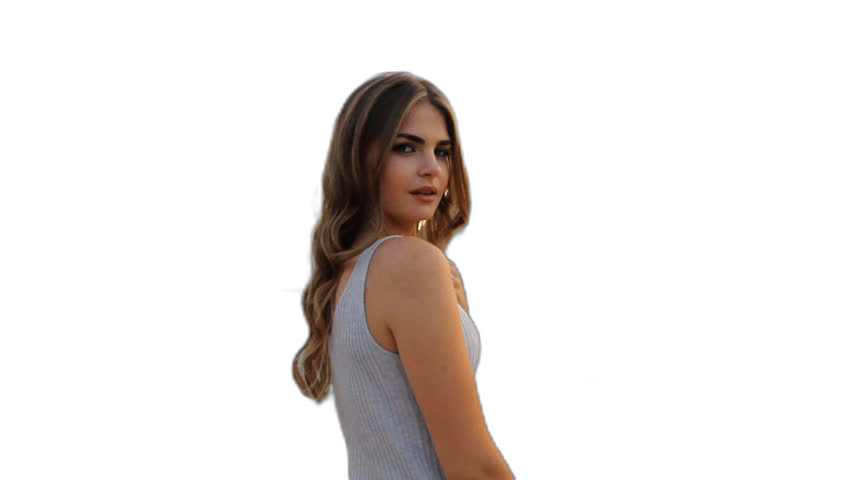
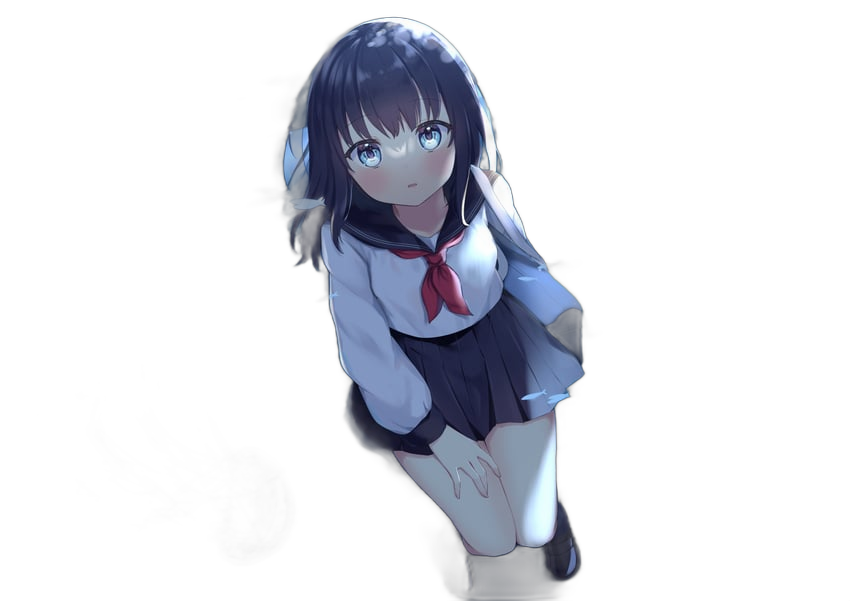
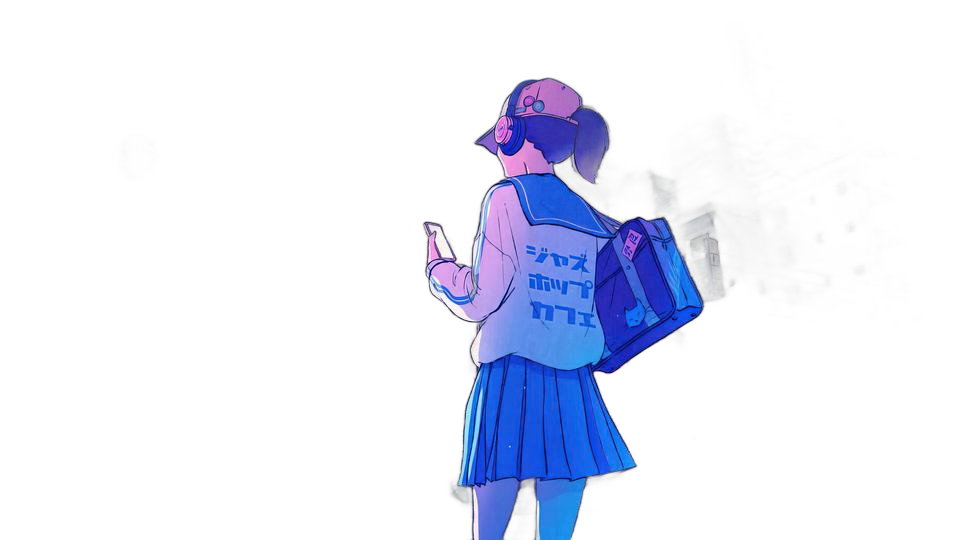
Rembg is a tool to remove images background.


If this project has helped you, please consider making a donation.
Sponsors
|
|
PhotoRoom Remove Background API
https://photoroom.com/api
Fast and accurate background remover API |
Requirements
python: >=3.10, <3.14
Installation
If you have onnxruntime already installed, just install rembg:
pip install rembg # for library
pip install "rembg[cli]" # for library + cli
Otherwise, install rembg with explicit CPU/GPU support.
CPU support:
pip install rembg[cpu] # for library
pip install "rembg[cpu,cli]" # for library + cli
GPU support (NVidia/Cuda):
First of all, you need to check if your system supports the onnxruntime-gpu.
Go to onnxruntime.ai and check the installation matrix.
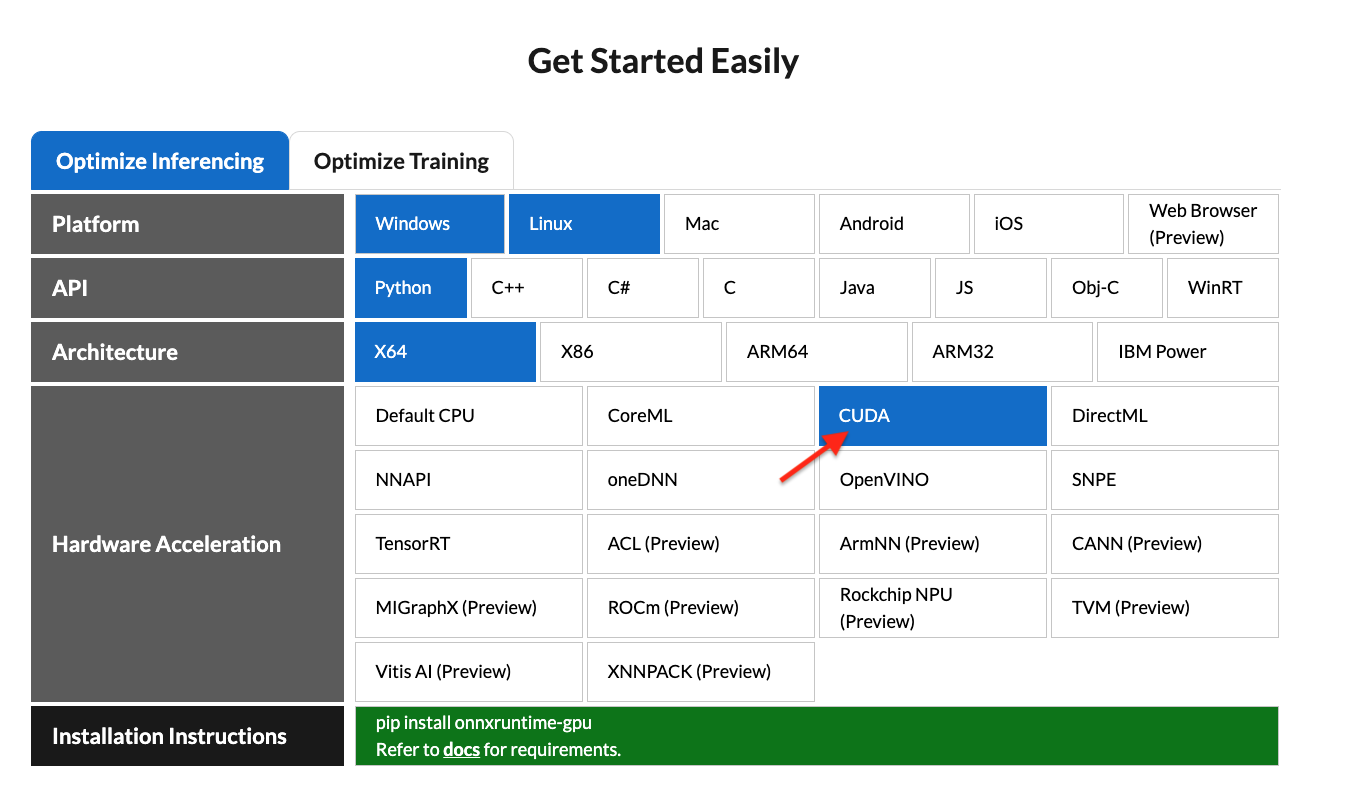
If yes, just run:
pip install "rembg[gpu]" # for library
pip install "rembg[gpu,cli]" # for library + cli
Nvidia GPU may require onnxruntime-gpu, cuda, and cudnn-devel. #668 . If rembg[gpu] doesn't work and you can't install cuda or cudnn-devel, use rembg[cpu] and onnxruntime instead.
GPU support (AMD/ROCM):
ROCM support requires the onnxruntime-rocm package. Install it following
AMD's documentation.
If onnxruntime-rocm is installed and working, install the rembg[rocm]
version of rembg:
pip install "rembg[rocm]" # for library
pip install "rembg[rocm,cli]" # for library + cli
Usage as a cli
After the installation step you can use rembg just typing rembg in your terminal window.
The rembg command has 4 subcommands, one for each input type:
ifor filespfor folderssfor http serverbfor RGB24 pixel binary stream
You can get help about the main command using:
rembg --help
As well, about all the subcommands using:
rembg <COMMAND> --help
rembg i
Used when input and output are files.
Remove the background from a remote image
curl -s http://input.png | rembg i > output.png
Remove the background from a local file
rembg i path/to/input.png path/to/output.png
Remove the background specifying a model
rembg i -m u2netp path/to/input.png path/to/output.png
Remove the background returning only the mask
rembg i -om path/to/input.png path/to/output.png
Remove the background applying an alpha matting
rembg i -a path/to/input.png path/to/output.png
Passing extras parameters
SAM example

rembg i -m sam -x '{ "sam_prompt": [{"type": "point", "data": [724, 740], "label": 1}] }' examples/plants-1.jpg examples/plants-1.out.png
Custom model example

rembg i -m u2net_custom -x '{"model_path": "~/.u2net/u2net.onnx"}' path/to/input.png path/to/output.png
rembg p
Used when input and output are folders.
Remove the background from all images in a folder
rembg p path/to/input path/to/output
Same as before, but watching for new/changed files to process
rembg p -w path/to/input path/to/output
rembg s
Used to start http server.
rembg s --host 0.0.0.0 --port 7000 --log_level info
To see the complete endpoints documentation, go to: http://localhost:7000/api.
Remove the background from an image url
curl -s "http://localhost:7000/api/remove?url=http://input.png" -o output.png
Remove the background from an uploaded image
curl -s -F file=@/path/to/input.jpg "http://localhost:7000/api/remove" -o output.png
rembg b
Process a sequence of RGB24 images from stdin. This is intended to be used with another program, such as FFMPEG, that outputs RGB24 pixel data to stdout, which is piped into the stdin of this program, although nothing prevents you from manually typing in images at stdin.
rembg b image_width image_height -o output_specifier
Arguments:
- image_width : width of input image(s)
- image_height : height of input image(s)
- output_specifier: printf-style specifier for output filenames, for example if
output-%03u.png, then output files will be namedoutput-000.png,output-001.png,output-002.png, etc. Output files will be saved in PNG format regardless of the extension specified. You can omit it to write results to stdout.
Example usage with FFMPEG:
ffmpeg -i input.mp4 -ss 10 -an -f rawvideo -pix_fmt rgb24 pipe:1 | rembg b 1280 720 -o folder/output-%03u.png
The width and height values must match the dimension of output images from FFMPEG. Note for FFMPEG, the "-an -f rawvideo -pix_fmt rgb24 pipe:1" part is required for the whole thing to work.
Usage as a library
Input and output as bytes
from rembg import remove

input_path = 'input.png'
output_path = 'output.png'

with open(input_path, 'rb') as i:
    with open(output_path, 'wb') as o:
        input = i.read()
        output = remove(input)
        o.write(output)
Input and output as a PIL image
from rembg import remove
from PIL import Image

input_path = 'input.png'
output_path = 'output.png'

input = Image.open(input_path)
output = remove(input)
output.save(output_path)
Input and output as a numpy array
from rembg import remove
import cv2

input_path = 'input.png'
output_path = 'output.png'

input = cv2.imread(input_path)
output = remove(input)
cv2.imwrite(output_path, output)
Force output as bytes
from rembg import remove

input_path = 'input.png'
output_path = 'output.png'

with open(input_path, 'rb') as i:
    with open(output_path, 'wb') as o:
        input = i.read()
        output = remove(input, force_return_bytes=True)
        o.write(output)
How to iterate over files in a performatic way
from pathlib import Path
from rembg import remove, new_session

session = new_session()

for file in Path('path/to/folder').glob('*.png'):
    input_path = str(file)
    output_path = str(file.parent / (file.stem + ".out.png"))

    with open(input_path, 'rb') as i:
        with open(output_path, 'wb') as o:
            input = i.read()
            output = remove(input, session=session)
            o.write(output)
To see a full list of examples on how to use rembg, go to the examples page.
Usage as a docker
Only CPU
Just replace the rembg command for docker run danielgatis/rembg.
Try this:
docker run -v path/to/input:/rembg danielgatis/rembg i input.png path/to/output/output.png
Nvidia CUDA Hardware Acceleration
Requirement: using CUDA in docker needs your host has NVIDIA Container Toolkit installed. NVIDIA Container Toolkit Install Guide
Nvidia CUDA Hardware Acceleration needs cudnn-devel so you need to build the docker image by yourself. #668
Here is a example shows you how to build an image and name it rembg-nvidia-cuda-cudnn-gpu
docker build -t rembg-nvidia-cuda-cudnn-gpu -f Dockerfile_nvidia_cuda_cudnn_gpu .
Be aware: It would take 11GB of your disk space. (The cpu version only takes about 1.6GB). Models didn't included.
After you build the image, run it like this as a cli
sudo docker run --rm -it --gpus all -v /dev/dri:/dev/dri -v $PWD:/rembg rembg-nvidia-cuda-cudnn-gpu i -m birefnet-general input.png output.png
- Trick 1: Actually you can also make up a nvidia-cuda-cudnn-gpu image and install rembg[gpu, cli] in it.
- Trick 2: Try param
-v /somewhereYouStoresModelFiles/:/root/.u2netso to download/store model files out of docker images. You can even comment the lineRUN rembg d u2netso when building the image, it download will no models, so you can download the specific model you want even without the default u2net model.
Models
All models are downloaded and saved in the user home folder in the .u2net directory.
The available models are:
- u2net (download, source): A pre-trained model for general use cases.
- u2netp (download, source): A lightweight version of u2net model.
- u2net_human_seg (download, source): A pre-trained model for human segmentation.
- u2net_cloth_seg (download, source): A pre-trained model for Cloths Parsing from human portrait. Here clothes are parsed into 3 category: Upper body, Lower body and Full body.
- silueta (download, source): Same as u2net but the size is reduced to 43Mb.
- isnet-general-use (download, source): A new pre-trained model for general use cases.
- isnet-anime (download, source): A high-accuracy segmentation for anime character.
- sam (download encoder, download decoder, source): A pre-trained model for any use cases.
- birefnet-general (download, source): A pre-trained model for general use cases.
- birefnet-general-lite (download, source): A light pre-trained model for general use cases.
- birefnet-portrait (download, source): A pre-trained model for human portraits.
- birefnet-dis (download, source): A pre-trained model for dichotomous image segmentation (DIS).
- birefnet-hrsod (download, source): A pre-trained model for high-resolution salient object detection (HRSOD).
- birefnet-cod (download, source): A pre-trained model for concealed object detection (COD).
- birefnet-massive (download, source): A pre-trained model with massive dataset.
How to train your own model
If You need more fine tuned models try this: https://github.com/danielgatis/rembg/issues/193#issuecomment-1055534289
Some video tutorials
- https://www.youtube.com/watch?v=3xqwpXjxyMQ
- https://www.youtube.com/watch?v=dFKRGXdkGJU
- https://www.youtube.com/watch?v=Ai-BS_T7yjE
- https://www.youtube.com/watch?v=D7W-C0urVcQ
References
- https://arxiv.org/pdf/2005.09007.pdf
- https://github.com/NathanUA/U-2-Net
- https://github.com/pymatting/pymatting
FAQ
When will this library provide support for Python version 3.xx?
This library directly depends on the onnxruntime library. Therefore, we can only update the Python version when onnxruntime provides support for that specific version.
Buy me a coffee
Liked some of my work? Buy me a coffee (or more likely a beer)

Star History
License
Copyright (c) 2020-present Daniel Gatis
Licensed under MIT License
Top Related Projects
✂️ Automated high-quality background removal framework for an image using neural networks. ✂️
Background Remover lets you Remove Background from images and video using AI with a simple command line interface that is free and open source.
Convert designs to code with AI
Introducing Visual Copilot: A new AI model to turn Figma designs to high quality code using your components.
Try Visual Copilot