 boundary
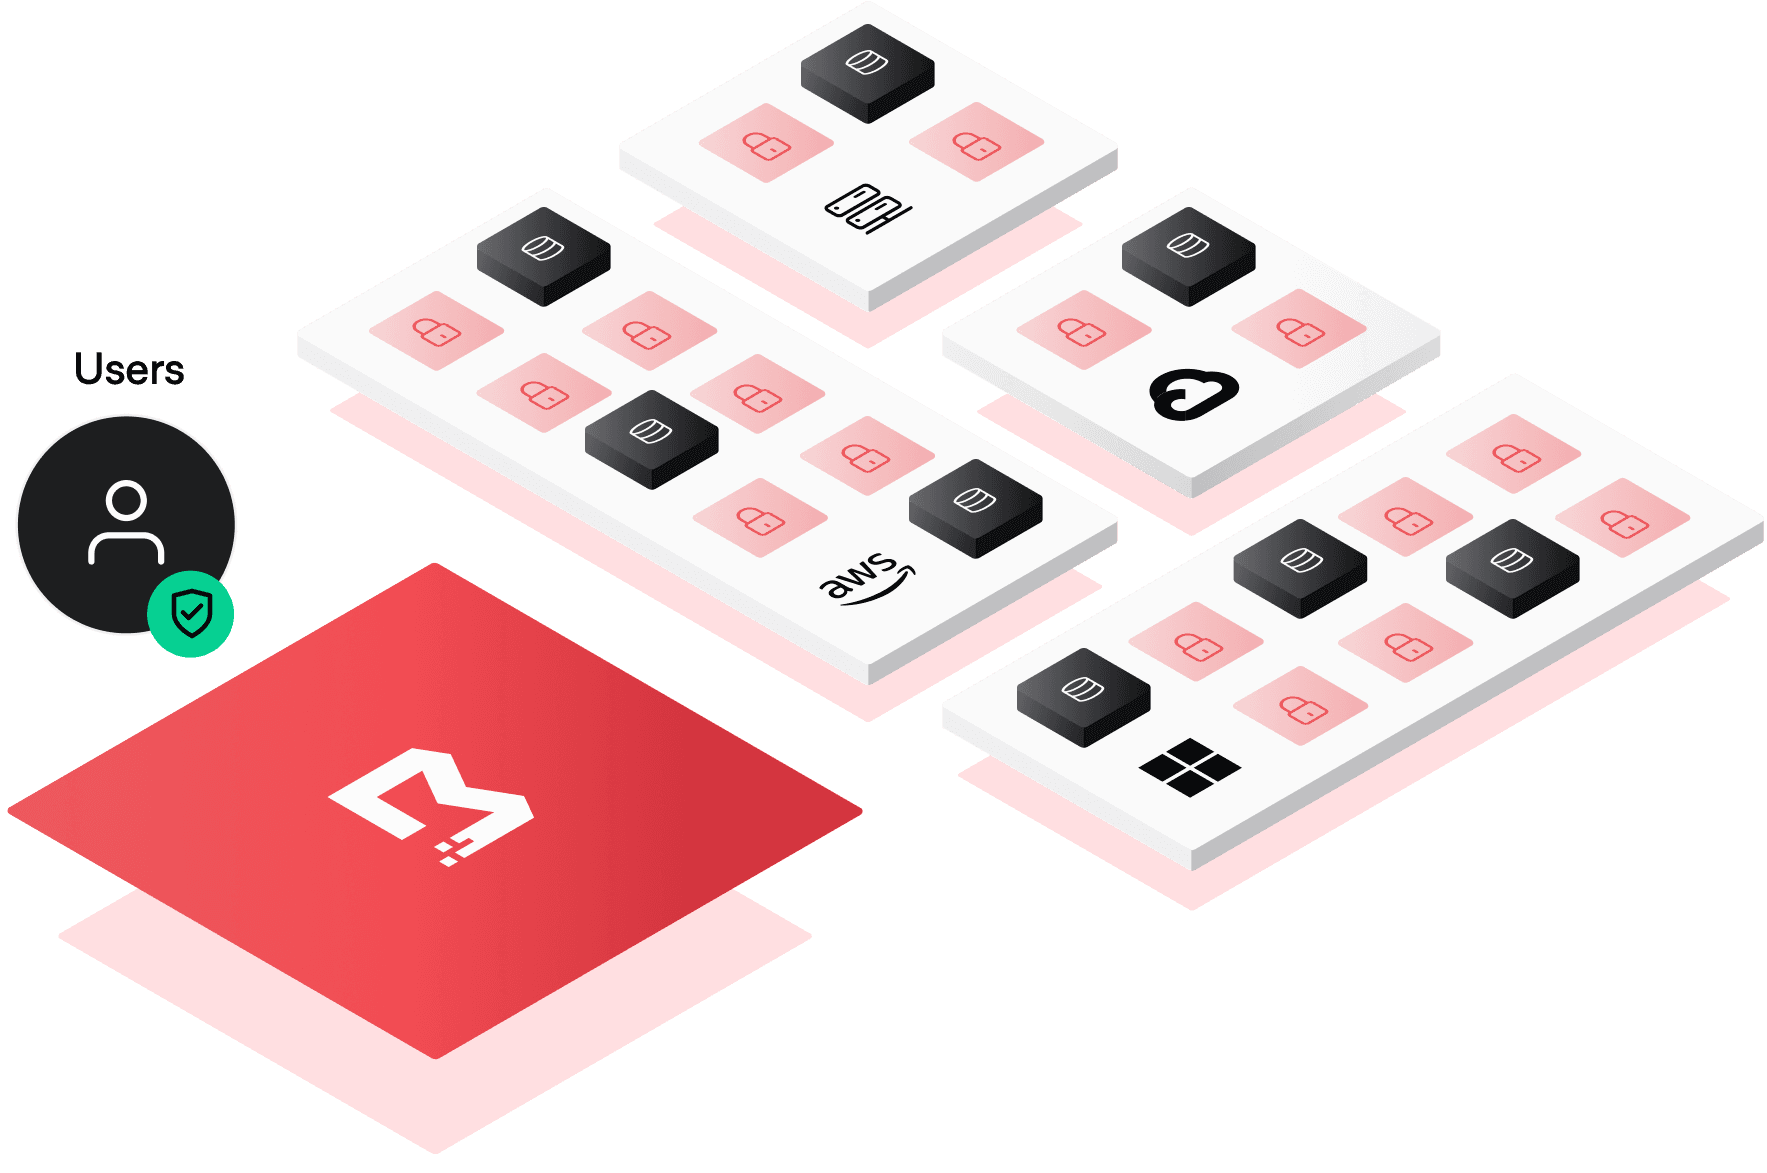
Boundary enables identity-based access management for dynamic infrastructure.
Top Related Projects

The easiest, and most secure way to access and protect all of your infrastructure.

Enterprise VPN server

Cloudflare Tunnel client (formerly Argo Tunnel)

Pomerium is an identity and context-aware access proxy.

A reverse proxy that provides authentication with Google, Azure, OpenID Connect and many more identity providers.

The Single Sign-On Multi-Factor portal for web apps, now OpenID Certified™
Quick Overview
Boundary is an open-source project by HashiCorp that provides secure access to applications and critical systems with fine-grained authorization. It enables organizations to manage access across different environments, clouds, and protocols without exposing the underlying network. Boundary offers a modern approach to secure remote access and identity-based access management.
Pros
- Centralized access control and management for various resources
- Fine-grained authorization and just-in-time access
- Supports multiple authentication methods and identity providers
- Scalable and designed for dynamic environments
Cons
- Relatively new project, still evolving and maturing
- Steeper learning curve compared to traditional VPN solutions
- Limited integrations with third-party tools and services
- Requires careful planning and setup for complex environments
Getting Started
To get started with Boundary, follow these steps:
-
Install Boundary:
wget https://releases.hashicorp.com/boundary/0.12.2/boundary_0.12.2_linux_amd64.zip unzip boundary_0.12.2_linux_amd64.zip sudo mv boundary /usr/local/bin/ -
Start Boundary in dev mode:
boundary dev -
Access the admin console: Open a web browser and navigate to
http://127.0.0.1:9200 -
Use the provided login credentials to access the admin interface and start configuring your resources and access policies.
For production deployments, refer to the official documentation for more detailed setup instructions and best practices.
Competitor Comparisons
The easiest, and most secure way to access and protect all of your infrastructure.
Pros of Teleport
- More mature project with a larger community and wider adoption
- Supports a broader range of protocols (SSH, Kubernetes, databases, web apps)
- Offers advanced features like session recording and playback
Cons of Teleport
- More complex setup and configuration process
- Steeper learning curve for new users
- May be overkill for simpler use cases or smaller organizations
Code Comparison
Teleport configuration example:
teleport:
  nodename: example-node
  data_dir: /var/lib/teleport
  auth_token: secret-token-value
  auth_servers:
    - auth.example.com:3025
Boundary configuration example:
controller {
  name = "demo-controller"
  database {
    url = "postgresql://boundary:boundary@localhost/boundary"
  }
  public_cluster_addr = "boundary.example.com"
}
Both projects aim to provide secure access to infrastructure, but Teleport offers a more comprehensive solution with support for multiple protocols and advanced features. Boundary, being newer, focuses on simplicity and ease of use, making it potentially more suitable for organizations with specific access control needs or those just starting to implement zero trust security models.
Enterprise VPN server
Pros of Pritunl
- Easier setup and configuration for small to medium-sized organizations
- Built-in user management and authentication system
- Supports both OpenVPN and WireGuard protocols
Cons of Pritunl
- Less scalable for large enterprise environments
- Limited integration with external identity providers compared to Boundary
- Fewer advanced access control features
Code Comparison
Pritunl (Python):
@app.app.route('/user/<user_id>', methods=['PUT'])
@auth.session_auth
def user_put(user_id):
    user = User(user_id)
    user.commit()
    return utils.jsonify(user.dict())
Boundary (Go):
func (s *Service) CreateUser(ctx context.Context, req *pbs.CreateUserRequest) (*pbs.CreateUserResponse, error) {
    user, err := s.createUser(ctx, req.GetItem())
    if err != nil {
        return nil, err
    }
    return &pbs.CreateUserResponse{Item: user}, nil
}
Both repositories focus on secure access management, but they target different use cases. Pritunl is more suitable for smaller organizations looking for a straightforward VPN solution, while Boundary is designed for larger enterprises requiring fine-grained access control and integration with existing infrastructure. Pritunl's code is primarily in Python, making it more accessible for quick customizations, while Boundary uses Go, which offers better performance and concurrency for large-scale deployments.
Cloudflare Tunnel client (formerly Argo Tunnel)
Pros of cloudflared
- Simpler setup and configuration for quick deployment
- Integrated with Cloudflare's ecosystem, offering additional security features
- Supports a wider range of protocols, including TCP, UDP, and HTTP/HTTPS
Cons of cloudflared
- Limited to Cloudflare's infrastructure, potentially less flexible for custom setups
- May have higher latency for non-Cloudflare users or in certain geographic regions
- Less granular access control compared to Boundary's fine-grained permissions
Code Comparison
Boundary configuration example:
resource "boundary_host_catalog_static" "example" {
  name        = "example_catalog"
  description = "My first static host catalog"
  scope_id    = boundary_scope.project.id
}
cloudflared configuration example:
tunnel: example-tunnel
credentials-file: /path/to/credentials.json
ingress:
  - hostname: example.com
    service: http://localhost:8000
Both projects aim to provide secure access to resources, but they approach the problem differently. Boundary focuses on providing a comprehensive identity-aware access management solution, while cloudflared is designed to integrate seamlessly with Cloudflare's ecosystem for quick and easy tunneling capabilities.
Pomerium is an identity and context-aware access proxy.
Pros of Pomerium
- More comprehensive identity-aware access proxy, offering additional features like SSO and user authentication
- Better suited for cloud-native environments and microservices architectures
- Provides built-in web UI for easier management and configuration
Cons of Pomerium
- Steeper learning curve due to more complex configuration options
- May be overkill for simpler access control scenarios
- Less focus on traditional network-based access control compared to Boundary
Code Comparison
Pomerium configuration example:
authenticate:
  idp_provider: "google"
  idp_client_id: "REPLACE_ME"
  idp_client_secret: "REPLACE_ME"

authorize:
  policy:
    - from: "https://intranet.example.com"
      to: "http://internal-app.example.com"
      allow_any_authenticated_user: true
Boundary configuration example:
resource "boundary_scope" "org" {
  name                     = "organization"
  description              = "Organization scope"
  scope_id                 = "global"
  auto_create_admin_role   = true
  auto_create_default_role = true
}

resource "boundary_host_catalog" "static" {
  name        = "static catalog"
  description = "Static host catalog"
  type        = "static"
  scope_id    = boundary_scope.org.id
}
Both projects aim to provide secure access control, but Pomerium focuses more on identity-aware access proxy capabilities, while Boundary emphasizes traditional network-based access control with a modern approach.
A reverse proxy that provides authentication with Google, Azure, OpenID Connect and many more identity providers.
Pros of OAuth2 Proxy
- Lightweight and easy to deploy as a single binary
- Supports a wide range of OAuth2 providers out-of-the-box
- Can be used as a reverse proxy for various applications without modification
Cons of OAuth2 Proxy
- Limited to OAuth2 authentication, lacking more advanced access control features
- Requires additional configuration for complex setups or custom providers
- Less integrated with other infrastructure management tools
Code Comparison
OAuth2 Proxy configuration example:
providers:
  - provider: github
    client_id: <client_id>
    client_secret: <client_secret>
    scope: user:email
Boundary configuration example:
resource "boundary_auth_method_oidc" "github" {
  name        = "GitHub Auth"
  description = "OIDC auth method for GitHub"
  issuer      = "https://token.actions.githubusercontent.com"
  client_id   = "<client_id>"
  client_secret = "<client_secret>"
  signing_algorithms = ["RS256"]
}
Both projects provide authentication solutions, but Boundary offers a more comprehensive access management platform with additional features for infrastructure and application access control. OAuth2 Proxy is more focused on providing a simple OAuth2 authentication layer for existing applications.
The Single Sign-On Multi-Factor portal for web apps, now OpenID Certified™
Pros of Authelia
- Open-source and self-hosted, providing full control over authentication infrastructure
- Supports multiple authentication methods (2FA, U2F, TOTP) out of the box
- Integrates easily with existing infrastructure and reverse proxies
Cons of Authelia
- Requires more setup and configuration compared to Boundary's managed service approach
- May lack enterprise-level support and advanced features offered by HashiCorp
Code Comparison
Authelia configuration (YAML):
access_control:
  default_policy: deny
  rules:
    - domain: secure.example.com
      policy: two_factor
Boundary configuration (HCL):
resource "boundary_auth_method_password" "password" {
  name        = "org_password_auth"
  description = "Password auth method for org"
  scope_id    = boundary_scope.org.id
}
Both projects focus on access control and authentication, but their approaches differ. Authelia is a comprehensive authentication and authorization server, while Boundary is more focused on secure access to systems and applications. Authelia may be better suited for smaller, self-hosted environments, while Boundary offers a more scalable, enterprise-oriented solution with features like dynamic host catalogs and fine-grained access controls.
Convert  designs to code with AI

Introducing Visual Copilot: A new AI model to turn Figma designs to high quality code using your components.
Try Visual CopilotREADME
Boundary
- What is Boundary: https://developer.hashicorp.com/boundary/docs/overview/what-is-boundary
- Website: https://www.boundaryproject.io/
- Forums: HashiCorp Discuss
- Documentation: https://boundaryproject.io/docs
- Tutorials: HashiCorp's Learn Platform

Boundary is an identity-aware proxy that provides a simple, secure way to access hosts and critical systems on your network.
With Boundary you can:
- Integrate with your IdP of choice using OpenID Connect, enabling users to securely sign-in to their Boundary environment
- Provide just-in-time network access to network resources, wherever they reside
- Manage session credentials via a native static credential store, or dynamically generate unique per-session credentials by integrating with HashiCorp Vault
- Automate discovery of new endpoints
- Manage privileged sessions using Boundaryâs session controls
- Standardize your team's access workflow with a consistent experience for any type of infrastructure across any provider
Boundary is designed to be straightforward to understand, highly scalable, and resilient. It can run in clouds, on-prem, secure enclaves and more, and does not require an agent to be installed on every end host, making it suitable for access to managed/cloud services and container-based workflows in addition to traditional host systems and services.
For more information, refer to "What is Boundary?" on the Boundary website.
Getting Started
Boundary consists of two server components:
- Controller, which serves the API and coordinate session requests
- Workers, which perform session handling
A real-world Boundary installation will likely consist of one or more controllers paired with one or more workers. A single Boundary binary can act in either, or both, of these two modes.
Additionally, Boundary provides a Desktop client and CLI for end-users to request and establish authorized sessions to resources across a network.

Boundary does not require software to be installed on your hosts and services.
Requirements
Boundary has two external dependencies:
- A SQL database
- At least one KMS
SQL database
The database contains Boundary's configuration and session information. The controller nodes must be able to access the database.
Values that are secrets (e.g credentials) are encrypted in the database. Currently, PostgreSQL is supported as a database and has been tested with Postgres 12 and above.
Boundary uses only common extensions and both hosted and self-managed instances are supported. In most instances, all that you need is a database endpoint and the appropriate credentials.
KMS
Boundary uses KMS keys for various purposes, such as protecting secrets, authenticating workers, recovering data, encrypting values in Boundaryâs configuration, and more. Boundary uses key derivation extensively to avoid key sprawl of these high-value keys.
You can use any cloud KMS or Vault's Transit Secrets Engine to satisfy the KMS requirement.
Trying out Boundary
Running Boundary in a more permanent context requires a few more steps, such as writing some simple configuration files to tell the nodes how to reach their database and KMS. The steps below, along with the extra information needed for permanent installations, are detailed in our Installation Guide.
â ï¸ Do not use the
mainbranch except for dev or test cases. Boundary 0.10 introduced release branches which should be safe to track, however, migrations inmainmay be renumbered if needed. The Boundary team will not be able to provide assistance if runningmainover the long term results in migration breakages or other bugs.
Download and Run from Release Page
Download the latest release of the server binary and appropriate desktop client(s) from our downloads page
Quickstart with Boundary Dev
Boundary has a dev mode that you can use for testing. In dev mode, you can start both a
controller and worker with a single command, and they have the
following properties:
- The controller starts a PostgreSQL Docker container to use as storage. This container will be shut down and removed, if possible, when the controller is shut down gracefully.
- The controller uses an internal KMS with ephemeral keys
Building from Source
If you meet the following local requirements, you can quickly get up and running with Boundary:
- Go v1.21 or greater
- Docker
- Either the Boundary UI dependencies for locally building the ui assets or gh cli for downloading pre-built ui assets.
Simply run:
make install
This will build Boundary. (The first time this is run it will fetch and compile
UI assets; which will take a few extra minutes.) Once complete, run Boundary in
dev mode:
$GOPATH/bin/boundary dev
Please note that development may require other tools; to install the set of tools at the versions used by the Boundary team, run:
make tools
Without doing so, you may encounter errors while running make install. It is important
to also note that using make tools will install various tools used for Boundary
development to the normal Go binary directory; this may overwrite or take precedence
over tools that might already be installed on the system.
Start Boundary
Start the server binary with:
boundary dev
This will start a Controller service listening on http://127.0.0.1:9200 for
incoming API requests and a Worker service listening on http://127.0.0.1:9202
for incoming session requests. It will also create various default resources and
display various useful pieces of information, such as a login name and password
that can be used to authenticate.
Configuring Resources
For a simple test of Boundary in dev mode you don't generally need to
configure any resources at all! But it's useful to understand what dev mode
did for you so you can then take further steps. By default, dev mode will
create:
- The
globalScope for initial authentication, containing a Password-type Auth Method, along with an Account for login. - An organization Scope under
global, and a project Scope inside the organization. - A Host Catalog with a default Host Set, which itself contains a Host with the
address of the local machine (
127.0.0.1) - A Target mapping the Host Set to a set of connection parameters, with a
default port of
22(e.g. SSH)
You can go into Boundary's web UI or use its API to change these default values, for instance if you want to connect to a different host or need to modify the port on which to connect.
Making the Connection
Next, let's actually make a connection to your local SSH daemon via Boundary:
- Authenticate to Boundary; using default
devvalues, this would beboundary authenticate password -auth-method-id ampw_1234567890 -login-name admin -password password. (Note that if you do not include thepasswordflag you will be prompted for it.) - Run
boundary connect ssh -target-id ttcp_1234567890. If you want to adjust the username, pass-username <name>to the command.
Check out the possibilities for target configuration to test out limiting (or increasing) the
number of connections per session or setting a maximum time limit; try canceling
an active session from the sessions page or via boundary sessions, make your
own commands with boundary connect -exec, and so on.
Going Further
This example is a simple way to get started but omits several key steps that could be taken in a production context:
- Using a firewall or other means to restrict the set of hosts allowed to connect to a local service to only Boundary Worker nodes, thereby making Boundary the only means of ingress to a host
- Using the Boundary Terraform provider to easily integrate Boundary with your existing code-based infrastructure
- Pointing a BI tool (PowerBI, Tableau, etc.) at Boundary's data warehouse to generate insights and look for anomalies with respect to session access
Please note: We take Boundary's security and our users' trust very seriously. If you believe you have found a security issue in Boundary, please responsibly disclose by contacting us at security@hashicorp.com.
Contributing
Thank you for your interest in contributing! Please refer to CONTRIBUTING.md for guidance.
Top Related Projects
The easiest, and most secure way to access and protect all of your infrastructure.
Enterprise VPN server
Cloudflare Tunnel client (formerly Argo Tunnel)
Pomerium is an identity and context-aware access proxy.
A reverse proxy that provides authentication with Google, Azure, OpenID Connect and many more identity providers.
The Single Sign-On Multi-Factor portal for web apps, now OpenID Certified™
Convert designs to code with AI
Introducing Visual Copilot: A new AI model to turn Figma designs to high quality code using your components.
Try Visual Copilot