
Top Related Projects

Babylon.js is a powerful, beautiful, simple, and open game and rendering engine packed into a friendly JavaScript framework.

JavaScript 3D Library.

Cocos simplifies game creation and distribution with Cocos Creator, a free, open-source, cross-platform game engine. Empowering millions of developers to create high-performance, engaging 2D/3D games and instant web entertainment.

The HTML5 Creation Engine: Create beautiful digital content with the fastest, most flexible 2D WebGL renderer.

🇨🇭 A React renderer for Three.js
Quick Overview
PlayCanvas Engine is an open-source WebGL game engine. It provides a powerful and flexible framework for creating interactive 3D and 2D content that runs directly in web browsers, without the need for plugins.
Pros
- Cross-platform compatibility, running on desktop and mobile browsers
- Robust performance optimization for smooth gameplay
- Extensive documentation and active community support
- Built-in visual editor for easier game development
Cons
- Steeper learning curve compared to some other game engines
- Limited native platform support (primarily web-based)
- Smaller ecosystem of third-party assets compared to more established engines
Code Examples
Creating a basic 3D scene:
// Create a PlayCanvas application
const canvas = document.createElement('canvas');
document.body.appendChild(canvas);
const app = new pc.Application(canvas);

// Create a 3D box
const box = new pc.Entity('cube');
box.addComponent('render', {
    type: 'box'
});
app.root.addChild(box);

// Add a camera to the scene
const camera = new pc.Entity('camera');
camera.addComponent('camera', {
    clearColor: new pc.Color(0.1, 0.1, 0.1)
});
camera.translate(0, 0, 10);
app.root.addChild(camera);

// Start the application
app.start();
Adding user input:
// Create a script component for the box
box.addComponent('script');
box.script.create({
    name: 'rotate',
    update: function (dt) {
        this.entity.rotate(10 * dt, 20 * dt, 30 * dt);
    }
});

// Add mouse input to control the camera
app.mouse.on('mousemove', function (event) {
    camera.rotate(event.dy * 0.2, event.dx * 0.2, 0);
});
Loading and applying a texture:
// Load a texture
app.assets.loadFromUrl('texture.jpg', 'texture', function (err, asset) {
    if (!err) {
        // Create a material with the loaded texture
        const material = new pc.StandardMaterial();
        material.diffuseMap = asset.resource;
        material.update();

        // Apply the material to the box
        box.render.material = material;
    }
});
Getting Started
-
Include the PlayCanvas engine in your HTML:
<script src="https://code.playcanvas.com/playcanvas-stable.min.js"></script> -
Create a canvas element in your HTML:
<canvas id="application-canvas"></canvas> -
Initialize the PlayCanvas application in your JavaScript:
const canvas = document.getElementById('application-canvas'); const app = new pc.Application(canvas); // Your game logic here app.start(); -
Start building your 3D scene by adding entities, components, and scripts as shown in the code examples above.
Competitor Comparisons
Babylon.js is a powerful, beautiful, simple, and open game and rendering engine packed into a friendly JavaScript framework.
Pros of Babylon.js
- More comprehensive documentation and learning resources
- Larger community and ecosystem
- Better support for advanced rendering techniques and visual effects
Cons of Babylon.js
- Steeper learning curve for beginners
- Potentially higher performance overhead for simpler projects
- Less integrated with a complete game development framework
Code Comparison
Babylon.js:
const scene = new BABYLON.Scene(engine);
const camera = new BABYLON.FreeCamera("camera", new BABYLON.Vector3(0, 5, -10), scene);
const light = new BABYLON.HemisphericLight("light", new BABYLON.Vector3(0, 1, 0), scene);
const sphere = BABYLON.MeshBuilder.CreateSphere("sphere", {diameter: 2}, scene);
PlayCanvas engine:
const app = new pc.Application(canvas);
const camera = new pc.Entity("camera");
camera.addComponent("camera", { clearColor: new pc.Color(0.1, 0.1, 0.1) });
const light = new pc.Entity("light");
light.addComponent("light", { type: "directional" });
Both engines offer powerful 3D rendering capabilities, but Babylon.js tends to have more built-in features and a larger ecosystem. PlayCanvas engine is often praised for its simplicity and ease of use, especially for those new to 3D development. The code comparison shows that Babylon.js uses a more object-oriented approach, while PlayCanvas engine relies on an entity-component system.
JavaScript 3D Library.
Pros of Three.js
- Larger community and ecosystem, with more resources and third-party libraries
- More flexible and adaptable for various 3D use cases beyond gaming
- Extensive documentation and examples
Cons of Three.js
- Steeper learning curve for beginners
- Less optimized for game development specifically
- Requires more manual setup and configuration for complex projects
Code Comparison
Three.js:
const scene = new THREE.Scene();
const camera = new THREE.PerspectiveCamera(75, window.innerWidth / window.innerHeight, 0.1, 1000);
const renderer = new THREE.WebGLRenderer();
renderer.setSize(window.innerWidth, window.innerHeight);
document.body.appendChild(renderer.domElement);
PlayCanvas Engine:
const canvas = document.createElement('canvas');
const app = new pc.Application(canvas);
app.start();
const camera = new pc.Entity('camera');
camera.addComponent('camera', { clearColor: new pc.Color(0.1, 0.1, 0.1) });
app.root.addChild(camera);
Both Three.js and PlayCanvas Engine are powerful 3D libraries, but they cater to slightly different needs. Three.js offers more flexibility and a broader ecosystem, making it suitable for various 3D projects. PlayCanvas Engine, on the other hand, is more focused on game development and provides a more streamlined experience for that purpose. The code comparison shows that PlayCanvas Engine has a more opinionated structure, while Three.js requires more manual setup but offers greater control over the rendering process.
Cocos simplifies game creation and distribution with Cocos Creator, a free, open-source, cross-platform game engine. Empowering millions of developers to create high-performance, engaging 2D/3D games and instant web entertainment.
Pros of cocos-engine
- More comprehensive framework with built-in editor and asset pipeline
- Larger community and ecosystem with extensive documentation
- Better support for 2D game development
Cons of cocos-engine
- Steeper learning curve due to more complex architecture
- Potentially slower performance for 3D games compared to PlayCanvas
- Less flexible for custom rendering pipelines
Code Comparison
cocos-engine:
import { _decorator, Component, Node } from 'cc';
const { ccclass, property } = _decorator;

@ccclass('MyComponent')
export class MyComponent extends Component {
    start() {}
    update(deltaTime: number) {}
}
PlayCanvas engine:
var MyScript = pc.createScript('myScript');

MyScript.prototype.initialize = function() {};
MyScript.prototype.update = function(dt) {};

pc.registerScript(MyScript);
The code comparison shows that cocos-engine uses TypeScript with decorators for component definition, while PlayCanvas engine uses a more traditional JavaScript approach with prototype-based scripting. Cocos-engine's approach may be more familiar to developers coming from other modern frameworks, while PlayCanvas's method is simpler but potentially less type-safe.
Both engines offer powerful features for game development, with cocos-engine providing a more complete ecosystem and PlayCanvas focusing on performance and simplicity. The choice between them depends on project requirements and developer preferences.
The HTML5 Creation Engine: Create beautiful digital content with the fastest, most flexible 2D WebGL renderer.
Pros of PixiJS
- Lighter weight and faster for 2D rendering
- Extensive plugin ecosystem for additional functionality
- Easier learning curve for developers familiar with 2D graphics
Cons of PixiJS
- Limited 3D capabilities compared to PlayCanvas Engine
- Less suitable for complex, high-performance 3D games
- Smaller community and fewer resources for advanced game development
Code Comparison
PixiJS (2D rendering):
const app = new PIXI.Application();
document.body.appendChild(app.view);
const sprite = PIXI.Sprite.from('image.png');
app.stage.addChild(sprite);
app.ticker.add(() => sprite.rotation += 0.01);
PlayCanvas Engine (3D rendering):
const canvas = document.createElement('canvas');
const app = new pc.Application(canvas);
const box = new pc.Entity('cube');
box.addComponent('model', { type: 'box' });
app.root.addChild(box);
app.on('update', dt => box.rotate(10 * dt, 20 * dt, 30 * dt));
Both engines offer straightforward ways to create and manipulate objects, but PlayCanvas Engine's code reflects its 3D-oriented nature, while PixiJS focuses on 2D sprite manipulation.
🇨🇭 A React renderer for Three.js
Pros of react-three-fiber
- Seamless integration with React ecosystem and state management
- Declarative approach to 3D scene creation, leveraging JSX syntax
- Extensive community support and ecosystem of related libraries
Cons of react-three-fiber
- Steeper learning curve for developers unfamiliar with React
- Potentially lower performance for complex scenes compared to pure Three.js or PlayCanvas
- Limited built-in tools for game development compared to PlayCanvas engine
Code Comparison
react-three-fiber:
function Cube() {
  return (
    <mesh>
      <boxGeometry args={[1, 1, 1]} />
      <meshStandardMaterial color="hotpink" />
    </mesh>
  )
}
PlayCanvas engine:
var entity = new pc.Entity();
entity.addComponent('model', {
    type: 'box'
});
entity.addComponent('material', {
    diffuse: new pc.Color(1, 0.41, 0.71)
});
react-three-fiber uses a declarative, component-based approach within the React ecosystem, while PlayCanvas engine employs a more traditional, imperative style for creating 3D objects. The choice between the two depends on the project requirements, team expertise, and desired development workflow.
Convert  designs to code with AI

Introducing Visual Copilot: A new AI model to turn Figma designs to high quality code using your components.
Try Visual CopilotREADME
PlayCanvas Engine


| User Manual | API Reference | Examples | Blog | Forum |
PlayCanvas is an open-source game engine. It uses HTML5 and WebGL to run games and other interactive 3D content in any mobile or desktop browser.
English ä¸æ æ¥æ¬èª íê¸
Project Showcase
Many games and apps have been published using the PlayCanvas engine. Here is a small selection:

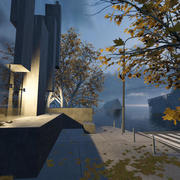


You can see more games on the PlayCanvas website.
Users
PlayCanvas is used by leading companies in video games, advertising and visualization such as:
Animech, Arm, BMW, Disney, Facebook, Famobi, Funday Factory, IGT, King, Miniclip, Leapfrog, Mojiworks, Mozilla, Nickelodeon, Nordeus, NOWWA, PikPok, PlaySide Studios, Polaris, Product Madness, Samsung, Snap, Spry Fox, Zeptolab, Zynga
Features
PlayCanvas is a fully-featured game engine.
- ð§ Graphics - Advanced 2D + 3D graphics engine built on WebGL2 & WebGPU
- ð Animation - Powerful state-based animations for characters and arbitrary scene properties
- âï¸ Physics - Full integration with 3D rigid-body physics engine ammo.js
- ð® Input - Mouse, keyboard, touch, gamepad and VR controller APIs
- ð Sound - 3D positional sounds built on the Web Audio API
- ð¦ Assets - Asynchronous streaming system built on glTF 2.0, Draco and Basis compression
- ð Scripts - Write game behaviors in Typescript or JavaScript
Usage
Here's a super-simple Hello World example - a spinning cube!
import * as pc from 'playcanvas';

const canvas = document.createElement('canvas');
document.body.appendChild(canvas);

const app = new pc.Application(canvas);

// fill the available space at full resolution
app.setCanvasFillMode(pc.FILLMODE_FILL_WINDOW);
app.setCanvasResolution(pc.RESOLUTION_AUTO);

// ensure canvas is resized when window changes size
window.addEventListener('resize', () => app.resizeCanvas());

// create box entity
const box = new pc.Entity('cube');
box.addComponent('model', {
  type: 'box'
});
app.root.addChild(box);

// create camera entity
const camera = new pc.Entity('camera');
camera.addComponent('camera', {
  clearColor: new pc.Color(0.1, 0.2, 0.3)
});
app.root.addChild(camera);
camera.setPosition(0, 0, 3);

// create directional light entity
const light = new pc.Entity('light');
light.addComponent('light');
app.root.addChild(light);
light.setEulerAngles(45, 0, 0);

// rotate the box according to the delta time since the last frame
app.on('update', dt => box.rotate(10 * dt, 20 * dt, 30 * dt));

app.start();
Want to play with the code yourself? Edit it on CodePen.
A full guide to setting up a local development environment based on the PlayCanvas Engine can be found here.
How to build
Ensure you have Node.js 18+ installed. Then, install all of the required Node.js dependencies:
npm install
Now you can run various build options:
| Command | Description | Outputs To |
|---|---|---|
npm run build | Build all engine flavors and type declarations | build |
npm run docs | Build engine API reference docs | docs |
PlayCanvas Editor
The PlayCanvas Engine is an open-source engine that you can use to create HTML5 apps/games. In addition to the engine, we also make the PlayCanvas Editor:
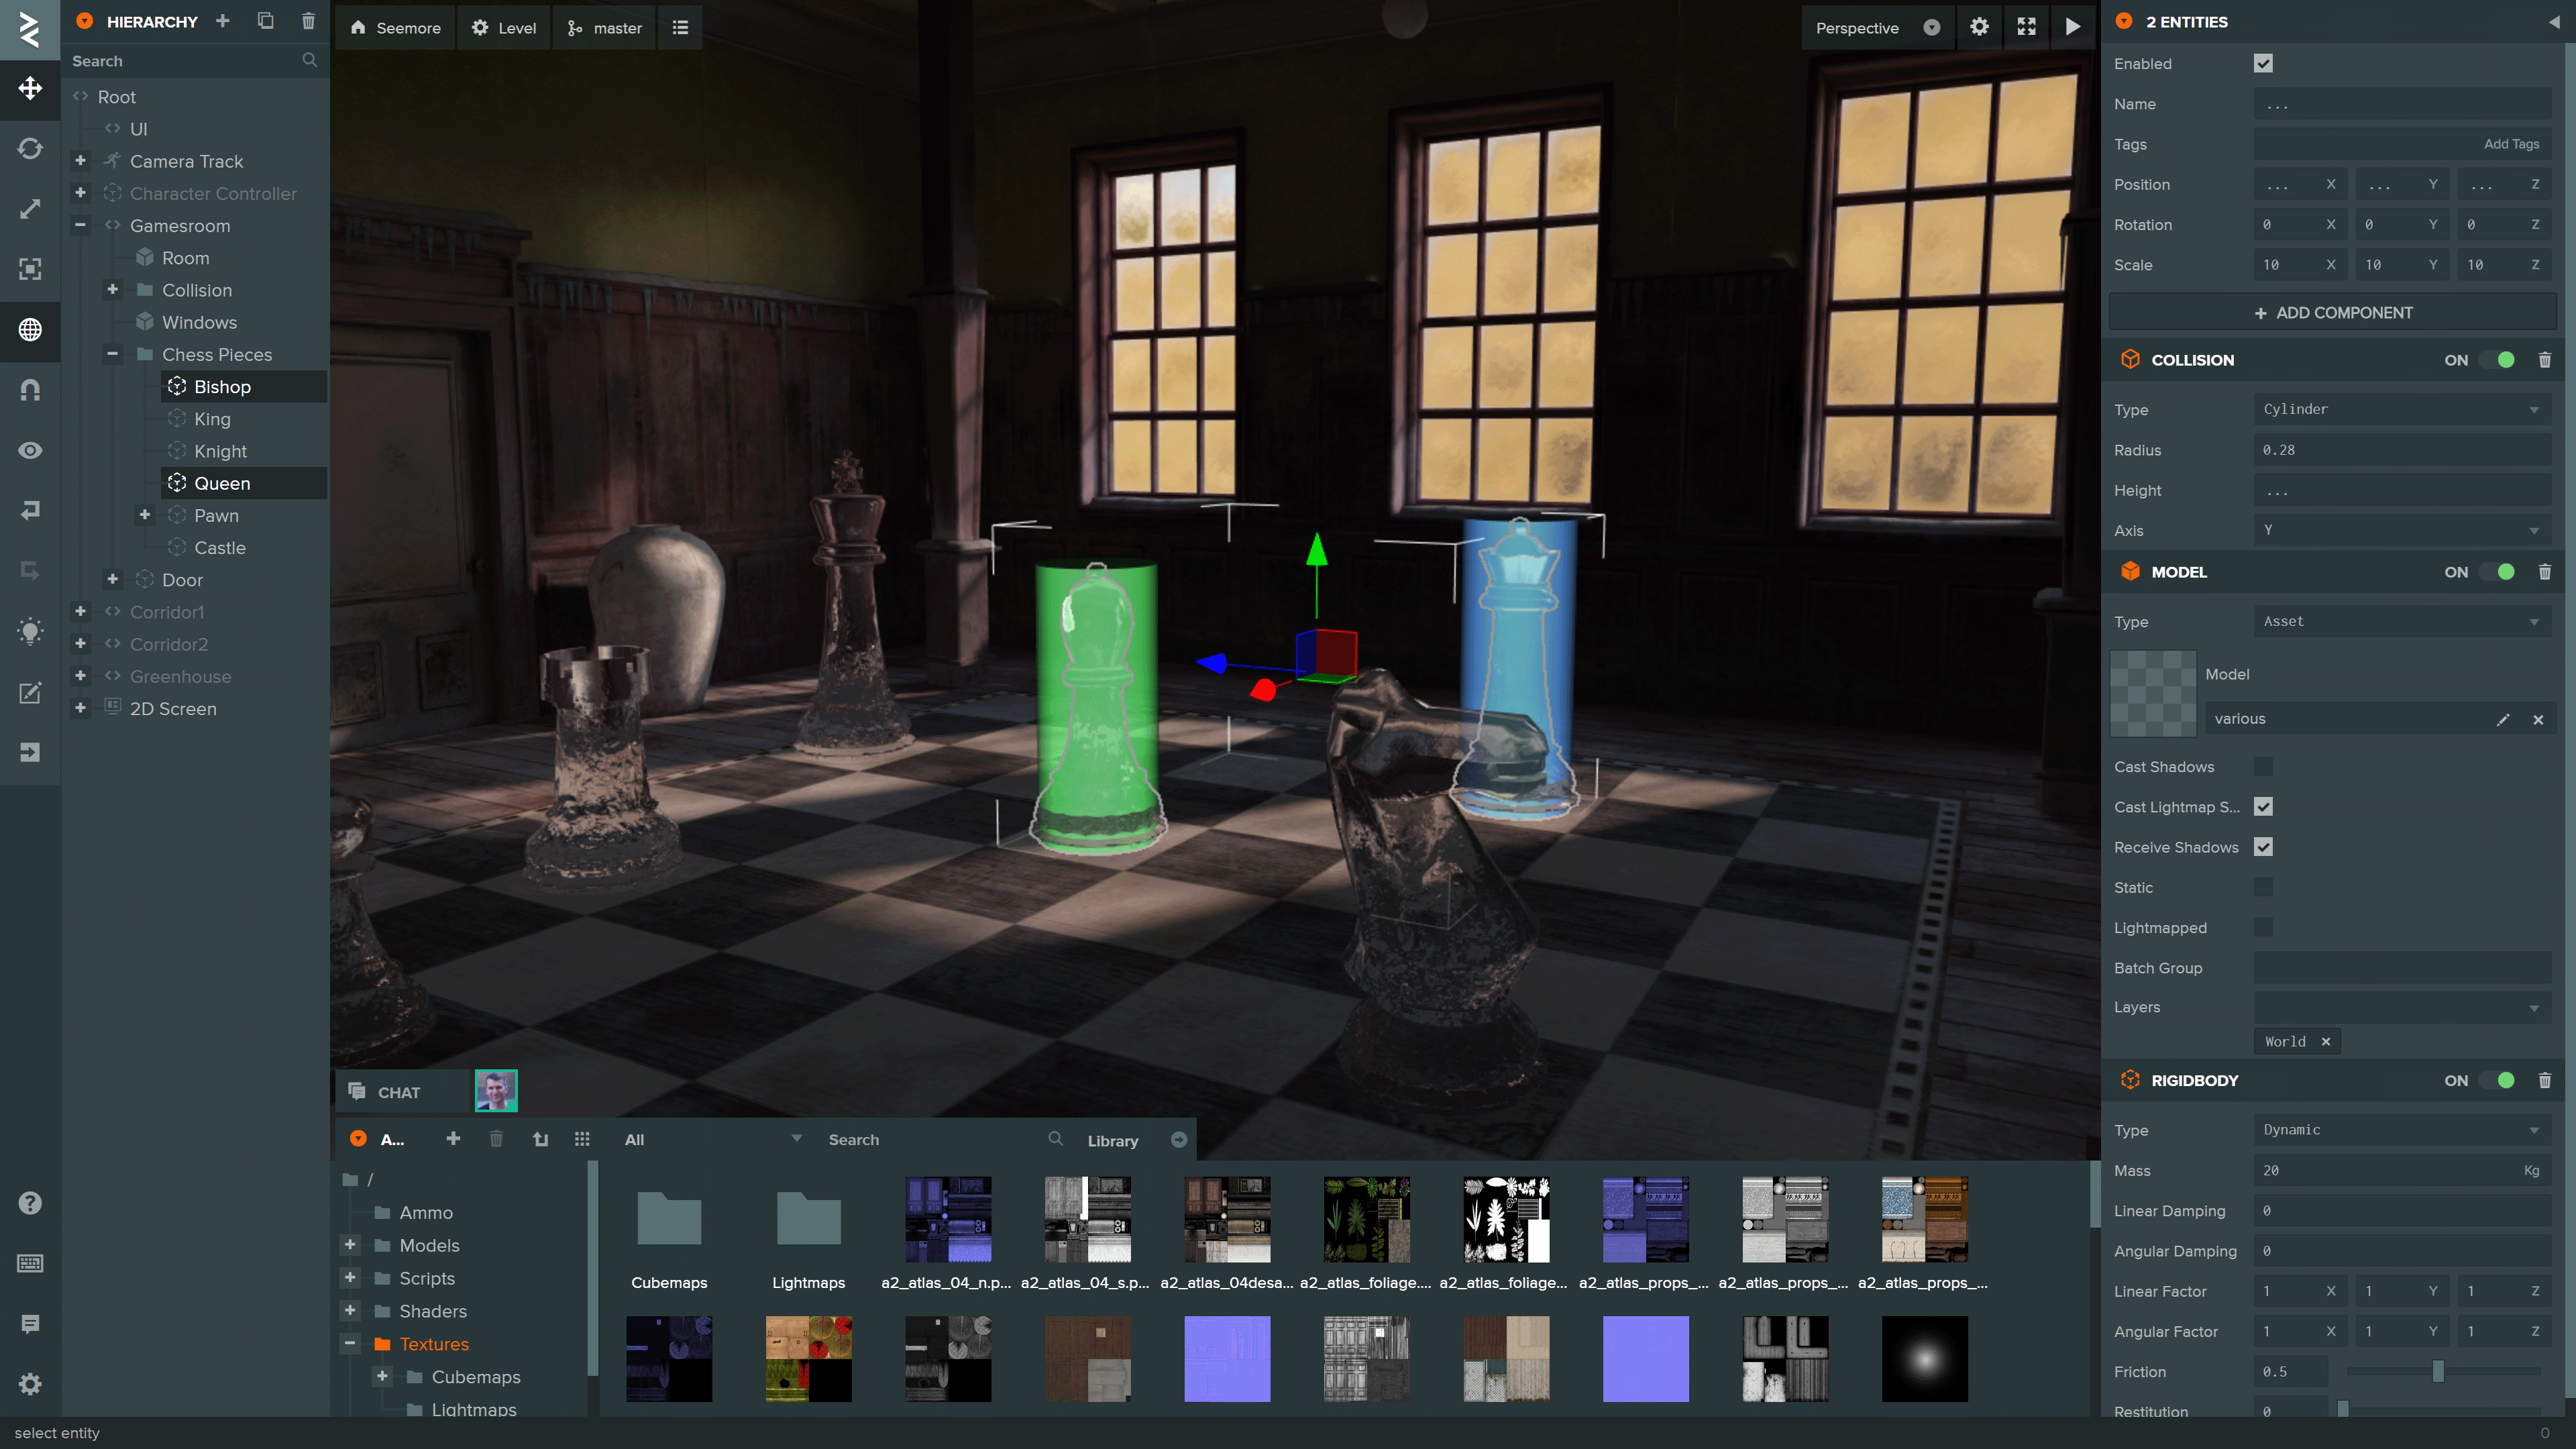
For Editor-related bugs and issues, please refer to the Editor's repo.
Top Related Projects
Babylon.js is a powerful, beautiful, simple, and open game and rendering engine packed into a friendly JavaScript framework.
JavaScript 3D Library.
Cocos simplifies game creation and distribution with Cocos Creator, a free, open-source, cross-platform game engine. Empowering millions of developers to create high-performance, engaging 2D/3D games and instant web entertainment.
The HTML5 Creation Engine: Create beautiful digital content with the fastest, most flexible 2D WebGL renderer.
🇨🇭 A React renderer for Three.js
Convert designs to code with AI
Introducing Visual Copilot: A new AI model to turn Figma designs to high quality code using your components.
Try Visual Copilot