
Top Related Projects

🎉 performant confetti animation in the browser

JavaScript animation engine

Animate on scroll library

Parallax Engine that reacts to the orientation of a smart device

A JavaScript Typing Animation Library

A lightweight JavaScript library for creating particles
Quick Overview
Rough Notation is a small JavaScript library for creating and animating annotations on web pages. It allows developers to add hand-drawn-like highlights, underlines, boxes, and other styles to elements, creating a unique and engaging visual effect for users.
Pros
- Easy to use with a simple API
- Lightweight and dependency-free
- Customizable with various annotation types and styles
- Supports animation and grouping of annotations
Cons
- Limited to basic annotation styles
- May not be suitable for complex or precise annotations
- Animations might be distracting in certain contexts
- Requires JavaScript to function, which may not be ideal for all use cases
Code Examples
- Creating a simple highlight annotation:
import { annotate } from 'rough-notation';

const element = document.querySelector('#highlight-me');
const annotation = annotate(element, { type: 'highlight', color: 'yellow' });
annotation.show();
- Animating multiple annotations in a group:
import { annotate, annotationGroup } from 'rough-notation';

const el1 = document.querySelector('#element1');
const el2 = document.querySelector('#element2');

const a1 = annotate(el1, { type: 'underline', color: 'red' });
const a2 = annotate(el2, { type: 'box', color: 'blue' });

const ag = annotationGroup([a1, a2]);
ag.show();
- Customizing annotation options:
import { annotate } from 'rough-notation';

const element = document.querySelector('#custom-annotation');
const annotation = annotate(element, {
  type: 'bracket',
  color: 'green',
  padding: 5,
  strokeWidth: 3,
  brackets: ['left', 'right']
});
annotation.show();
Getting Started
To use Rough Notation in your project, follow these steps:
-
Install the library using npm:
npm install rough-notation -
Import and use in your JavaScript file:
import { annotate } from 'rough-notation'; const element = document.querySelector('#my-element'); const annotation = annotate(element, { type: 'underline' }); annotation.show(); -
Make sure to include the JavaScript in your HTML file and target the desired elements for annotation.
Competitor Comparisons
🎉 performant confetti animation in the browser
Pros of canvas-confetti
- Lightweight and focused on a single effect (confetti animation)
- Easy to integrate with minimal setup
- Highly customizable with various options for confetti appearance and behavior
Cons of canvas-confetti
- Limited to confetti animations only, less versatile for other annotation types
- May require additional libraries for more complex UI interactions
- Less suitable for highlighting or annotating specific elements on a page
Code Comparison
rough-notation:
import { annotate } from 'rough-notation';
const element = document.querySelector('#myElement');
const annotation = annotate(element, { type: 'underline' });
annotation.show();
canvas-confetti:
import confetti from 'canvas-confetti';
confetti({
  particleCount: 100,
  spread: 70,
  origin: { y: 0.6 }
});
Both libraries offer simple APIs for their respective purposes. rough-notation focuses on annotating elements with various styles, while canvas-confetti provides a straightforward way to create confetti animations. The code examples demonstrate the ease of use for both libraries, with rough-notation requiring element selection and annotation type specification, and canvas-confetti allowing customization of the confetti effect through options.
JavaScript animation engine
Pros of anime
- More versatile animation library, capable of animating various CSS properties and SVG attributes
- Offers a wider range of easing functions and timeline controls
- Supports chaining and staggering animations for complex sequences
Cons of anime
- Larger file size and potentially higher performance overhead
- Steeper learning curve due to more extensive API and options
- May be overkill for simple annotation or highlighting tasks
Code Comparison
rough-notation:
import { annotate } from 'rough-notation';
const element = document.querySelector('#myElement');
const annotation = annotate(element, { type: 'underline' });
annotation.show();
anime:
import anime from 'animejs/lib/anime.es.js';
anime({
  targets: '#myElement',
  translateX: 250,
  rotate: '1turn',
  duration: 800
});
Summary
rough-notation is a lightweight library focused on creating hand-drawn-style annotations, while anime is a more comprehensive animation library. rough-notation excels in simplicity and specific use cases, whereas anime offers greater flexibility for various animation needs. The choice between the two depends on the project requirements and the complexity of desired animations.
Animate on scroll library
Pros of AOS
- More versatile, offering a wide range of animation effects for various elements
- Supports custom animations and easing functions
- Provides better performance for animating multiple elements simultaneously
Cons of AOS
- Larger file size and potentially higher impact on page load times
- More complex configuration options may require a steeper learning curve
- Less focused on specific annotation-style effects
Code Comparison
Rough Notation:
import { annotate } from 'rough-notation';
const annotation = annotate(element, { type: 'underline' });
annotation.show();
AOS:
<div data-aos="fade-up" data-aos-duration="1000">
  Animated content
</div>
import AOS from 'aos';
AOS.init();
Summary
While Rough Notation focuses on creating hand-drawn-style annotations, AOS offers a broader range of animation options for various web elements. Rough Notation is more lightweight and specialized, while AOS provides greater flexibility but with a larger footprint. The choice between the two depends on the specific animation needs of your project and the desired visual style.
Parallax Engine that reacts to the orientation of a smart device
Pros of Parallax
- Offers a more visually dynamic effect with depth and motion
- Supports multiple layers for creating complex parallax scenes
- Provides options for horizontal and vertical scrolling effects
Cons of Parallax
- More complex to implement and customize compared to simple annotations
- May impact page performance, especially with multiple layers or on mobile devices
- Less suitable for enhancing text-based content or highlighting specific elements
Code Comparison
Rough Notation:
import { annotate } from 'rough-notation';
const element = document.querySelector('#myElement');
const annotation = annotate(element, { type: 'underline' });
annotation.show();
Parallax:
$('.scene').parallax({
  scalarX: 2,
  scalarY: 8,
  frictionX: 0.2,
  frictionY: 0.8
});
Summary
While Rough Notation focuses on simple, customizable annotations for text and elements, Parallax offers more complex, visually engaging scrolling effects. Rough Notation is better suited for highlighting content and improving readability, while Parallax excels in creating immersive, depth-based visual experiences. The choice between the two depends on the specific needs of the project and the desired user experience.
A JavaScript Typing Animation Library
Pros of Typed.js
- More mature and established project with a larger user base
- Offers a wider range of typing effects and customization options
- Supports multiple strings and looping animations
Cons of Typed.js
- Larger file size and potentially higher performance overhead
- Limited to text-based animations, lacking visual annotation features
- May require more setup and configuration for complex scenarios
Code Comparison
Typed.js:
var typed = new Typed('#element', {
  strings: ['First sentence.', 'Second sentence.'],
  typeSpeed: 30
});
Rough Notation:
const annotation = RoughNotation.annotate(document.querySelector('#element'), {
  type: 'underline',
  color: 'red'
});
annotation.show();
Summary
Typed.js is a well-established library focused on creating typewriter-like effects for text, offering a wide range of customization options. It's ideal for projects requiring dynamic text animations.
Rough Notation, on the other hand, is a lightweight library designed for creating hand-drawn-style annotations and highlights on web pages. It's more suitable for projects that need visual emphasis on specific elements rather than text animations.
The choice between the two depends on the specific requirements of your project, with Typed.js excelling in text animations and Rough Notation offering unique visual annotation capabilities.
A lightweight JavaScript library for creating particles
Pros of particles.js
- Offers a wide range of customizable particle effects and animations
- Provides an interactive demo and configuration tool for easy setup
- Supports canvas and WebGL rendering for better performance
Cons of particles.js
- Larger file size and potentially higher resource usage
- May not be suitable for simpler annotation or highlighting tasks
- Less focused on text-related effects compared to rough-notation
Code Comparison
particles.js:
particlesJS("particles-js", {
  particles: {
    number: { value: 80, density: { enable: true, value_area: 800 } },
    color: { value: "#ffffff" },
    shape: { type: "circle" },
    // ... more configuration options
  }
});
rough-notation:
import { annotate } from 'rough-notation';

const element = document.querySelector('#myElement');
const annotation = annotate(element, { type: 'underline' });
annotation.show();
Summary
particles.js is a versatile library for creating particle-based animations and effects, offering extensive customization options. It's well-suited for creating dynamic backgrounds and interactive visual elements. On the other hand, rough-notation is more focused on text annotations and highlighting, providing a simpler API for adding hand-drawn-style effects to web content. While particles.js offers more complex animations, rough-notation excels in quick and easy text emphasis.
Convert  designs to code with AI

Introducing Visual Copilot: A new AI model to turn Figma designs to high quality code using your components.
Try Visual CopilotREADME
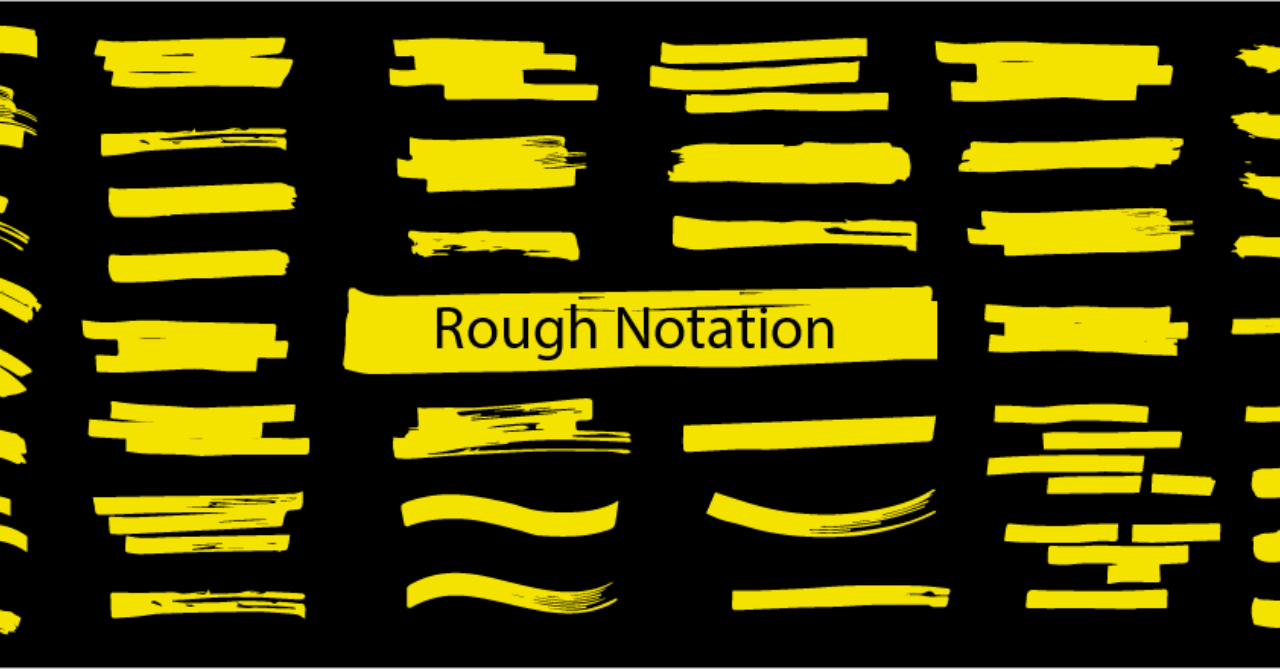
Rough Notation
A small JavaScript library to create and animate annotations on a web page.
Rough Notation uses RoughJS to create a hand-drawn look and feel. Elements can be annotated in a number of different styles. Animation duration can be configured, or just turned off.
Rough Notation is 3.83kb in size when gzipped.
Visit website to see it in action and check out the source code for the website
Installation
You can add rough-notation to your project via npm
npm install --save rough-notation
Or load the ES module directly
<script type="module" src="https://unpkg.com/rough-notation?module"></script>
Or load the IIFE version which created a RoughNotation object in your scope.
<script src="https://unpkg.com/rough-notation/lib/rough-notation.iife.js"></script>
Usage
Create an annotation object by passing the element to annotate, and a config to describe the annotation style.
Once you have the annotation object, you can call show() on it to show the annotation
import { annotate } from 'rough-notation';
// Or using unpkg
// import { annotate } from 'https://unpkg.com/rough-notation?module';

const e = document.querySelector('#myElement');
const annotation = annotate(e, { type: 'underline' });
annotation.show();
Note: This will add an SVG element as a sibling to the element, which may be troublesome in certain situations like in a <table>. You may want to create an inner <span> or <div> for the content to annotate.
Annotation Group
rough-notation provides a way to order the animation of annotations by creating an annotation-group. Pass the list of annotations to create a group. When show is called on the group, the annotations are animated in order.
import { annotate, annotationGroup } from 'rough-notation';

const a1 = annotate(document.querySelector('#e1'), { type: 'underline' });
const a2 = annotate(document.querySelector('#e3'), { type: 'box' });
const a3 = annotate(document.querySelector('#e3'), { type: 'circle' });

const ag = annotationGroup([a3, a1, a2]);
ag.show();
Live examples
I have created some basic examples on Glitch for you to remix and play with the code:
Configuring the Annotation
When you create an annotation object, you pass in a config. The config only has one mandatory field, which is the type of the annotation. But you can configure the annotation in many ways.
type
This is a mandatory field. It sets the annotation style. Following are the list of supported annotation types:
- underline: This style creates a sketchy underline below an element.
- box: This style draws a box around the element.
- circle: This style draws a circle around the element.
- highlight: This style creates a highlight effect as if marked by a highlighter.
- strike-through: This style draws horizontal lines through the element.
- crossed-off: This style draws an 'X' across the element.
- bracket: This style draws a bracket around an element, usually a paragraph of text. By default on the right side, but can be configured to any or all of left, right, top, bottom.
animate
Boolean property to turn on/off animation when annotating. Default value is true.
animationDuration
Duration of the animation in milliseconds. Default is 800ms.
color
String value representing the color of the annotation sketch. Default value is currentColor.
strokeWidth
Width of the annotation strokes. Default value is 1.
padding
Padding between the element and roughly where the annotation is drawn. Default value is 5 (in pixels).
If you wish to specify different top, left, right, bottom paddings, you can set the value to an array akin to CSS style padding [top, right, bottom, left] or just [top & bottom, left & right].
multiline
This property only applies to inline text. To annotate multiline text (each line separately), set this property to true.
iterations
By default annotations are drawn in two iterations, e.g. when underlining, drawing from left to right and then back from right to left. Setting this property can let you configure the number of iterations.
brackets
Value could be a string or an array of strings, each string being one of these values: left, right, top, bottom. When drawing a bracket, this configures which side(s) of the element to bracket. Default value is right.
rtl
By default annotations are drawn from left to right. To start with right to left, set this property to true.
Annotation Object
When you call the annotate function, you get back an annotation object, which has the following methods:
isShowing(): boolean
Returns if the annotation is showing
show()
Draws the annotation. If the annotation is set to animate (default), it will animate the drawing. If called again, it will re-render the annotation, updating any size or location changes.
*Note: to reanimate the annotation, call hide() and then show() again.
hide()
Hides the annotation if showing. This is not animated.
remove()
Unlinks the annotation from the element.
Updating styles
All the properties in the configuration are also exposed in this object. e.g. if you'd like to change the color, you can do that after the annotation has been drawn.
const e = document.querySelector('#myElement');
const annotation = annotate(e, { type: 'underline', color: 'red' });
annotation.show();
annotation.color = 'green';
Note: the type of the annotation cannot be changed. Create a new annotation for that.
Annotation Group Object
When you call the annotationGroup function, you get back an annotation group object, which has the following methods:
show()
Draws all the annotations in order. If the annotation is set to animate (default), it will animate the drawing.
hide()
Hides all the annotations if showing. This is not animated.
Wrappers
Others have created handy Rough Notation wrappers for multiple libraries and frameworks:
- React Rough Notation
- Svelte Rough Notation
- Vue Rough Notation
- Web Component Rough Notation
- Angular Rough Notation
Contributors
Financial Contributors
Become a financial contributor and help us sustain our community. [Contribute]
Individuals

Organizations
Support this project with your organization. Your logo will show up here with a link to your website. [Contribute]
![]()
![]()
![]()
![]()
![]()
![]()
![]()
![]()
![]()
![]()
Top Related Projects
🎉 performant confetti animation in the browser
JavaScript animation engine
Animate on scroll library
Parallax Engine that reacts to the orientation of a smart device
A JavaScript Typing Animation Library
A lightweight JavaScript library for creating particles
Convert designs to code with AI
Introducing Visual Copilot: A new AI model to turn Figma designs to high quality code using your components.
Try Visual Copilot