 pytorch3d
PyTorch3D is FAIR's library of reusable components for deep learning with 3D data
Top Related Projects

A data generation pipeline for creating semi-realistic synthetic multi-object videos with rich annotations such as instance segmentation masks, depth maps, and optical flow.

A PyTorch Library for Accelerating 3D Deep Learning Research

This is the code for Deformable Neural Radiance Fields, a.k.a. Nerfies.
Detectron2 is a platform for object detection, segmentation and other visual recognition tasks.

TensorFlow Graphics: Differentiable Graphics Layers for TensorFlow
A Code Release for Mip-NeRF 360, Ref-NeRF, and RawNeRF
Quick Overview
PyTorch3D is a library for deep learning with 3D data, developed by Facebook Research. It provides efficient, reusable components for 3D computer vision research with PyTorch. The library includes a set of modular differentiable operators and loss functions for operating on 3D data structures.
Pros
- Seamless integration with PyTorch ecosystem
- Efficient GPU implementations for 3D operations
- Comprehensive set of differentiable 3D operators and loss functions
- Flexible and modular design for easy customization
Cons
- Steep learning curve for those new to 3D computer vision
- Limited documentation and examples compared to more established libraries
- Primarily focused on research applications, may not be suitable for all production environments
- Requires a good understanding of both PyTorch and 3D geometry concepts
Code Examples
- Loading and rendering a 3D mesh:
import torch
from pytorch3d.io import load_obj
from pytorch3d.structures import Meshes
from pytorch3d.renderer import Textures, look_at_view_transform, FoVPerspectiveCameras, RasterizationSettings, MeshRenderer, MeshRasterizer, SoftPhongShader, TexturesVertex

# Load mesh
verts, faces, _ = load_obj("path/to/model.obj")
verts = verts.unsqueeze(0)
faces = faces.verts_idx.unsqueeze(0)
textures = TexturesVertex(verts=torch.ones_like(verts))
mesh = Meshes(verts=verts, faces=faces, textures=textures)

# Set up renderer
R, T = look_at_view_transform(2.7, 0, 0)
cameras = FoVPerspectiveCameras(device=device, R=R, T=T)
raster_settings = RasterizationSettings(image_size=512, blur_radius=0.0, faces_per_pixel=1)
renderer = MeshRenderer(
    rasterizer=MeshRasterizer(cameras=cameras, raster_settings=raster_settings),
    shader=SoftPhongShader(device=device, cameras=cameras)
)

# Render
images = renderer(mesh)
- Performing differentiable mesh deformation:
import torch
from pytorch3d.ops import deform_mesh

# Define initial mesh and deformation
verts = torch.rand(1, 100, 3)
faces = torch.randint(100, (1, 200, 3))
deform = torch.rand(1, 100, 3, requires_grad=True)

# Perform differentiable deformation
new_verts = deform_mesh(verts, faces, deform)

# Compute loss and backpropagate
loss = new_verts.sum()
loss.backward()
- Computing chamfer distance between point clouds:
import torch
from pytorch3d.loss import chamfer_distance

# Define two point clouds
pc1 = torch.rand(1, 1000, 3)
pc2 = torch.rand(1, 800, 3)

# Compute chamfer distance
loss, _ = chamfer_distance(pc1, pc2)
Getting Started
To get started with PyTorch3D:
- Install PyTorch3D:
conda install pytorch3d -c pytorch3d
- Import required modules:
import torch
import pytorch3d
- Load a sample mesh and render it:
from pytorch3d.io import load_obj
from pytorch3d.structures import Meshes
from pytorch3d.renderer import Textures, look_at_view_transform, FoVPerspectiveCameras, RasterizationSettings, MeshRenderer, MeshRasterizer, SoftPhongShader, TexturesVertex

# Load mesh and set up renderer (see example 1 above)
# ...

# Render
images = renderer(mesh)
Competitor Comparisons
A data generation pipeline for creating semi-realistic synthetic multi-object videos with rich annotations such as instance segmentation masks, depth maps, and optical flow.
Pros of kubric
- More focused on 3D scene generation and rendering
- Supports multiple rendering backends (Blender, OpenGL)
- Better suited for creating synthetic datasets for computer vision tasks
Cons of kubric
- Less integrated with deep learning frameworks
- Narrower scope, primarily for scene generation rather than 3D deep learning
- Steeper learning curve for users not familiar with 3D modeling concepts
Code Comparison
kubric:
import kubric as kb

scene = kb.Scene(resolution=(256, 256))
cube = kb.Cube(name="cube", scale=(1, 1, 1))
scene.add(cube)
kb.render(scene)
pytorch3d:
import torch
from pytorch3d.structures import Meshes
from pytorch3d.renderer import Textures

verts = torch.rand(1, 8, 3)
faces = torch.tensor([[[0, 1, 2], [2, 3, 0]]])
mesh = Meshes(verts=verts, faces=faces)
Summary
While kubric excels in 3D scene generation and rendering for synthetic datasets, pytorch3d is more tightly integrated with deep learning workflows and offers a broader range of 3D deep learning tools. kubric provides more flexibility in rendering backends, but pytorch3d's integration with PyTorch makes it more accessible for researchers already working with deep learning frameworks.
A PyTorch Library for Accelerating 3D Deep Learning Research
Pros of Kaolin
- More extensive support for 3D data structures and operations
- Better integration with NVIDIA hardware and CUDA acceleration
- Stronger focus on real-time rendering and game development applications
Cons of Kaolin
- Less comprehensive documentation compared to PyTorch3D
- Smaller community and fewer third-party resources
- More specialized, potentially less suitable for general 3D deep learning tasks
Code Comparison
PyTorch3D example:
import torch
from pytorch3d.structures import Meshes
from pytorch3d.ops import sample_points_from_meshes

verts = torch.randn(4, 100, 3)
faces = torch.randint(100, (4, 300, 3))
meshes = Meshes(verts=verts, faces=faces)
samples, normals = sample_points_from_meshes(meshes, num_samples=1000)
Kaolin example:
import kaolin as kal
import torch

vertices = torch.randn(4, 100, 3)
faces = torch.randint(100, (4, 300, 3))
mesh = kal.rep.TriangleMesh(vertices, faces)
samples, face_indices = kal.ops.mesh.sample_points(mesh, 1000)
Both libraries offer similar functionality for 3D operations, but with slightly different syntax and organization. PyTorch3D tends to have a more intuitive API for those familiar with PyTorch, while Kaolin provides more specialized tools for certain 3D tasks.
This is the code for Deformable Neural Radiance Fields, a.k.a. Nerfies.
Pros of Nerfies
- Specialized for dynamic scene reconstruction and novel view synthesis
- Focuses on deformable neural radiance fields for non-rigid scenes
- Provides a complete pipeline for capturing and rendering dynamic 3D scenes
Cons of Nerfies
- Limited to specific use case of dynamic scene reconstruction
- Less versatile for general 3D computer vision tasks
- Smaller community and fewer resources compared to PyTorch3D
Code Comparison
PyTorch3D example:
import torch
from pytorch3d.structures import Meshes
from pytorch3d.renderer import Textures

verts = torch.randn(4, 3)
faces = torch.tensor([[0, 1, 2], [0, 2, 3]])
mesh = Meshes(verts=[verts], faces=[faces])
Nerfies example:
import jax.numpy as jnp
from nerfies import models

model = models.NerfModel(num_coarse_samples=64, num_fine_samples=128)
rays = jnp.ones((32, 8))
rgb, depth, weights = model(rays)
Summary
PyTorch3D is a more general-purpose 3D deep learning library with a broader range of applications, while Nerfies is specialized for dynamic scene reconstruction using neural radiance fields. PyTorch3D offers more flexibility for various 3D vision tasks, whereas Nerfies excels in its specific domain of capturing and rendering non-rigid scenes.
Detectron2 is a platform for object detection, segmentation and other visual recognition tasks.
Pros of Detectron2
- More comprehensive computer vision toolkit, covering object detection, segmentation, and more
- Extensive documentation and tutorials for easier adoption
- Larger community and more frequent updates
Cons of Detectron2
- Steeper learning curve due to its broader scope
- Potentially heavier resource requirements for simpler tasks
Code Comparison
Detectron2:
from detectron2.engine import DefaultPredictor
from detectron2.config import get_cfg

cfg = get_cfg()
cfg.merge_from_file("path/to/config.yaml")
predictor = DefaultPredictor(cfg)
outputs = predictor(image)
PyTorch3D:
from pytorch3d.structures import Meshes
from pytorch3d.renderer import Textures

verts = ...  # vertex coordinates
faces = ...  # face indices
textures = Textures(verts_rgb=vertex_colors)
mesh = Meshes(verts=[verts], faces=[faces], textures=textures)
Summary
Detectron2 is a more comprehensive computer vision toolkit, while PyTorch3D focuses specifically on 3D deep learning. Detectron2 offers a wider range of functionalities but may be more complex for beginners. PyTorch3D provides specialized 3D operations and renderers, making it more suitable for 3D-specific tasks. The choice between the two depends on the specific requirements of your project and your familiarity with computer vision concepts.
TensorFlow Graphics: Differentiable Graphics Layers for TensorFlow
Pros of TensorFlow Graphics
- Broader ecosystem integration with TensorFlow and Keras
- More comprehensive documentation and tutorials
- Stronger support for non-Euclidean geometry and differential rendering
Cons of TensorFlow Graphics
- Less active development and community support
- Fewer pre-implemented 3D vision algorithms
- Steeper learning curve for those familiar with PyTorch
Code Comparison
PyTorch3D:
import torch
from pytorch3d.structures import Meshes
from pytorch3d.renderer import MeshRenderer

vertices = torch.rand(1, 100, 3)
faces = torch.randint(100, (1, 50, 3))
meshes = Meshes(verts=vertices, faces=faces)
TensorFlow Graphics:
import tensorflow as tf
import tensorflow_graphics as tfg

vertices = tf.random.uniform((1, 100, 3))
faces = tf.random.uniform((1, 50, 3), maxval=100, dtype=tf.int32)
mesh = tfg.geometry.representation.TriangleMesh(vertices, faces)
Both libraries provide similar functionality for 3D operations, but with syntax aligned to their respective deep learning frameworks. PyTorch3D tends to have more specialized 3D vision tools, while TensorFlow Graphics offers broader integration with TensorFlow's ecosystem.
A Code Release for Mip-NeRF 360, Ref-NeRF, and RawNeRF
Pros of mipNeRF
- Focuses specifically on neural radiance fields, offering advanced techniques like multi-scale representation
- Provides implementations of multiple NeRF variants, allowing for easy experimentation and comparison
- Designed for high-quality novel view synthesis and 3D scene reconstruction
Cons of mipNeRF
- More specialized and narrower in scope compared to PyTorch3D's broader 3D vision toolkit
- May have a steeper learning curve for those not familiar with NeRF concepts
- Less extensive documentation and community support compared to PyTorch3D
Code Comparison
mipNeRF:
config = config_flags.DEFINE_config_file('config', None, 'Path to config file.')
render_fn = jax.pmap(lambda *x: model.apply(*x), axis_name='batch')
rays, pixels = next(dataset)
out = render_fn(state.params, state.model_state, rays, FLAGS.randomized)
PyTorch3D:
meshes = load_objs_as_meshes(["path/to/obj"])
cameras = FoVPerspectiveCameras()
raster_settings = RasterizationSettings(image_size=512, blur_radius=0.0, faces_per_pixel=1)
renderer = MeshRenderer(rasterizer=MeshRasterizer(cameras=cameras, raster_settings=raster_settings),
                        shader=HardPhongShader(cameras=cameras))
Convert  designs to code with AI

Introducing Visual Copilot: A new AI model to turn Figma designs to high quality code using your components.
Try Visual CopilotREADME


Introduction
PyTorch3D provides efficient, reusable components for 3D Computer Vision research with PyTorch.
Key features include:
- Data structure for storing and manipulating triangle meshes
- Efficient operations on triangle meshes (projective transformations, graph convolution, sampling, loss functions)
- A differentiable mesh renderer
- Implicitron, see its README, a framework for new-view synthesis via implicit representations. (blog post)
PyTorch3D is designed to integrate smoothly with deep learning methods for predicting and manipulating 3D data. For this reason, all operators in PyTorch3D:
- Are implemented using PyTorch tensors
- Can handle minibatches of hetereogenous data
- Can be differentiated
- Can utilize GPUs for acceleration
Within FAIR, PyTorch3D has been used to power research projects such as Mesh R-CNN.
See our blog post to see more demos and learn about PyTorch3D.
Installation
For detailed instructions refer to INSTALL.md.
License
PyTorch3D is released under the BSD License.
Tutorials
Get started with PyTorch3D by trying one of the tutorial notebooks.
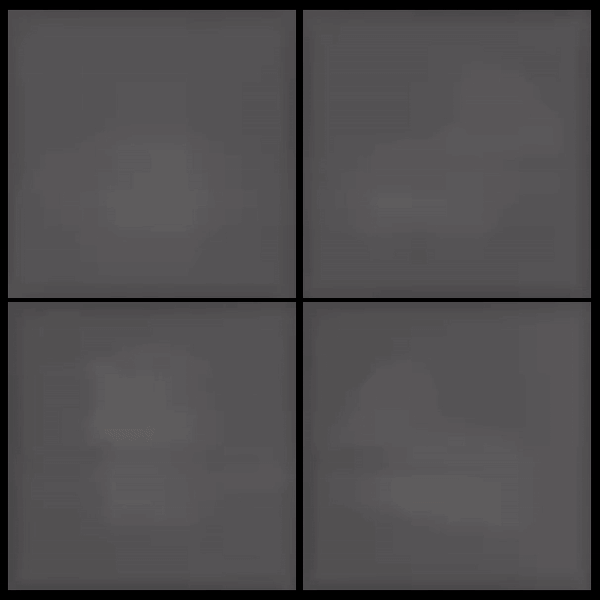
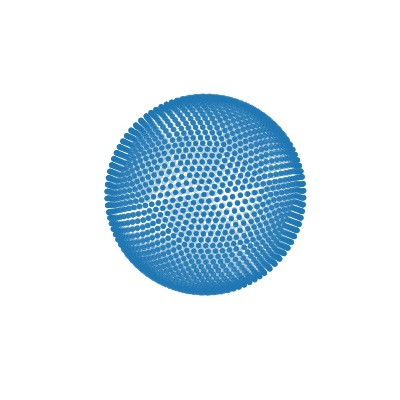 |  |
|---|---|
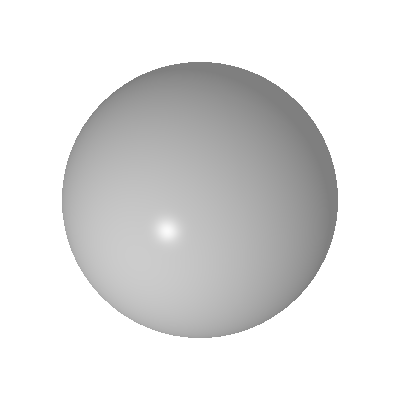
| Deform a sphere mesh to dolphin | Bundle adjustment |
 |  |
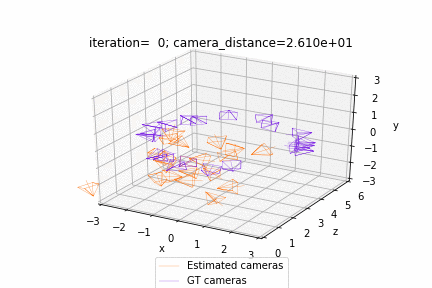
|---|---|
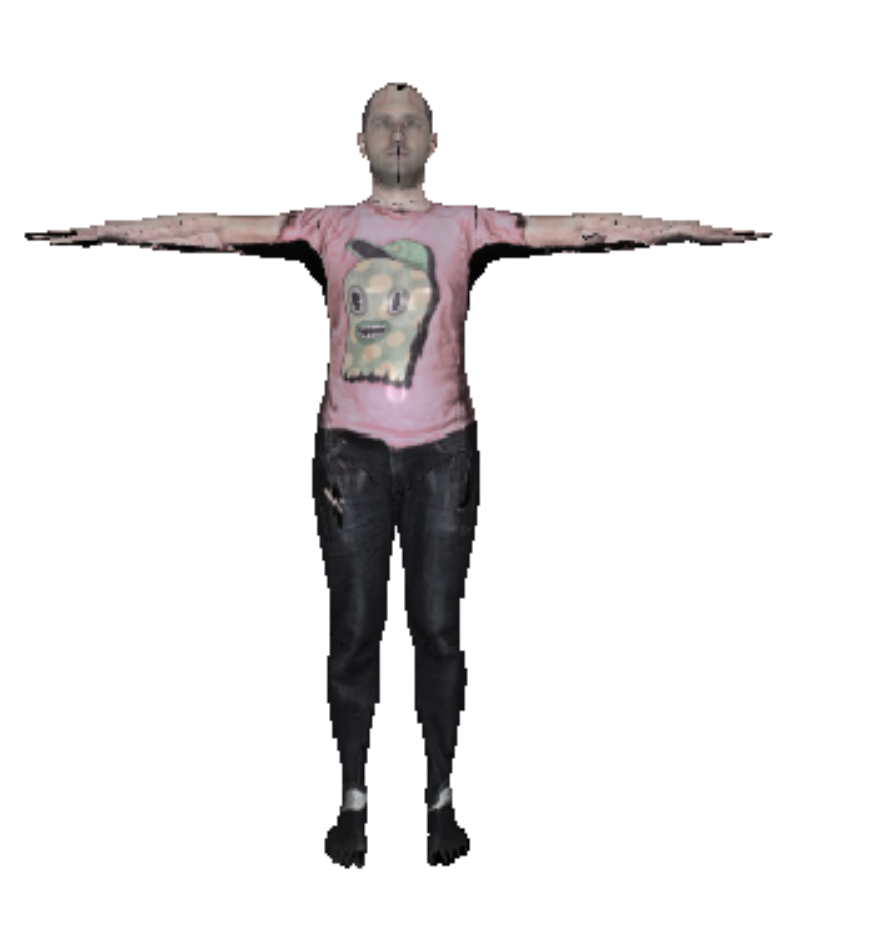
| Render textured meshes | Camera position optimization |
 |  |
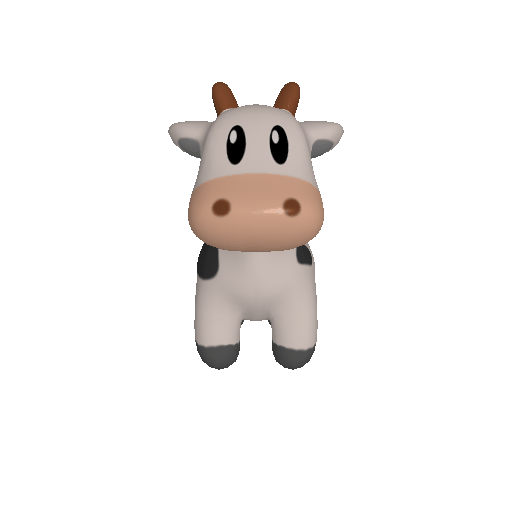
|---|---|
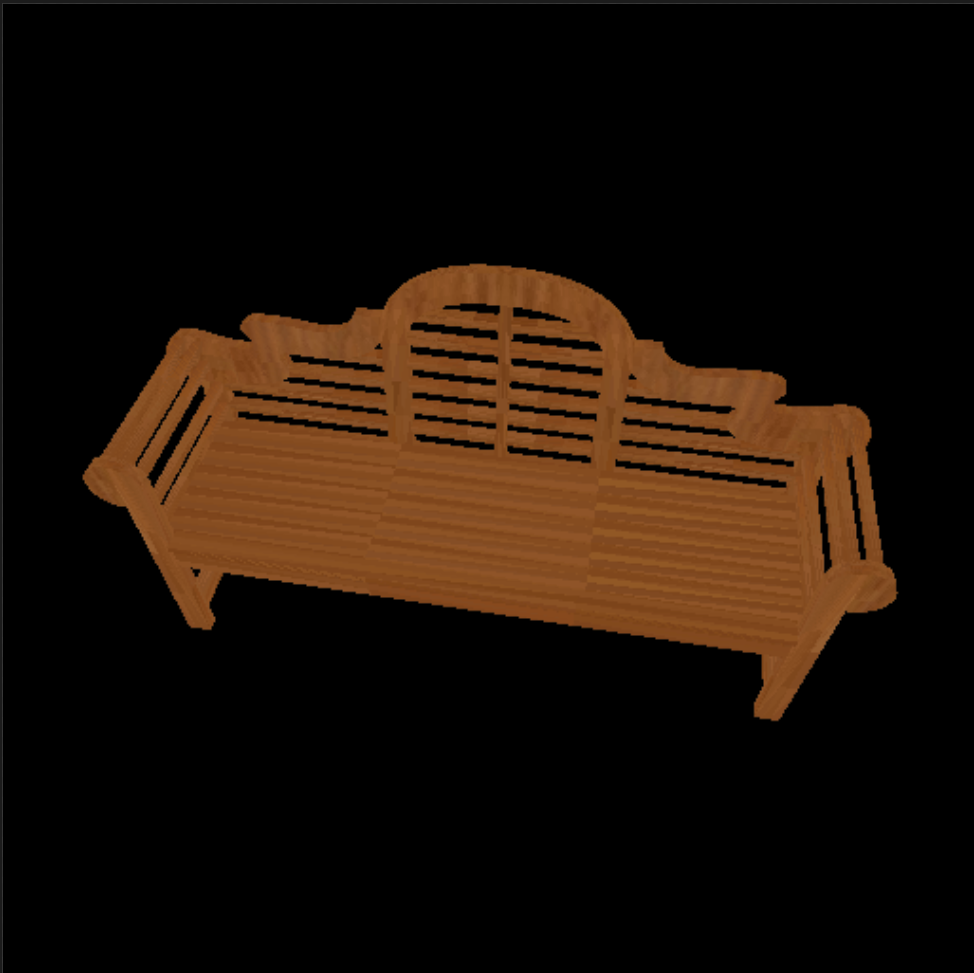
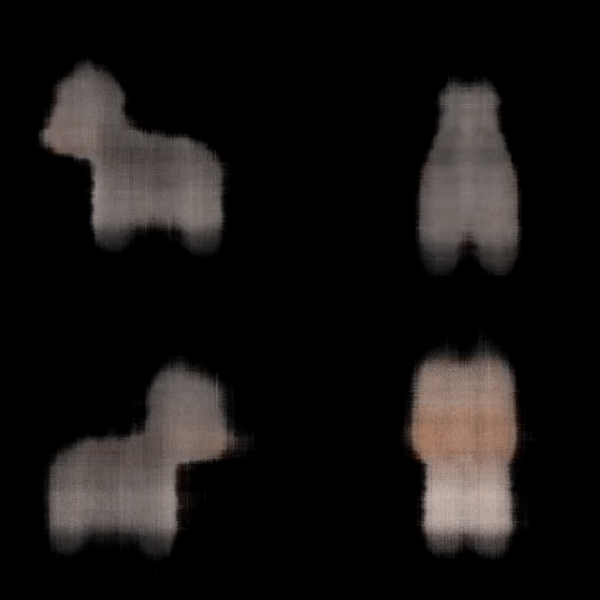
| Render textured pointclouds | Fit a mesh with texture |
 |  |
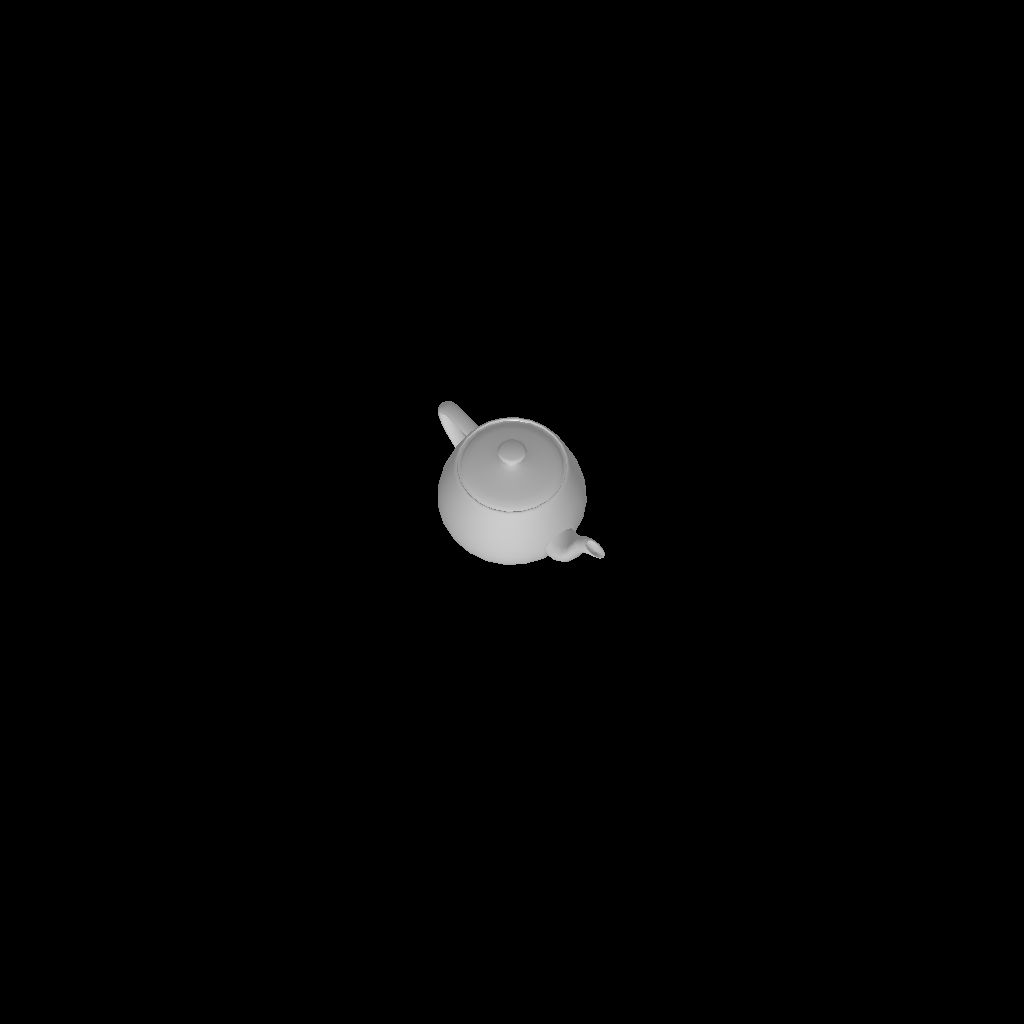
|---|---|
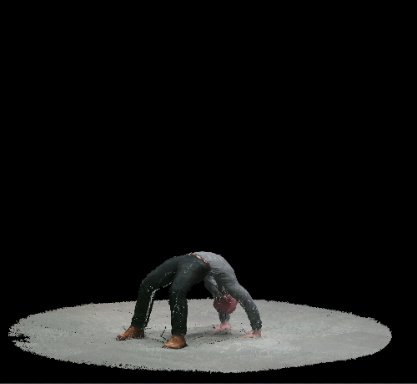
| Render DensePose data | Load & Render ShapeNet data |
 |  |
|---|---|
| Fit Textured Volume | Fit A Simple Neural Radiance Field |
|  |
|---|---|
| Fit Textured Volume in Implicitron | Implicitron Config System |
Documentation
Learn more about the API by reading the PyTorch3D documentation.
We also have deep dive notes on several API components:
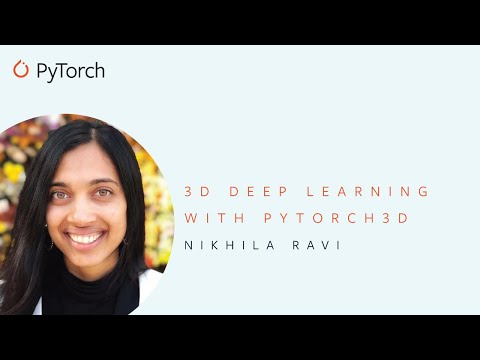
Overview Video
We have created a short (~14 min) video tutorial providing an overview of the PyTorch3D codebase including several code examples. Click on the image below to watch the video on YouTube:
Development
We welcome new contributions to PyTorch3D and we will be actively maintaining this library! Please refer to CONTRIBUTING.md for full instructions on how to run the code, tests and linter, and submit your pull requests.
Development and Compatibility
mainbranch: actively developed, without any guarantee, Anything can be broken at any time- REMARK: this includes nightly builds which are built from
main - HINT: the commit history can help locate regressions or changes
- REMARK: this includes nightly builds which are built from
- backward-compatibility between releases: no guarantee. Best efforts to communicate breaking changes and facilitate migration of code or data (incl. models).
Contributors
PyTorch3D is written and maintained by the Facebook AI Research Computer Vision Team.
In alphabetical order:
- Amitav Baruah
- Steve Branson
- Krzysztof Chalupka
- Jiali Duan
- Luya Gao
- Georgia Gkioxari
- Taylor Gordon
- Justin Johnson
- Patrick Labatut
- Christoph Lassner
- Wan-Yen Lo
- David Novotny
- Nikhila Ravi
- Jeremy Reizenstein
- Dave Schnizlein
- Roman Shapovalov
- Olivia Wiles
Citation
If you find PyTorch3D useful in your research, please cite our tech report:
@article{ravi2020pytorch3d,
    author = {Nikhila Ravi and Jeremy Reizenstein and David Novotny and Taylor Gordon
                  and Wan-Yen Lo and Justin Johnson and Georgia Gkioxari},
    title = {Accelerating 3D Deep Learning with PyTorch3D},
    journal = {arXiv:2007.08501},
    year = {2020},
}
If you are using the pulsar backend for sphere-rendering (the PulsarPointRenderer or pytorch3d.renderer.points.pulsar.Renderer), please cite the tech report:
@article{lassner2020pulsar,
    author = {Christoph Lassner and Michael Zollh\"ofer},
    title = {Pulsar: Efficient Sphere-based Neural Rendering},
    journal = {arXiv:2004.07484},
    year = {2020},
}
News
Please see below for a timeline of the codebase updates in reverse chronological order. We are sharing updates on the releases as well as research projects which are built with PyTorch3D. The changelogs for the releases are available under Releases, and the builds can be installed using conda as per the instructions in INSTALL.md.
[Oct 31st 2023]: PyTorch3D v0.7.5 released.
[May 10th 2023]: PyTorch3D v0.7.4 released.
[Apr 5th 2023]: PyTorch3D v0.7.3 released.
[Dec 19th 2022]: PyTorch3D v0.7.2 released.
[Oct 23rd 2022]: PyTorch3D v0.7.1 released.
[Aug 10th 2022]: PyTorch3D v0.7.0 released with Implicitron and MeshRasterizerOpenGL.
[Apr 28th 2022]: PyTorch3D v0.6.2 released
[Dec 16th 2021]: PyTorch3D v0.6.1 released
[Oct 6th 2021]: PyTorch3D v0.6.0 released
[Aug 5th 2021]: PyTorch3D v0.5.0 released
[Feb 9th 2021]: PyTorch3D v0.4.0 released with support for implicit functions, volume rendering and a reimplementation of NeRF.
[November 2nd 2020]: PyTorch3D v0.3.0 released, integrating the pulsar backend.
[Aug 28th 2020]: PyTorch3D v0.2.5 released
[July 17th 2020]: PyTorch3D tech report published on ArXiv: https://arxiv.org/abs/2007.08501
[April 24th 2020]: PyTorch3D v0.2.0 released
[March 25th 2020]: SynSin codebase released using PyTorch3D: https://github.com/facebookresearch/synsin
[March 8th 2020]: PyTorch3D v0.1.1 bug fix release
[Jan 23rd 2020]: PyTorch3D v0.1.0 released. Mesh R-CNN codebase released: https://github.com/facebookresearch/meshrcnn
Top Related Projects
A data generation pipeline for creating semi-realistic synthetic multi-object videos with rich annotations such as instance segmentation masks, depth maps, and optical flow.
A PyTorch Library for Accelerating 3D Deep Learning Research
This is the code for Deformable Neural Radiance Fields, a.k.a. Nerfies.
Detectron2 is a platform for object detection, segmentation and other visual recognition tasks.
TensorFlow Graphics: Differentiable Graphics Layers for TensorFlow
A Code Release for Mip-NeRF 360, Ref-NeRF, and RawNeRF
Convert designs to code with AI
Introducing Visual Copilot: A new AI model to turn Figma designs to high quality code using your components.
Try Visual Copilot