Top Related Projects
Quick Overview
Viro is an open-source platform for building AR/VR applications using React Native. It provides a comprehensive set of tools and components to create immersive experiences for mobile devices and AR/VR headsets, allowing developers to leverage their existing React Native skills for 3D development.
Pros
- Cross-platform development for iOS, Android, and AR/VR headsets
- Seamless integration with React Native ecosystem
- Rich set of AR/VR components and APIs
- Active community and regular updates
Cons
- Learning curve for developers new to 3D/AR/VR concepts
- Limited advanced features compared to native AR/VR SDKs
- Performance may not match native implementations for complex scenes
- Documentation could be more comprehensive
Code Examples
- Creating a simple 3D scene:
import React from 'react';
import { ViroScene, ViroBox } from '@viro-community/react-viro';

export default () => (
  <ViroScene>
    <ViroBox position={[0, 0, -5]} scale={[0.5, 0.5, 0.5]} />
  </ViroScene>
);
- Adding AR tracking:
import React from 'react';
import { ViroARScene, ViroText, ViroConstants } from '@viro-community/react-viro';

export default () => (
  <ViroARScene onTrackingUpdated={(state, reason) => {
    if (state === ViroConstants.TRACKING_NORMAL) {
      console.log("AR tracking initialized");
    }
  }}>
    <ViroText text="Hello AR World!" position={[0, 0, -1]} />
  </ViroARScene>
);
- Handling user interaction:
import React, { useState } from 'react';
import { ViroScene, ViroSphere } from '@viro-community/react-viro';

export default () => {
  const [color, setColor] = useState('red');

  return (
    <ViroScene>
      <ViroSphere
        position={[0, 0, -3]}
        radius={0.5}
        materials={[{ diffuseColor: color }]}
        onClick={() => setColor('blue')}
      />
    </ViroScene>
  );
};
Getting Started
-
Install Viro React:
npm install -g react-native-cli react-native init MyViroApp --version=0.63.4 cd MyViroApp npm install @viro-community/react-viro -
Add Viro to your React Native app:
import { ViroARScene, ViroText, ViroConstants } from '@viro-community/react-viro'; export default () => ( <ViroARScene> <ViroText text="Hello World!" position={[0, 0, -2]} style={styles.helloWorldTextStyle} /> </ViroARScene> ); -
Run your app:
npx react-native run-android
// or
npx react-native run-ios
Competitor Comparisons
Create amazing 360 and VR content using React
Pros of React 360
- More established and widely adopted in the VR/AR development community
- Better documentation and learning resources available
- Seamless integration with React ecosystem and components
Cons of React 360
- Limited to web-based VR experiences, not suitable for native mobile apps
- Less frequent updates and maintenance (archived by Facebook)
- More complex setup process for beginners
Code Comparison
React 360:
import React from 'react';
import {AppRegistry, View, VrButton, Text} from 'react-360';

export default class HelloVR extends React.Component {
  render() {
    return (
      <View>
        <VrButton onClick={() => console.log('Clicked!')}>
          <Text>Hello VR World!</Text>
        </VrButton>
      </View>
    );
  }
}

AppRegistry.registerComponent('HelloVR', () => HelloVR);
Viro:
import React from 'react';
import {ViroScene, ViroText, ViroButton} from 'react-viro';

export default class HelloViroScene extends React.Component {
  render() {
    return (
      <ViroScene>
        <ViroButton
          position={[0, 0, -1]}
          onClick={() => console.log('Clicked!')}
        >
          <ViroText text="Hello Viro World!" />
        </ViroButton>
      </ViroScene>
    );
  }
}
:a: Web framework for building virtual reality experiences.
Pros of A-Frame
- Larger community and ecosystem with more resources and third-party components
- Web-based, allowing for easy deployment and cross-platform compatibility
- Extensive documentation and learning materials
Cons of A-Frame
- Performance may be lower compared to native solutions
- Limited access to device-specific features and hardware optimizations
- Steeper learning curve for developers new to 3D graphics and WebGL
Code Comparison
A-Frame (HTML-based):
<a-scene>
  <a-box position="-1 0.5 -3" rotation="0 45 0" color="#4CC3D9"></a-box>
  <a-sphere position="0 1.25 -5" radius="1.25" color="#EF2D5E"></a-sphere>
  <a-cylinder position="1 0.75 -3" radius="0.5" height="1.5" color="#FFC65D"></a-cylinder>
  <a-plane position="0 0 -4" rotation="-90 0 0" width="4" height="4" color="#7BC8A4"></a-plane>
</a-scene>
Viro (React Native-based):
<ViroScene>
  <ViroBox position={[-1, 0.5, -3]} rotation={[0, 45, 0]} scale={[1, 1, 1]} materials={["blue"]} />
  <ViroSphere position={[0, 1.25, -5]} radius={1.25} materials={["red"]} />
  <ViroCylinder position={[1, 0.75, -3]} radius={0.5} height={1.5} materials={["yellow"]} />
  <ViroQuad position={[0, 0, -4]} rotation={[-90, 0, 0]} width={4} height={4} materials={["green"]} />
</ViroScene>
Image tracking, Location Based AR, Marker tracking. All on the Web.
Pros of AR.js
- Web-based, works directly in browsers without app installation
- Supports marker-based, image tracking, and location-based AR
- Lightweight and fast, suitable for mobile devices
Cons of AR.js
- Limited 3D object support and advanced features
- Requires markers or images for tracking, less flexible than Viro
- Performance may vary across different browsers and devices
Code Comparison
AR.js (HTML):
<a-scene embedded arjs='sourceType: webcam;'>
  <a-marker preset='hiro'>
    <a-box position='0 0.5 0' material='color: red;'></a-box>
  </a-marker>
  <a-entity camera></a-entity>
</a-scene>
Viro (React Native):
<ViroARScene>
  <ViroBox position={[0, 0.5, -1]} scale={[0.3, 0.3, 0.1]} materials={["grid"]} />
</ViroARScene>
Key Differences
- AR.js is web-based, while Viro is primarily for mobile app development
- Viro offers more advanced features and better performance for complex AR experiences
- AR.js has a lower barrier to entry for simple AR projects
- Viro provides better integration with native mobile capabilities
Convert  designs to code with AI

Introducing Visual Copilot: A new AI model to turn Figma designs to high quality code using your components.
Try Visual CopilotREADME
| :information_source: | Active development for Viro is now occurring at the Viro Community fork. We encourage all Viro developers to follow and get the latest updates at ViroCommunity/viro |
|---|
Viro React
Viro React is a platform for developers to rapidly build augmented reality (AR) and virtual reality (VR) experiences. Developers write in React Native, and Viro runs their code natively across all mobile VR (including Google Daydream, Samsung Gear VR, and Google Cardboard for iOS and Android) and AR (iOS ARKit and Android ARCore) platforms. More info here.
This project contains the full source code for Viro React, and various sample Viro projects.
The platform is free to use with no limits on distribution.
To report bugs/issues with Viro platform, please file new issues on this repository.
Instructions for running sample projects using Testbed app:
- Follow directions on our Quick start guide to setup dependencies for trying these sample projects with the Viro Media App.
- Clone the repo into your workspace with git:
git clone https://github.com/viromedia/viro.git. - Go into the code-samples directory.
- Run
npm installfrom the root of this project. - Run
npm startfrom the root of this project. - Open the Viro Media App, slide out the left panel and select "Enter Testbed".
- Type the entire ngrok URL output (xxxxxx.ngrok.io) at the top of the terminal into the text field and hit 'GO'
- You should now be in the application! Enjoy!
To rebuild the testbed app from source, please refere to the testbed repo here.
Instructions for running sample code as a stand alone project (with no Testbed app):
Tried the samples through our Testbed app and now want to try deploying sample code to your device as standalone apps? These quick steps below should get you started:
- Follow steps 1 - 4 from above (instructions for using with Testbed app)
- For Android, make sure you have downloaded and installed Android Studio from here to get required SDK and platform-tools for building android apps
Make sure you have the required environment variables set -
$ANDROID_HOME, and addedplatform-toolsto$PATHvariable. If not,
Build and launch android app by executing the following from the root of the projectexport ANDROID_HOME=/YOUR_PATH_TO/Android/sdk export PATH=$ANDROID_HOME/platform-tools:$PATH export PATH=$ANDROID_HOME/tools:$PATHreact-native run-android --variant=gvrDebug - For iOS, in Xcode open
ViroSample.xcworkspaceinios/directory. Select the right "Team" forViroSampleandViroSampleTesttarget underGeneral -> SigningHit play to build and launch the app on your iOS device
Changing Between Samples
- Open App.js in a text editor.
- For AR, set showARScene=true at line 44.
- For VR, Modify line 61:
scene: scenes['360 Photo Tour'],to a scene defined in thescenesdictionary on line 30. - Reload/restart the application.
Instructions for using a CI-built Viro React platform from Mainline:
You can also try the latest mainline build containing bleeding edge features and fixes. Please keep in mind that mainline builds may not be as stable as release builds. To do so, simply:
- Go to the Viro Actions Workflows for this project.
- You should see a list of "Viro Bridge CI Pipeline" workflows.
- Click on the latest successfully built workflow pipeline (should be a checkmark next to it).
- Download the latest built ViroReact.tgz artiface.
- Clone this repo into your workspace with git:
git clone https://github.com/viromedia/viro.git. - Go into the code-samples directory.
- Run
npm installfrom the root of this project. - Remove the ViroReact framework that was pulled down from the npm install (you are going to use the pre-built one).
- npm install ../path/to/your/downloadedArtifact.tgz
Instructions for manually building the Viro React platform:
Building iOS Viro React:
- Follow directions on our Quick start guide to setup dependencies.
- Clone the repo into your workspace with git:
git clone https://github.com/viromedia/viro.git. - Build our iOS renderer using build instructions outlined in our Virocore repo.
- Verify you see new files created in
ios/distfolder. - Install pods in
ios/folder:cd ios pod install - Install node_modules in test folder:
cd test npm install - Install pods in the
ViroExamplefolder:cd test/ios/ViroExample pod install - Open
ViroExample.xcworkspacein Xcode. (Make sure you open the .xcworkpace file, and not* the .xcodeproj file!) - Select Product->Scheme. If you don't see a
Reactscheme, hitManage Schemes.... In the dialog box, addReactscheme. - Go through build configuration (Debug vs Release) for schemes
React,ViroReactandViroExampleand ensure they are all either Release or Debug, depending on what you are trying to build. - That's it! Now build React scheme for
Generic iOS Device, followed by ViroReact scheme for the same target. Note:11.a If you want the ability to run on Simulator, change target to any of the `iOS Simulator` targets instead of `Generic iOS Device`. 11.b If in your own app project setup, you prefer to include Viro React as a static library rather than relying on `use_frameworks!` - build scheme `ViroReact_static_lib` instead of `ViroReact` as mentioned above in step #11. - You should see a new file
libViroReact.aatios/dist/lib/libViroReact.a. - To run Viro React tests, run
ViroExamplescheme on your plugged in iOS device.
Building Android Viro React:
- Under the viro directory, run
./prepareRelease.sh. - Your android bridge should now be built under release.
- You should see a new file created at android/react_viro/react_viro-release.aar
- To build android release tests:
$ cd test/android $ ./gradlew assembleGvrRelease - Install app-gvr-release.apk from
test/android/app/build/output/gvr/app-gvr-release.apkonto your plugged in Android device.
Bundling and using built iOS and Android into a single npm tar package:
- The
./prepareRelease.shyou ran above builds android react bridge and bundles both iOS and Android bridge into areact-viro-*.tgzfile. * for current version frompackage.jsonfile.
More information
Check out our website.
Look at our documentation.
Join our Slack group here.
Sample Code
Figment AR (Complete Open Source App)
A repository containing the entire source code, built using ViroReact and React Native, for Viro Media's award winning Figment AR App. Available on Google Play and App Store.
Download complete source at https://github.com/viromedia/figment-ar
Sample Code Overview
A scene with a 360 photo that displays "Hello World".
360 Photo Tour
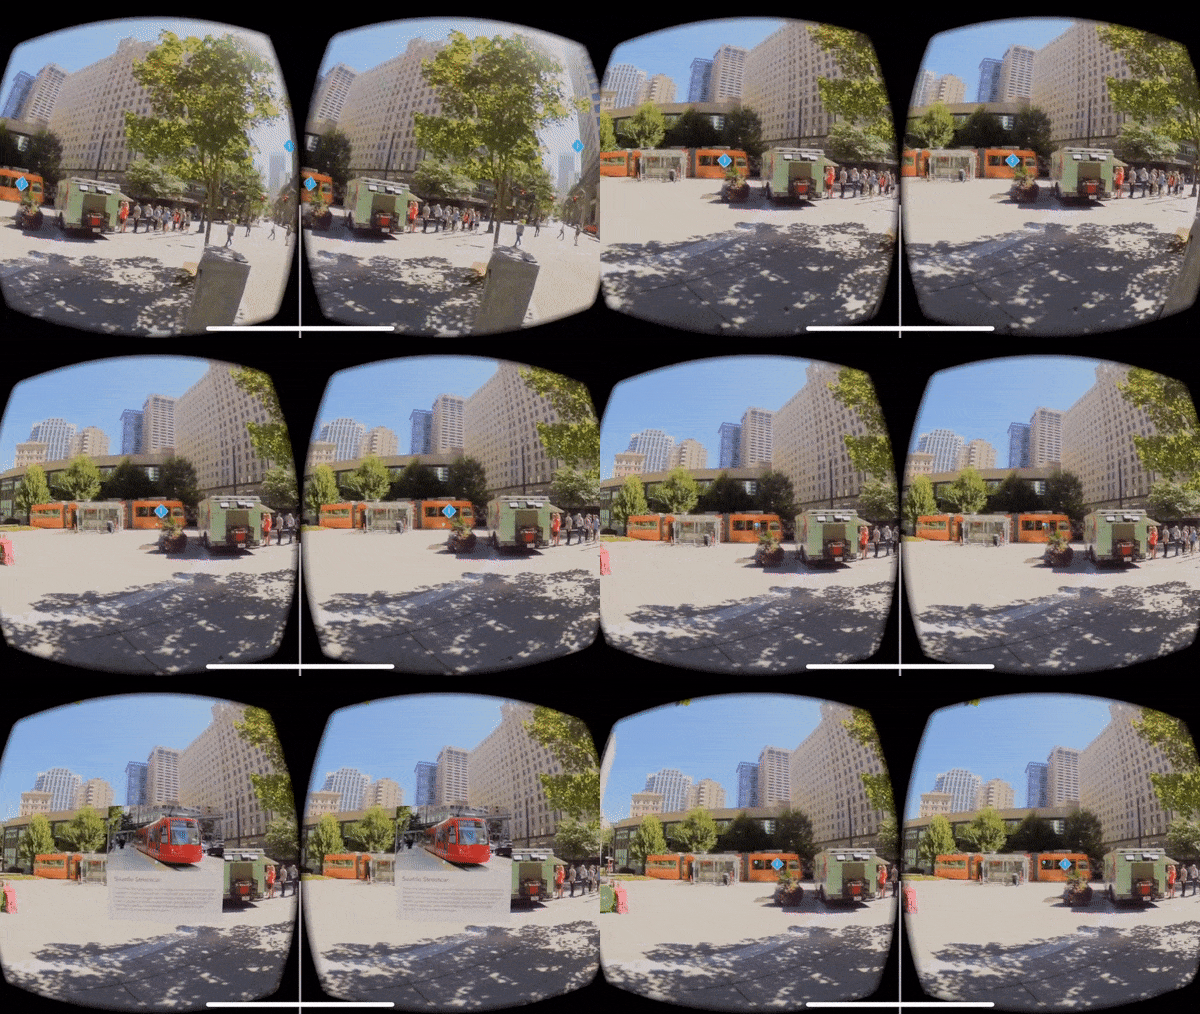
360 photo tour example that shows you how to display a 360 photo with clickable hot spots.
Human Body
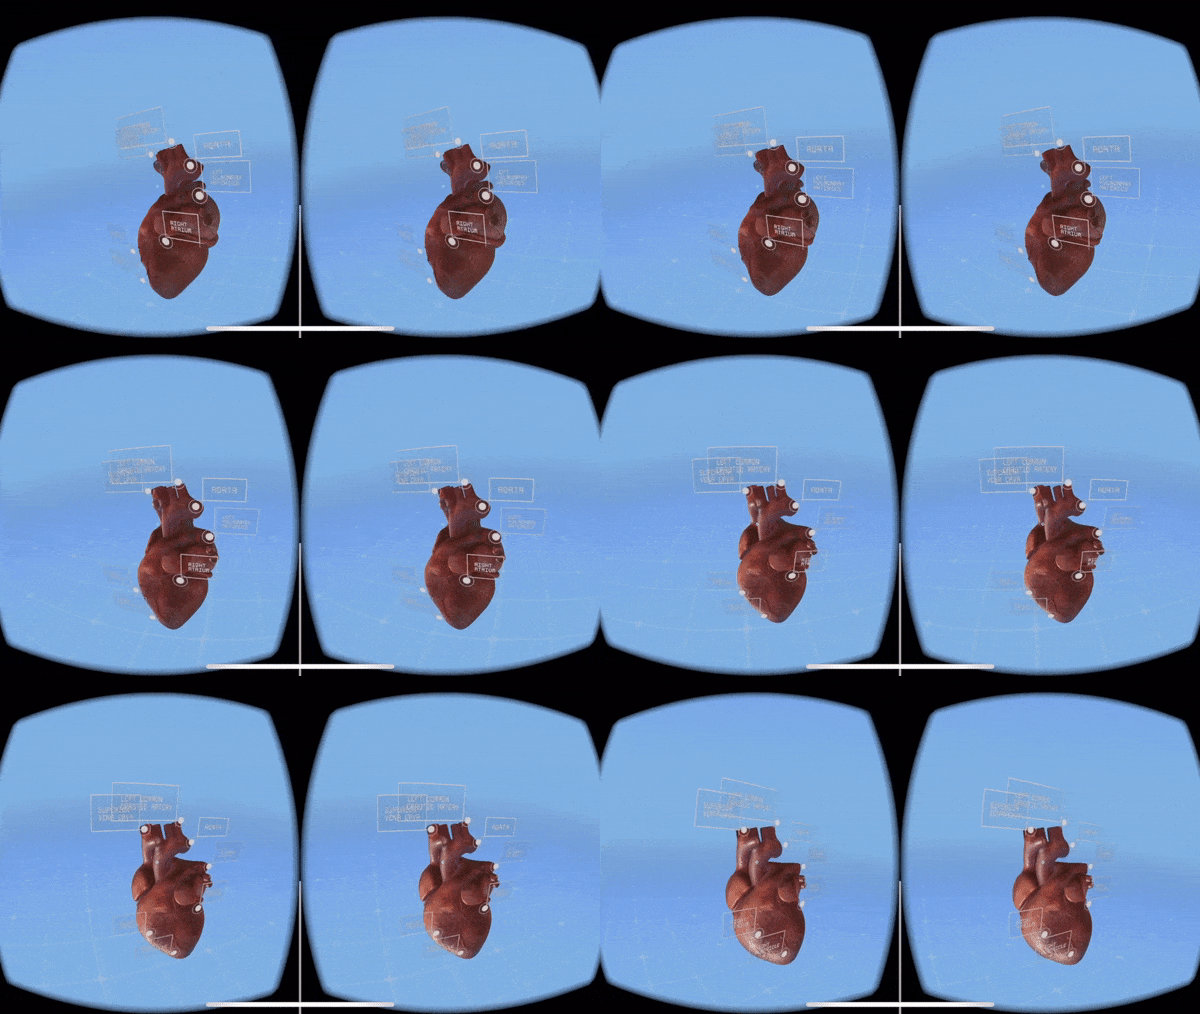
This example showcases 3d objects. Orbit around a 3d Heart to see it from different angles!
VR MediaPlayer
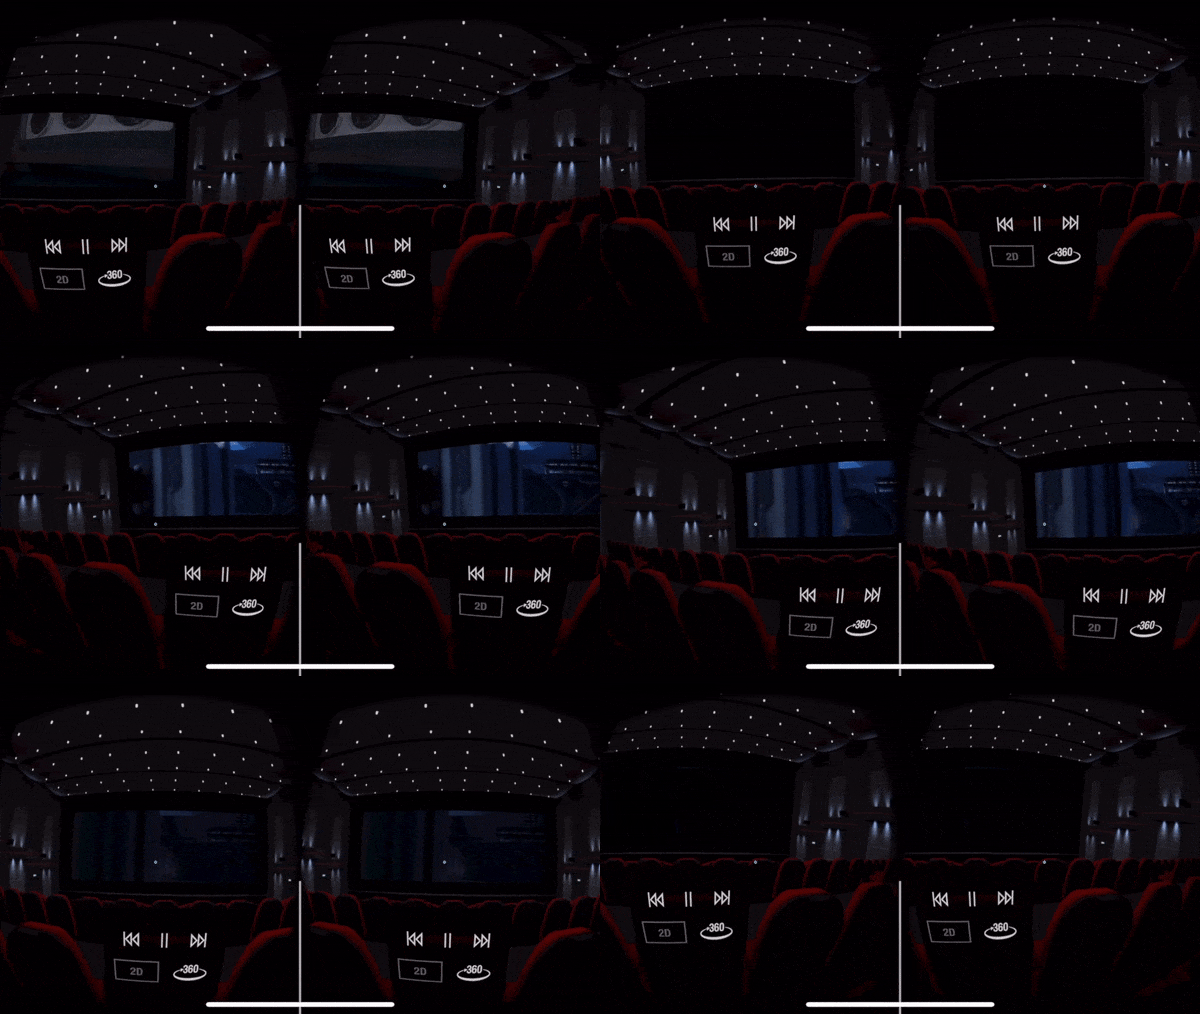
Learn how to display and play 2d and 360 video with interactive play controls that can play, pause and stop.
Product Showcase
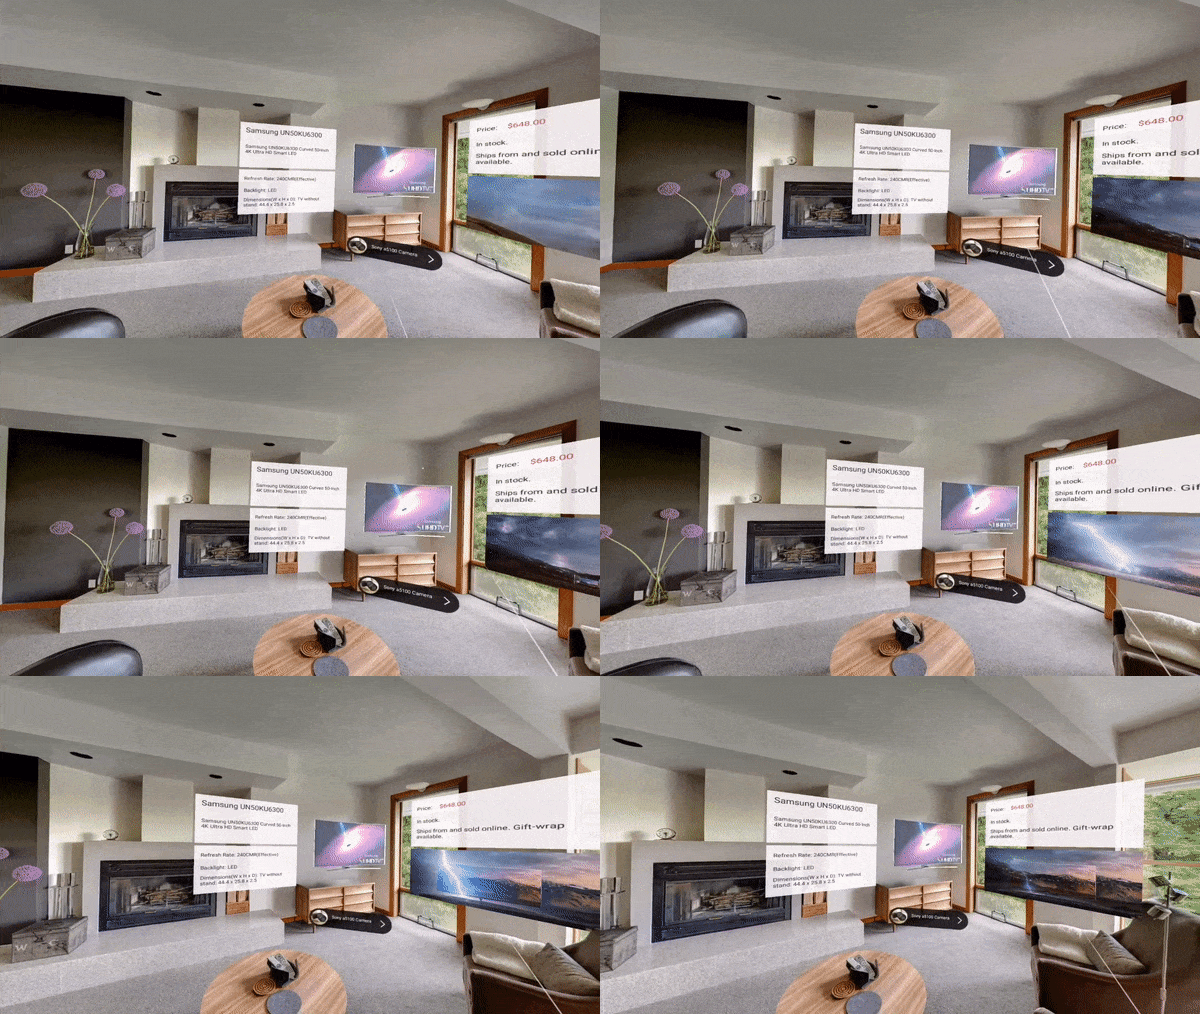
Learn how to display and play 2d and 360 video with interactive play controls that can play, pause and stop. A demonstration on how to do an interactive shopping app for TV's. Uses flexbox for UI and 3d objects with animations.
AR Sample

A scene with objects, text and animation displayed on ARKit planes detected in the scene.
AR Car Marker Demo

An ARScene that looks for this image and adds a model of a car with the ability to change its colors.
AR Driving Car Demo
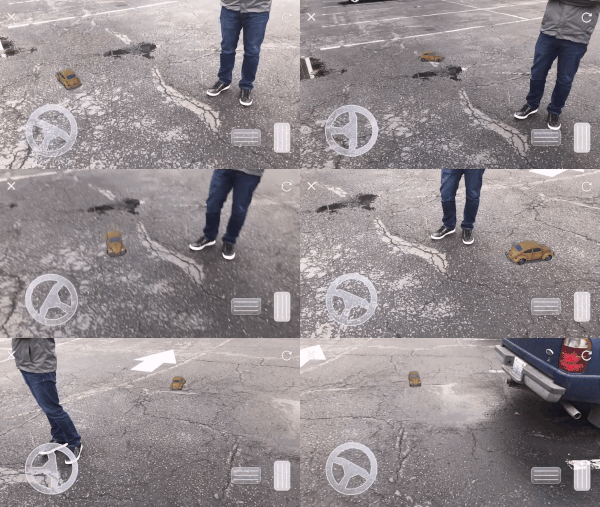
An ARScene that lets the user place a car on a surface and drive it around the world. See instructions in the project directory to enable the demo.
AR Poster Demo

An ARScene that searches for this vertical marker and renders Black Panther jumping out of the marker.
AR Tracking Business Card Demo - iOS Only

An ARScene that tracks this business card continously using image tracking.
AR Full Sample App
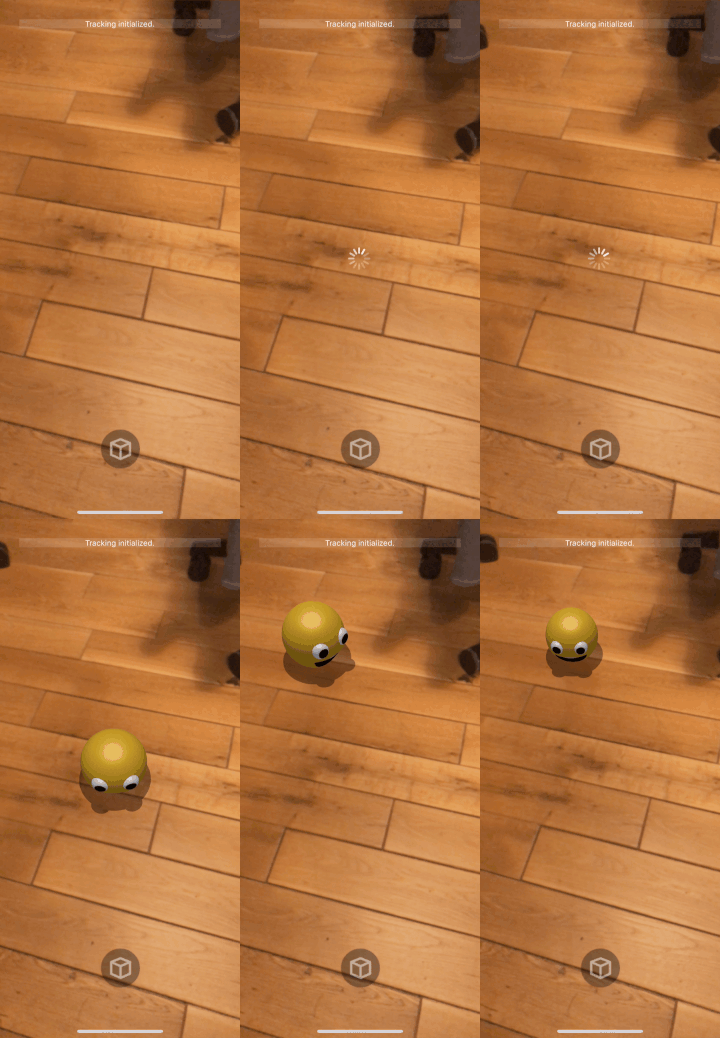
A complete React Native w/Viro AR Sample App. Demonstrates how to place, drag, and scale objects in the real world while providing 2D UI feedback.
Tutorials
How to build an interactive AR app in 5 minutes

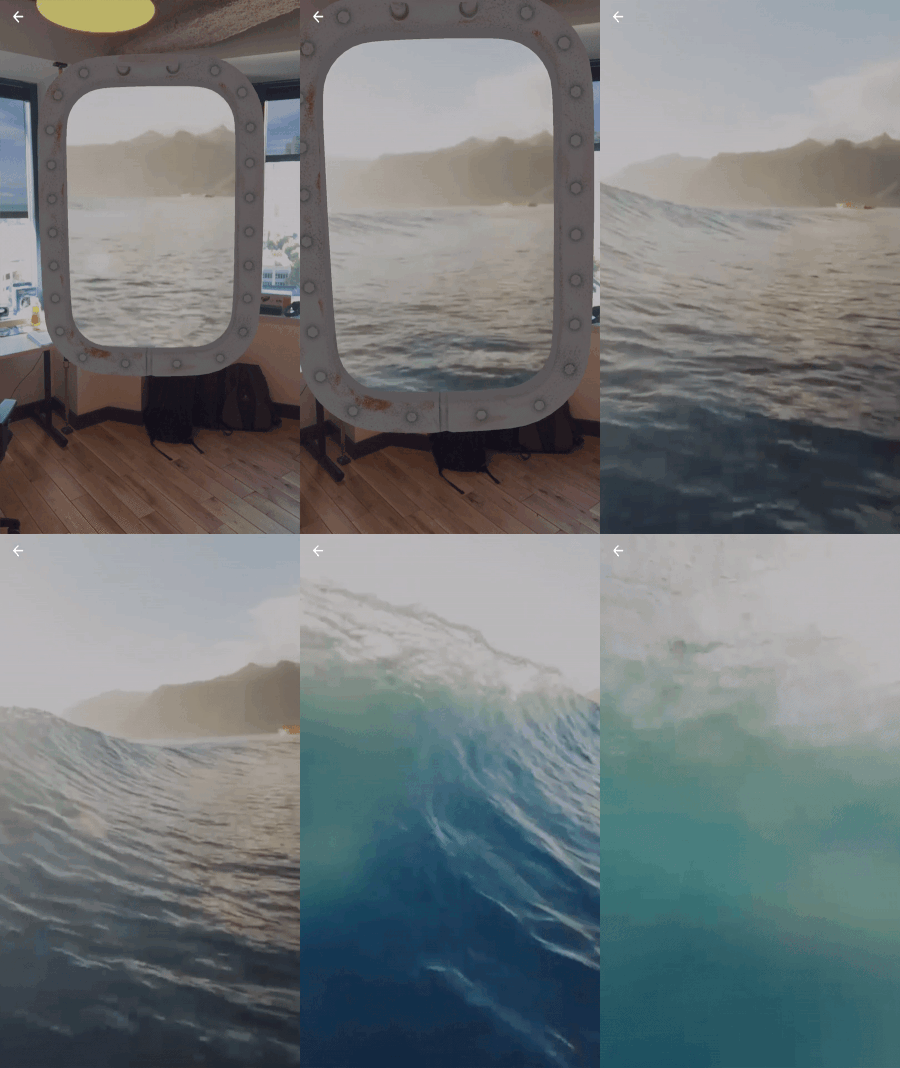
How to build AR Portals in 5 minutes
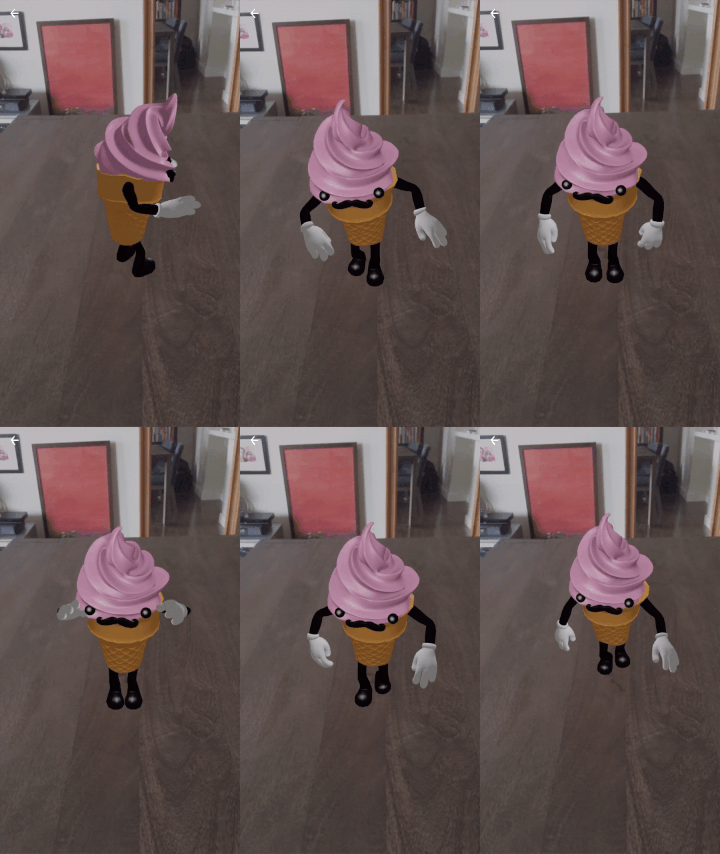
Add Snapchat-like AR Lenses to any app
Top Related Projects
Convert  designs to code with AI

Introducing Visual Copilot: A new AI model to turn Figma designs to high quality code using your components.
Try Visual Copilot


