
Top Related Projects

:tada: A magical vue admin https://panjiachen.github.io/vue-element-admin

👨🏻💻👩🏻💻 Use Ant Design Vue like a Pro! (vue2)

Vuestic Admin is an open-source, ready-to-use admin template suite designed for rapid development, easy maintenance, and high accessibility. Built on Vuestic UI, Vue 3, Vite, Pinia, and Tailwind CSS. Maintained by Epicmax (@epicmaxco).

Open source admin template based on Bootstrap 5 and Vue 3
Quick Overview
iView Admin is an open-source admin panel template based on Vue.js and iView UI components. It provides a clean and modern interface for building administrative dashboards and management systems, offering various pre-built pages, components, and layouts to streamline the development process.
Pros
- Rich set of pre-built components and layouts for rapid development
- Clean and modern design with responsive layout
- Built on Vue.js, providing a smooth and reactive user experience
- Extensive documentation and active community support
Cons
- Limited customization options for some components
- Steep learning curve for developers new to Vue.js or iView
- Some reported issues with compatibility in older browsers
- Occasional delays in updates and bug fixes
Code Examples
- Creating a basic table component:
<template>
  <Table :columns="columns" :data="data"></Table>
</template>

<script>
export default {
  data () {
    return {
      columns: [
        { title: 'Name', key: 'name' },
        { title: 'Age', key: 'age' },
        { title: 'Address', key: 'address' }
      ],
      data: [
        { name: 'John Brown', age: 18, address: 'New York No. 1 Lake Park' },
        { name: 'Jim Green', age: 24, address: 'London No. 1 Bridge Street' }
      ]
    }
  }
}
</script>
- Implementing a form with validation:
<template>
  <Form ref="formValidate" :model="formValidate" :rules="ruleValidate">
    <FormItem label="Name" prop="name">
      <Input v-model="formValidate.name" placeholder="Enter your name"></Input>
    </FormItem>
    <FormItem label="E-mail" prop="email">
      <Input v-model="formValidate.email" placeholder="Enter your e-mail"></Input>
    </FormItem>
    <FormItem>
      <Button type="primary" @click="handleSubmit('formValidate')">Submit</Button>
    </FormItem>
  </Form>
</template>

<script>
export default {
  data() {
    return {
      formValidate: {
        name: '',
        email: ''
      },
      ruleValidate: {
        name: [{ required: true, message: 'Name cannot be empty', trigger: 'blur' }],
        email: [
          { required: true, message: 'Email cannot be empty', trigger: 'blur' },
          { type: 'email', message: 'Please enter a valid email address', trigger: 'blur' }
        ]
      }
    }
  },
  methods: {
    handleSubmit(name) {
      this.$refs[name].validate((valid) => {
        if (valid) {
          this.$Message.success('Form validation passed')
        } else {
          this.$Message.error('Form validation failed')
        }
      })
    }
  }
}
</script>
- Creating a custom chart using ECharts:
<template>
  <div ref="chart" style="width: 100%; height: 400px;"></div>
</template>

<script>
import * as echarts from 'echarts'

export default {
  mounted() {
    const chart = echarts.init(this.$refs.chart)
    chart.setOption({
      title: { text: 'ECharts Example' },
      xAxis: { type: 'category', data: ['Mon', 'Tue', 'Wed', 'Thu', 'Fri', 'Sat', 'Sun'] },
      yAxis: { type: 'value' },
      series: [{ data: [120, 200, 150, 80, 70, 110, 130], type: 'bar' }]
    })
  }
}
</script>
Getting Started
To get started with iView Admin:
- Clone the repository:
git clone https://github.
Competitor Comparisons
:tada: A magical vue admin https://panjiachen.github.io/vue-element-admin
Pros of vue-element-admin
- More comprehensive documentation and examples
- Larger community and more frequent updates
- Wider range of pre-built components and layouts
Cons of vue-element-admin
- Steeper learning curve due to its complexity
- Potentially heavier bundle size for smaller projects
Code Comparison
vue-element-admin:
<template>
  <div class="app-container">
    <el-table :data="list" v-loading="listLoading" element-loading-text="Loading" border fit highlight-current-row>
      <!-- Table columns -->
    </el-table>
  </div>
</template>
iview-admin:
<template>
  <div>
    <Table :columns="columns" :data="data" :loading="loading">
      <!-- Table columns -->
    </Table>
  </div>
</template>
The code comparison shows that vue-element-admin uses Element UI components, while iview-admin uses iView components. vue-element-admin's approach is more verbose but offers more customization options out of the box.
Both projects are excellent choices for Vue.js admin interfaces, with vue-element-admin offering more features and customization at the cost of complexity, while iview-admin provides a simpler, more straightforward approach that may be preferable for smaller projects or developers new to Vue.js.
👨🏻💻👩🏻💻 Use Ant Design Vue like a Pro! (vue2)
Pros of ant-design-vue-pro
- More comprehensive and feature-rich UI components based on Ant Design
- Better TypeScript support and integration
- More active development and community support
Cons of ant-design-vue-pro
- Steeper learning curve due to more complex architecture
- Larger bundle size, which may impact initial load times
- More opinionated structure, potentially less flexible for custom designs
Code Comparison
ant-design-vue-pro:
<template>
  <a-form :form="form" @submit="handleSubmit">
    <a-form-item label="Username">
      <a-input v-decorator="['username', { rules: [{ required: true }] }]" />
    </a-form-item>
    <a-form-item>
      <a-button type="primary" html-type="submit">Submit</a-button>
    </a-form-item>
  </a-form>
</template>
iview-admin:
<template>
  <Form ref="formInline" :model="formInline" :rules="ruleInline">
    <FormItem prop="user">
      <Input type="text" v-model="formInline.user" placeholder="Username">
        <Icon type="ios-person-outline" slot="prepend"></Icon>
      </Input>
    </FormItem>
    <FormItem>
      <Button type="primary" @click="handleSubmit('formInline')">Login</Button>
    </FormItem>
  </Form>
</template>
Both repositories offer Vue.js-based admin templates, but ant-design-vue-pro provides a more robust and feature-rich solution with better TypeScript support. However, iview-admin may be easier to learn and customize for simpler projects.
Vuestic Admin is an open-source, ready-to-use admin template suite designed for rapid development, easy maintenance, and high accessibility. Built on Vuestic UI, Vue 3, Vite, Pinia, and Tailwind CSS. Maintained by Epicmax (@epicmaxco).
Pros of Vuestic Admin
- More modern and visually appealing design
- Better responsive layout and mobile support
- Extensive documentation and detailed component guides
Cons of Vuestic Admin
- Smaller community and fewer third-party components
- Less frequent updates and maintenance
- Steeper learning curve for beginners
Code Comparison
Vuestic Admin component example:
<va-card>
  <va-card-title>Card Title</va-card-title>
  <va-card-content>
    Card content goes here
  </va-card-content>
</va-card>
iView Admin component example:
<Card>
  <p slot="title">Card Title</p>
  <p>Card content goes here</p>
</Card>
Summary
Vuestic Admin offers a more modern and visually appealing design with better responsiveness, while iView Admin has a larger community and more frequent updates. Vuestic Admin provides more detailed documentation, but it may have a steeper learning curve for beginners. The code structure differs slightly, with Vuestic Admin using more specific component tags and iView Admin relying on slots for content organization.
Open source admin template based on Bootstrap 5 and Vue 3
Pros of CoreUI Free Vue Admin Template
- More comprehensive documentation and better community support
- Regularly updated with new features and bug fixes
- Offers a wider range of pre-built components and layouts
Cons of CoreUI Free Vue Admin Template
- Steeper learning curve due to its extensive feature set
- Larger bundle size, which may impact initial load times
- Less flexibility for customization compared to iView Admin
Code Comparison
iView Admin:
<template>
  <Menu mode="horizontal" :theme="theme1" active-name="1">
    <MenuItem name="1">
      <Icon type="ios-paper" />
      Content Management
    </MenuItem>
  </Menu>
</template>
CoreUI Free Vue Admin Template:
<template>
  <CNavbar expandable="md" color="info">
    <CToggler inNavbar @click="navbarToggleHandler"/>
    <CNavbarBrand to="/">
      <CIcon name="logo" height="35" alt="Logo"/>
      CoreUI
    </CNavbarBrand>
  </CNavbar>
</template>
The code snippets showcase the different approaches to creating navigation components. iView Admin uses a more straightforward Menu component, while CoreUI employs a more complex Navbar structure with additional features like toggling and branding.
Convert  designs to code with AI

Introducing Visual Copilot: A new AI model to turn Figma designs to high quality code using your components.
Try Visual CopilotREADME
![]()
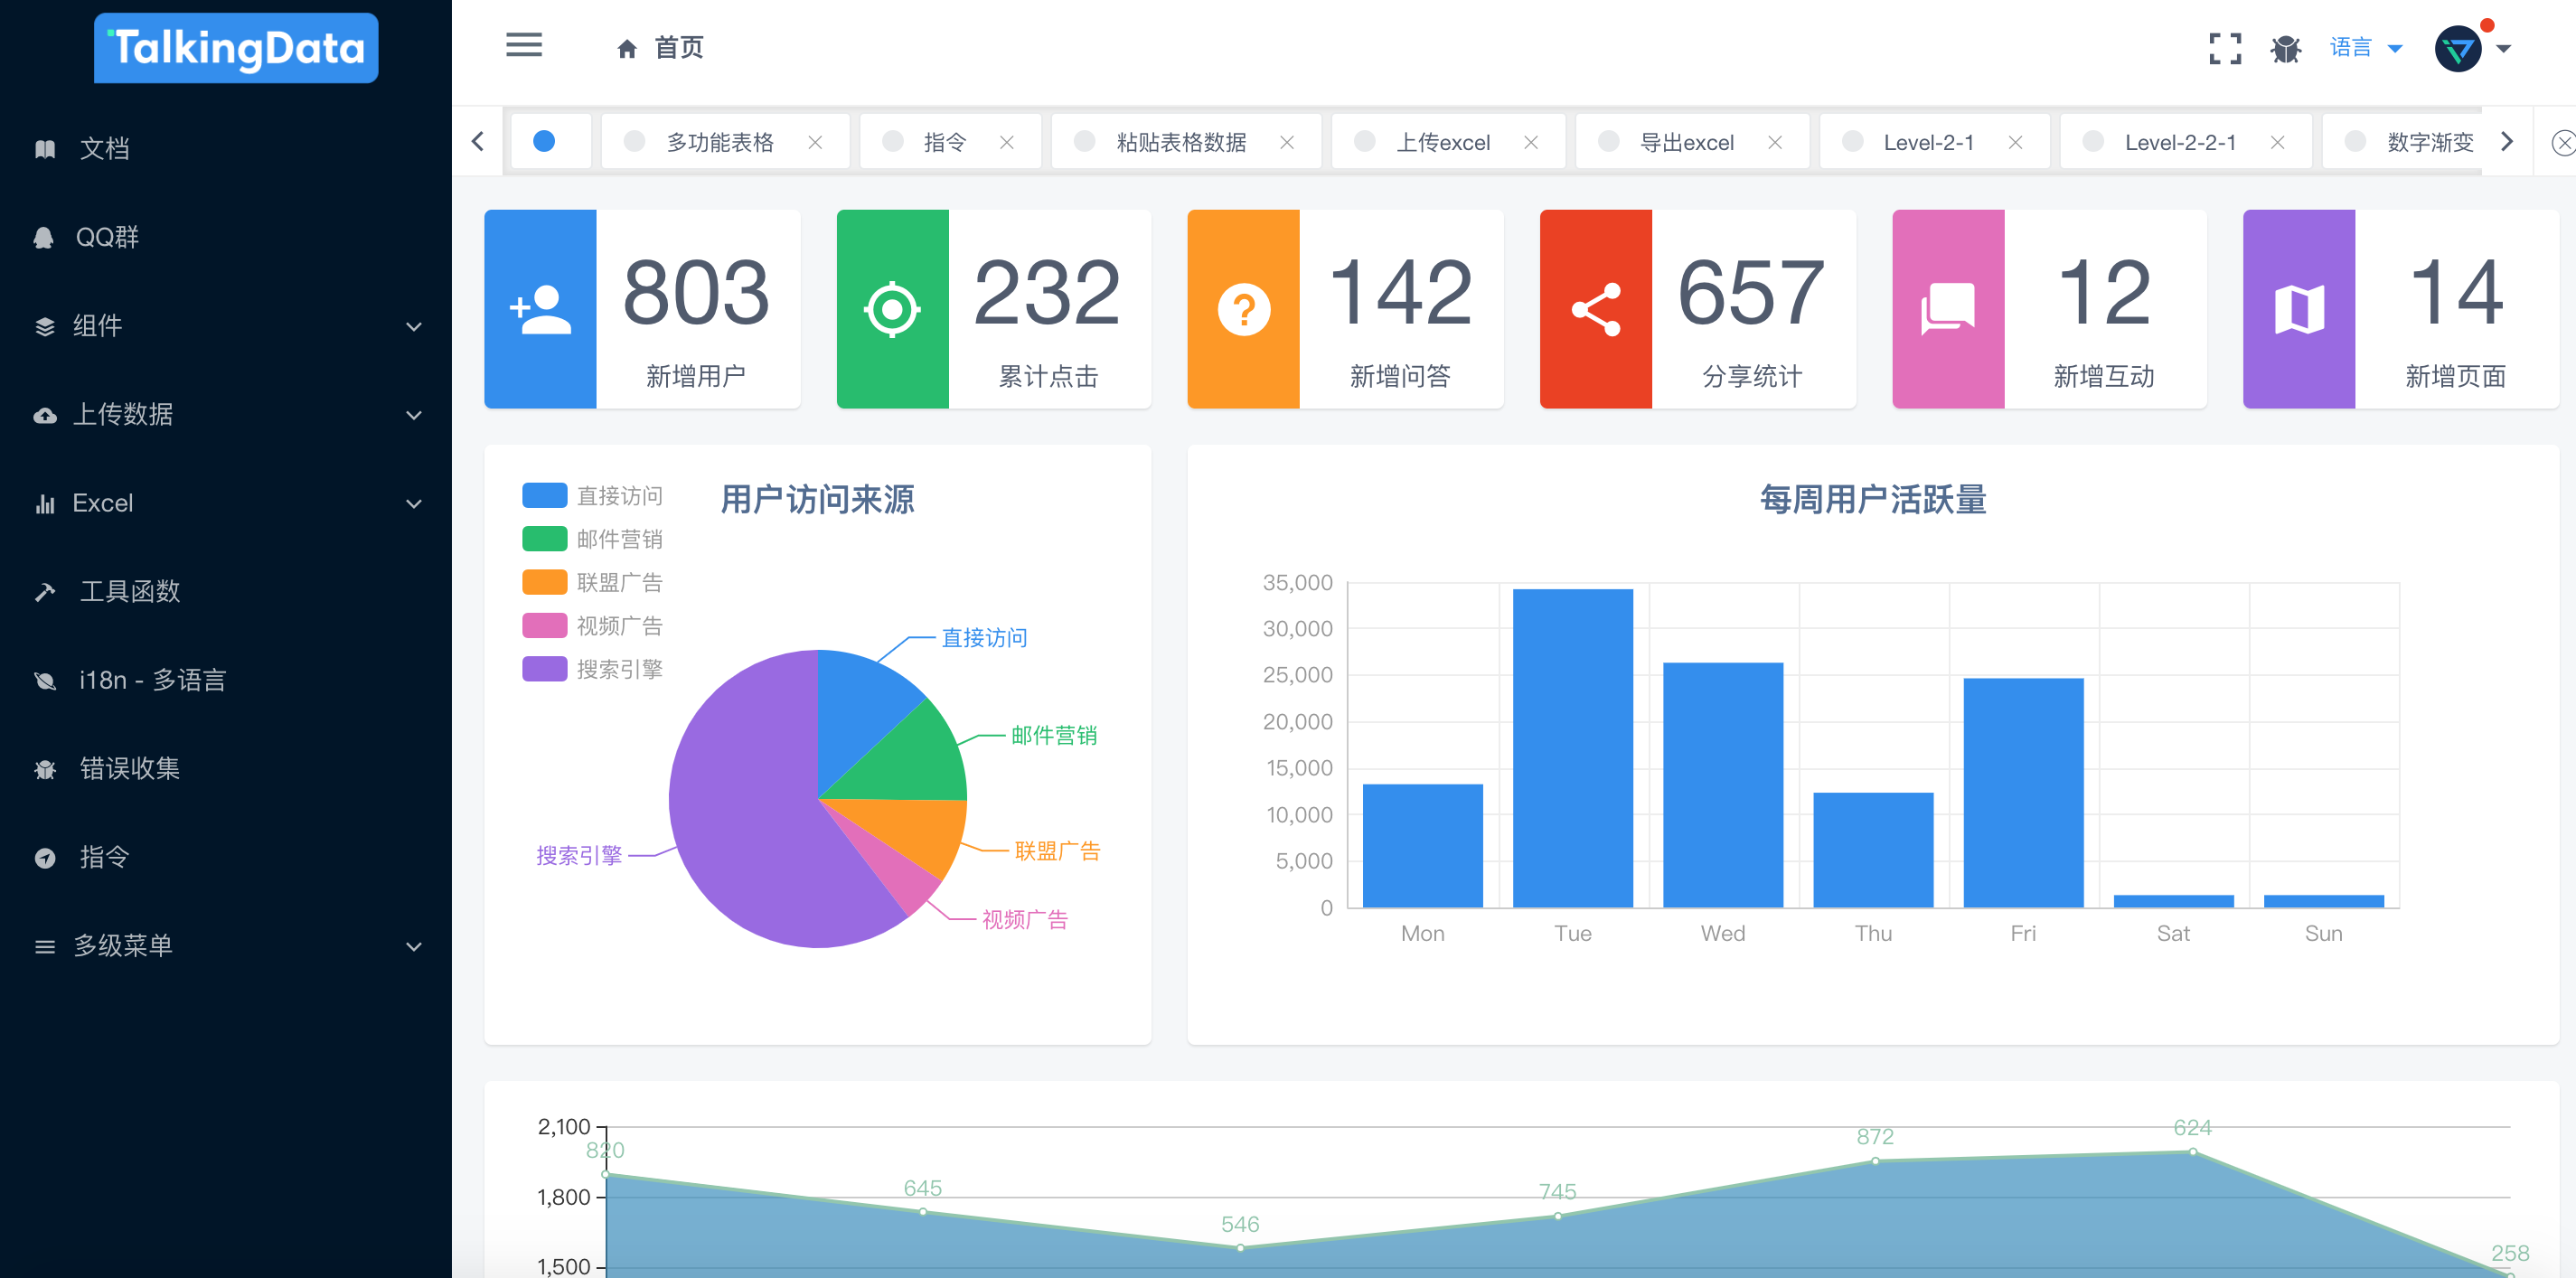
iView Admin
Vue.js 2.0 admin management system template based on iView.


![]()
![]()

Introduction
iView Admin is a front-end management background integration solution. It based on Vue.js and use the UI Toolkit iView.
Features
- Login / Logout
- Permission Authentication
- A list of filters
- Permission to switch
- i18n
- Components
- Rich Text Editor
- Markdown Editor
- City Cascader
- Photos preview and edit
- Draggable list
- File upload
- Digital gradient
- split-pane
- Form
- The article published
- Workflow
- Table
- Drag-and-drop sort
- Searchable form
- Table export data
- Export to Csv file
- Export to Xls file
- Table to picture
- Error Page
- 403
- 404
- 500
- Router
- Dynamic routing
- With reference page
- Theme
- Shrink the sidebar
- Tag navigation
- Breadcrumb navigation
- Full screen / exit full screen
- Lock screen
- The message center
- Personal center
Getting started
# clone the project
git clone https://github.com/iview/iview-admin.git

// install dependencies
npm install

// develop
npm run dev
Build
npm run build
License
Copyright (c) 2016-present, TalkingData
Top Related Projects
:tada: A magical vue admin https://panjiachen.github.io/vue-element-admin
👨🏻💻👩🏻💻 Use Ant Design Vue like a Pro! (vue2)
Vuestic Admin is an open-source, ready-to-use admin template suite designed for rapid development, easy maintenance, and high accessibility. Built on Vuestic UI, Vue 3, Vite, Pinia, and Tailwind CSS. Maintained by Epicmax (@epicmaxco).
Open source admin template based on Bootstrap 5 and Vue 3
Convert designs to code with AI
Introducing Visual Copilot: A new AI model to turn Figma designs to high quality code using your components.
Try Visual Copilot